The Beginners Guide to Art Journaling tools and Supplies ( What You Actually Need)
ART SUPPLIES . COMPLETE BEGINNER GUIDE
Art Tools and Materials for Drawing and Painting:
A Beginner’s Complete Guide
I hold an MA in Art and have been using every tool on this list in my own practice for years. Here’s my honest, tested guide — no overwhelm, just what you actually need.
By Salwa · Artful Haven · 18 tools covered. · Beginner friendly ·. Updated 2026
Pencils Pens Acrylic Watercolor Brushes Gesso
What is the difference between art tools and art materials?
Art materials are consumable supplies — things that get used up as you create. Paint, paper, graphite, charcoal, and ink are all materials. Art tools are the instruments you use to apply those materials — brushes, palette knives, stencils, brayers, and erasers. Both are essential, but knowing which is which helps you shop smarter and replace only what’s actually running out. For example, a painting knife is a tool (it lasts for years) while acrylic paint is a material (it runs out). In art journaling especially, you’ll use far more materials than tools.
|
Supply |
Best For |
Type |
|
Graphite pencils |
Sketching, shading, drawing |
Drawing |
|
Colored pencils |
Layered color, portrais, coloring |
Drawing and coloring |
|
Charcoal |
Bold expressive marks, shading, life drawing |
Drawing |
|
Waterproof pens |
Outlines, doodles, inking over watercolor |
Drawing and Painting |
|
Kneaded eraser |
Lifting graphite, lightening marks, no crumbs |
Drawing |
|
Blending tools |
Smooth gradients in graphite and charcoal |
Drawing |
|
Acrylic paint |
Backgrounds, bold color, mixed media layers, painting |
Painting |
|
Oil paints |
Slow blending, luminous depth, canvas work |
Painting |
|
Watercolor |
Washes, gradients, art journaling pages |
Painting |
|
Paper / art journal |
Foundation for everything — choose by medium |
Painting and Drawing |
|
Brushes |
Flat for acrylic, round for watercolor |
Painting |
|
Palette knife |
Texture, mixing, applying thick paint |
Painting |
|
Painting palette |
Mixing and holding paint — use anything! |
Painting |
|
Masking tape |
Clean borders, protecting areas, framing pages |
Painting and Drawing |
|
Washi Tape |
Clean borders, and texture effect |
Painting and Drawing |
|
Sponges |
Dabbing paint, texture effects, stamping |
Painting |
|
Stencils |
Backgrounds, patterns, instant texture layers |
Painting and drawing |
|
Brayer |
Smooth or Textured paint coverage, inking |
Painting |
|
Gesso |
Priming surfaces, creating texture, white base |
Painting and Drawing |
|
Canvas |
Acrylic and oil painting |
Painting |
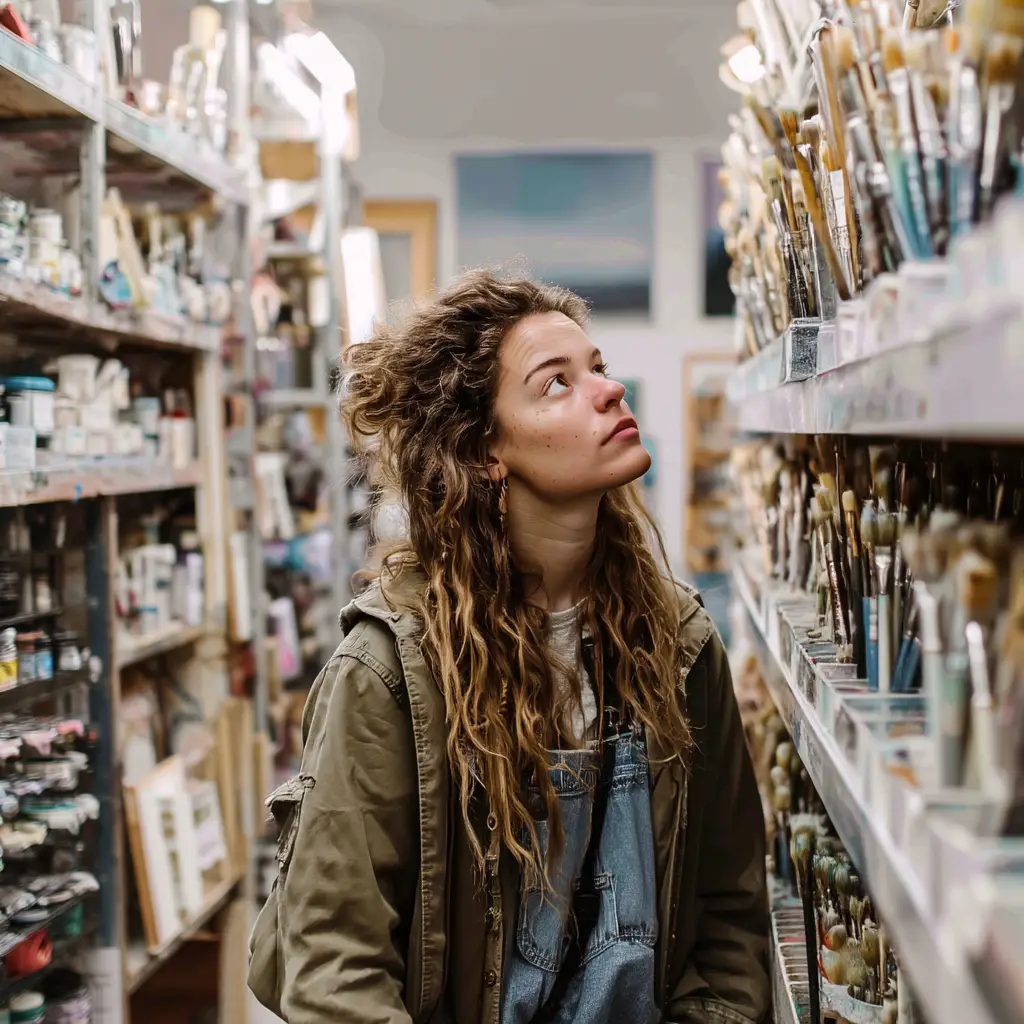
"I remember standing in the art supply aisle for the first time, completely paralysed. Every pen looked the same. Every paint claimed to be the best. I bought the wrong things, wasted money, and felt like I was missing some secret knowledge everyone else had. I wasn't. I just needed someone to cut through the noise."
I hold an MA in Art and have been teaching beginners to draw and paint for years. Every tool on this list is something I’ve personally used — not something I’ve simply researched. That’s the difference between advice and experience.
Here’s what I want you to know before you scroll: you don’t need all 18 of these to start. You need three. Then you build slowly, as your curiosity grows. I’ve put those three right below.
If you’re a complete beginner — start here
These three supplies will cover almost everything you encounter in your first year. Buy these, and resist buying anything else until you actually need it.
1
HB graphite pencil
For sketching and drawing foundations
2
Acrylic paint set or watercolor set
Versatile, fast-drying, works on everything
3
Round + flat brushes
One of each covers most painting needs
Drawing art tools and materials
The foundation skills — start here if you’re new to making art
1. Graphite pencils
A graphite pencil is a drawing tool made from a mixture of graphite and clay — the ratio determines how hard or soft the mark it makes.
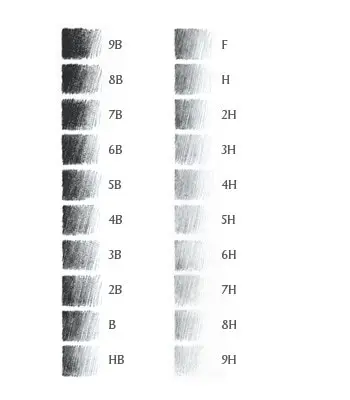
Pencils are graded on a scale from 9H (hardest, lightest) to 9B (softest, darkest). The easiest thing to remember: the softer the pencil, the bolder and darker the mark. An 8B creates dramatic dark lines; a 4H makes barely-there light marks perfect for laying in a sketch before inking.
Read more about the hardness and softness of the pencil Here
When I draw faces or sketch in my art journal, I almost always reach for an HB because it’s the neutral middle ground, and it’s probably what’s in your drawer right now.
|
Use |
Grades to reach for |
|
Sketching / light drawing |
H, 2H, 3H, F |
|
Shading / artistic drawing |
HB, B, 2B, 3B, 4B |
|
Deep dark marks |
5B, 6B, 7B, 8B |
|
Precise technical drawing |
2H, 3H, 4H, 5H |
|
Everyday writing / neutral |
HB, B, F |
PROS
- Erasable — great for beginners who want to correct
- Wide range of marks from one tool type
- Affordable — a good set lasts years
- Works on all paper types
- Perfect for sketching before inking or painting
CONS
- Smudges easily — needs fixative spray to protect
- Not waterproof — watercolor over pencil = smearing
- Takes practice to control pressure consistently
- Soft grades (6B+) need frequent sharpening
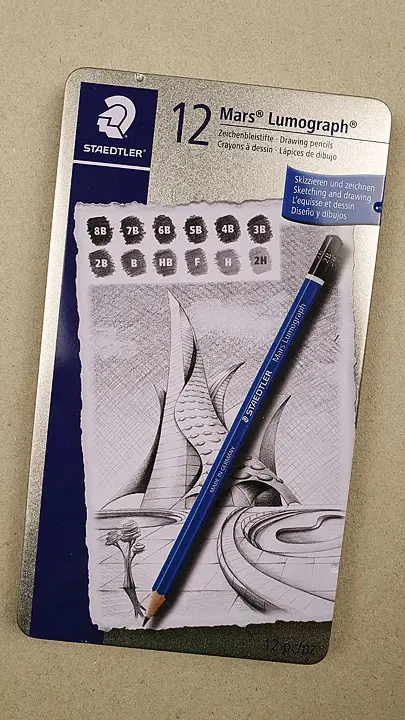
Start with a single HB or 2B. Once you’ve used it enough to want more range, then invest in a set. Staedtler Lumograph or Faber-Castell both offer excellent 12-piece sets for beginners and advanced artists alike.
2. Colored pencils
Colored pencils are drawing tools with pigment-saturated cores. When layered they build rich, luminous color.
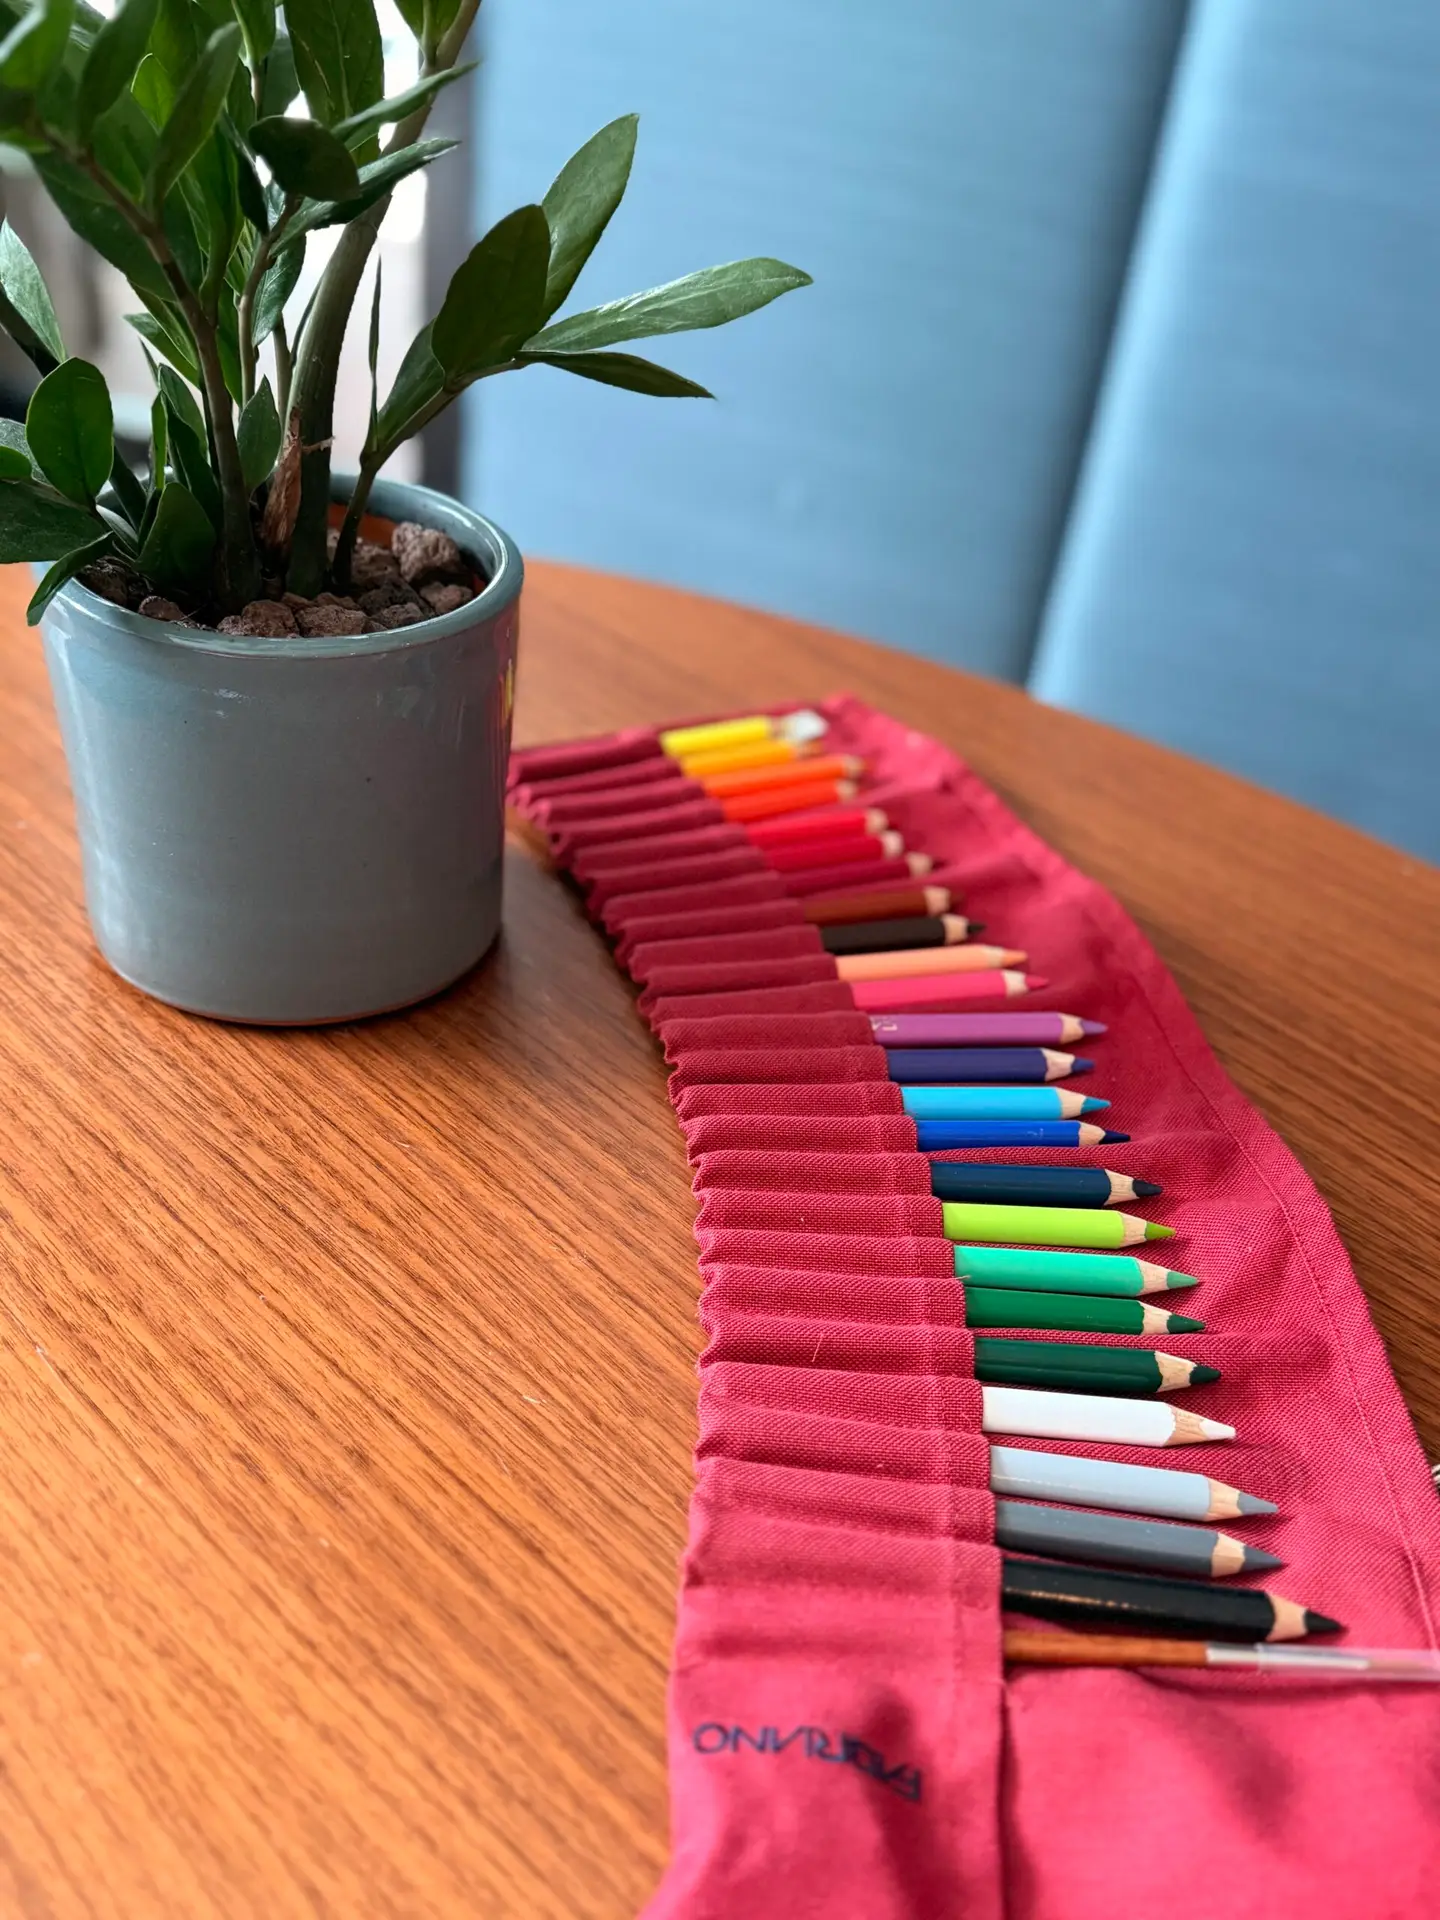
You can draw with them, layer them to build up colors and achieve rich tones, or use them for precise details and shading. They’re extraordinarily versatile and deeply satisfying to use. That is why so many professional illustrators use nothing else.
On my recent trip to Italy, I stopped at Rome’s airport and found the most beautiful shop filled with Fabriano papers and colors. I honestly felt like a kid in a candy store!
But… I made a promise to myself not to buy anything I already have at home (trying to be good 😄).
Still, I discovered these amazing watercolor pencils — you add water and they come to life — and I’m completely in love! they glide on paper like butter. They’re more of an investment, but they’re genuinely worth it.
PROS
- Precise and controllable great for portraits
- No drying time just pick up and start immediately
- Layerable for deep, rich color
- Portable and mess-free
- Polychromos are water-resistant and smudge-proof
- Fabriano are water based so you can reactivate with water
CONS
- Quality varies enormously — cheap sets frustrate beginners
- Wax-based pencils (Prismacolor) can break easily
- Slow to build coverage over large areas
- Good sets are expensive upfront
Budget pick: Crayola or Staedtler for learning. When you’re ready to upgrade: Faber-Castell Polychromos (oil-based, excellent lightfastness) or Prismacolor Premier (wax-based, buttery and blendable) or my new favorite colors Fabriano colors.
3. Charcoal
Charcoal is a drawing material that creates rich, velvety black marks. It ranges from bold dramatic strokes to delicate light shading depending on pressure and type.
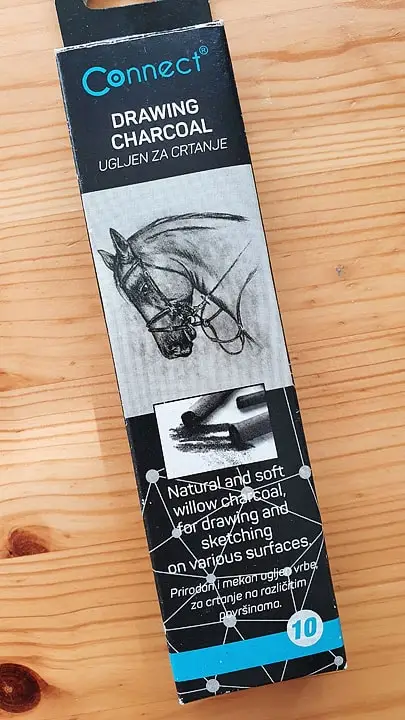
Charcoal is expressive, free, and forgiving in a way that pencil never quite is. It creates a matte, dramatic effect — perfect for dynamic, emotive drawings. Yes, your hands will get dirty. That is genuinely part of the fun.
It comes as sticks (vine charcoal — softest, most erasable), compressed charcoal (darker, harder to erase), charcoal pencils (cleaner, more precise), or powder. For beginners, vine charcoal sticks are the most forgiving.
PROS
- Vine charcoal erases beautifully — very forgiving
- Covers large areas quickly
- Incredible depth and tonal range
- Encourages loose, expressive mark-making
- Affordable — sticks cost almost nothing
CONS
- Smudges very easily — must use fixative spray
- Messy — hands, clothes, work surface all get dusty
- Compressed charcoal is very hard to erase
- Not suitable for fine detail work
Always use fixative spray to protect finished charcoal drawings. Hairspray works in a pinch — but a proper fixative (like Krylon or Winsor & Newton) gives a more archival result. Spray lightly from a distance.
4. Waterproof fine liner pens
Fine liner pens for art use pigment-based, waterproof ink that bonds permanently to paper, meaning you can paint watercolor directly over your lines without any bleeding or smearing.
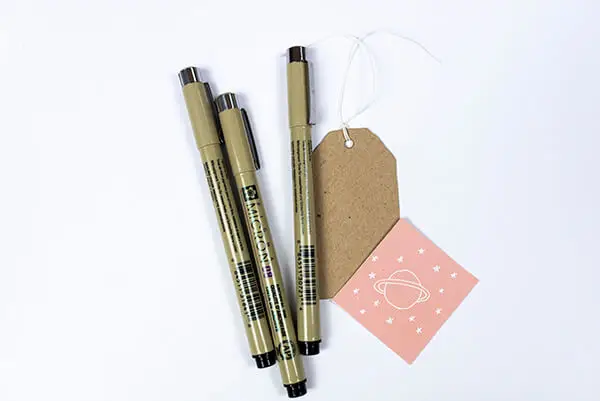
Pens are magical, if you ask me. Perfect for crisp lines, intricate patterns, outlining, doodling, crosshatching, or inking a pencil sketch before watercolor. They come in different tip sizes so you can work from ultra-fine detail to broader expressive strokes.
My two permanent favourites after years of testing: Sakura Pigma Micron (archival, multiple sizes, beloved by illustrators worldwide) and UniPin Fineliners (waterproof, consistent, even used by architects). Both have never let me down.
PROS
- Truly waterproof — safe over and under watercolor
- Fade-proof archival ink for lasting pages
- Multiple tip sizes for every line weight
- No smearing while drawing — clean crisp lines
- Affordable and widely available
CONS
- Will clog and die on acrylic paint — avoid painted surfaces
- Fine tips are delicate — pressure on texture ruins them
- Black ink only for most sizes
- Not suitable for heavy textured backgrounds
Never use fine liner pens on acrylic-painted backgrounds — the paint clogs the nib permanently. For painted or textured surfaces, use Posca paint pens or Edding markers instead. → See my full pen guide
5. Kneaded eraser
A kneaded eraser is a pliable, putty-like erasing tool that you mould into any shape — allowing precise erasing of tiny details without leaving any crumbs on your page.
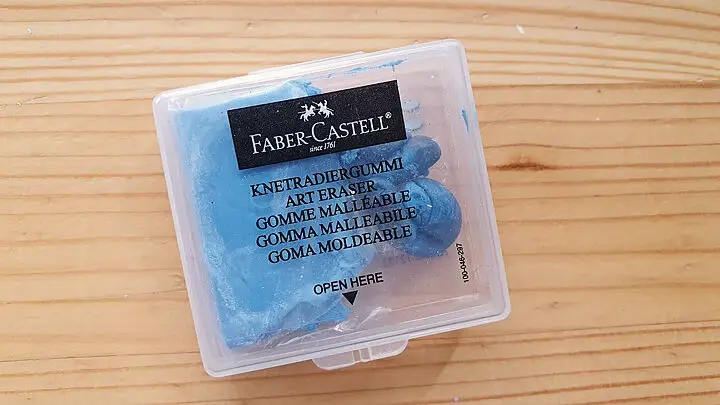
This is one of those tools you don’t know you need until you have one, and then you can’t imagine drawing without it. Shape it into a fine point to erase tiny details in a portrait. Roll it gently over a pencil sketch to lighten (not fully erase) the marks before inking or painting. No crumbs. No smears. Just clean. My go to eraser is Faber Castell Eraser
PROS
- Zero crumbs — no mess on your page
- Shapeable for precise erasing of tiny details
- Gentle enough to lighten (not fully erase) pencil
- Lasts a very long time — kneading cleans it
- Very affordable
CONS
- Doesn’t fully erase heavy graphite — use vinyl eraser for that
- Picks up oils from hands if stored loosely
- Leaves faint residue on very smooth paper
When sketching a face before watercolor, roll the kneaded eraser gently over your drawing to lighten — not erase — the pencil. You’ll barely see the lines under paint, but they’re still there to guide you.
6. Blending tools — stumps, tortillions & cotton buds Added
Blending tools are smooth, tightly rolled paper or cotton tools used to smear and soften graphite, charcoal, or coloured pencil marks — creating seamless gradients and smooth shadow transitions.
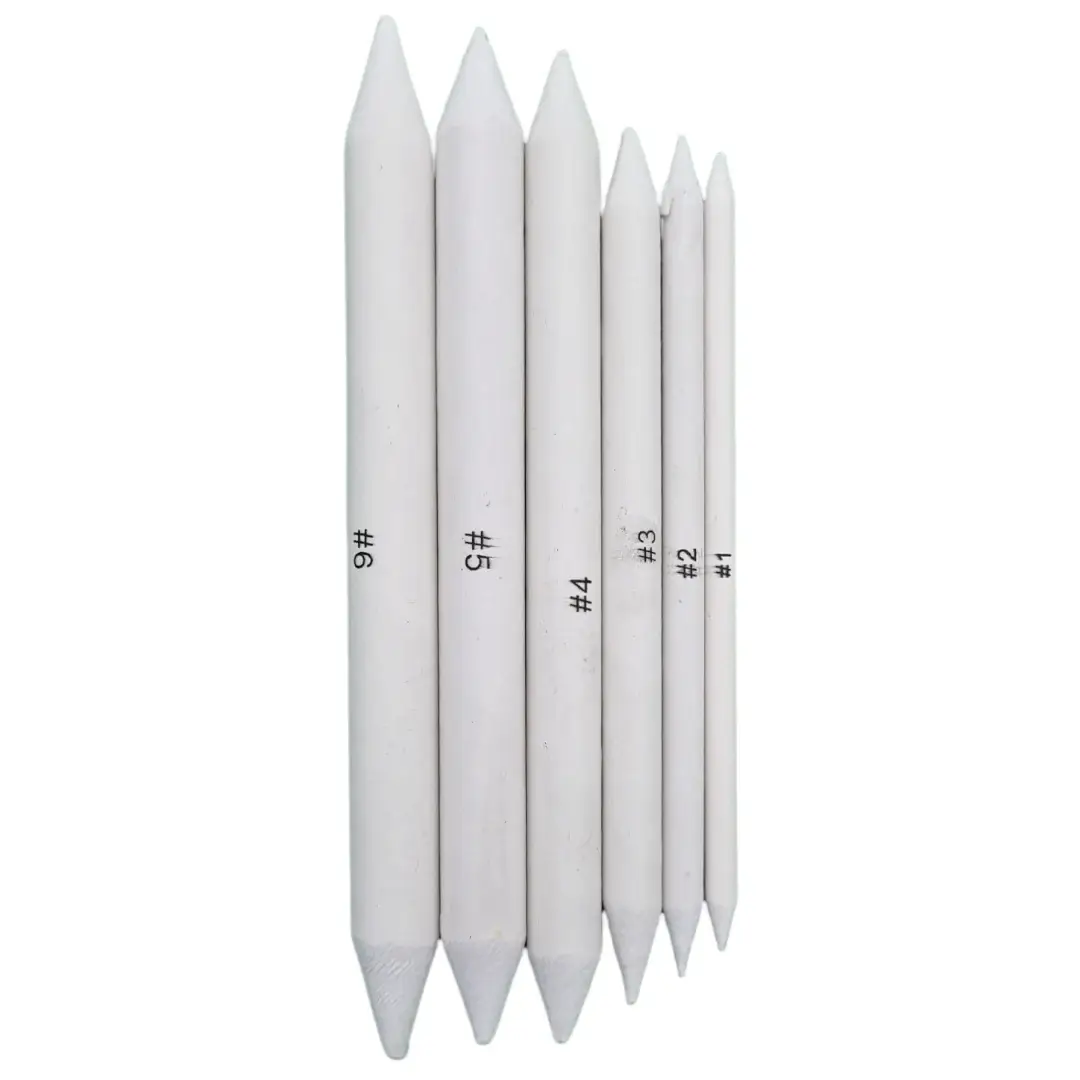
If you’re using pencil or charcoal and want smooth shading — rather than visible pencil strokes — you need a blending stump or tortillion. A tortillion is a rolled cone of paper; a blending stump is similar but flatter. Both smear graphite or charcoal into silky gradients. In a pinch, a cotton bud works beautifully for smaller areas.
PROS
- Creates smooth, professional-looking shading
- Inexpensive — a set costs next to nothing
- Works on graphite, charcoal, and coloured pencil
- Cotton buds are a free substitute you already have
CONS
- Over-blending loses texture and detail
- Gets dirty and can transfer graphite to wrong areas
- Clean with sandpaper between uses
Use the tip of the blending stump for small, precise areas and the side for blending large shadow areas. Clean your stump on a sandpaper block between sections to avoid transferring dark graphite into lighter areas.
Painting art tools and materials
From beginner-friendly acrylics to the magic of watercolor
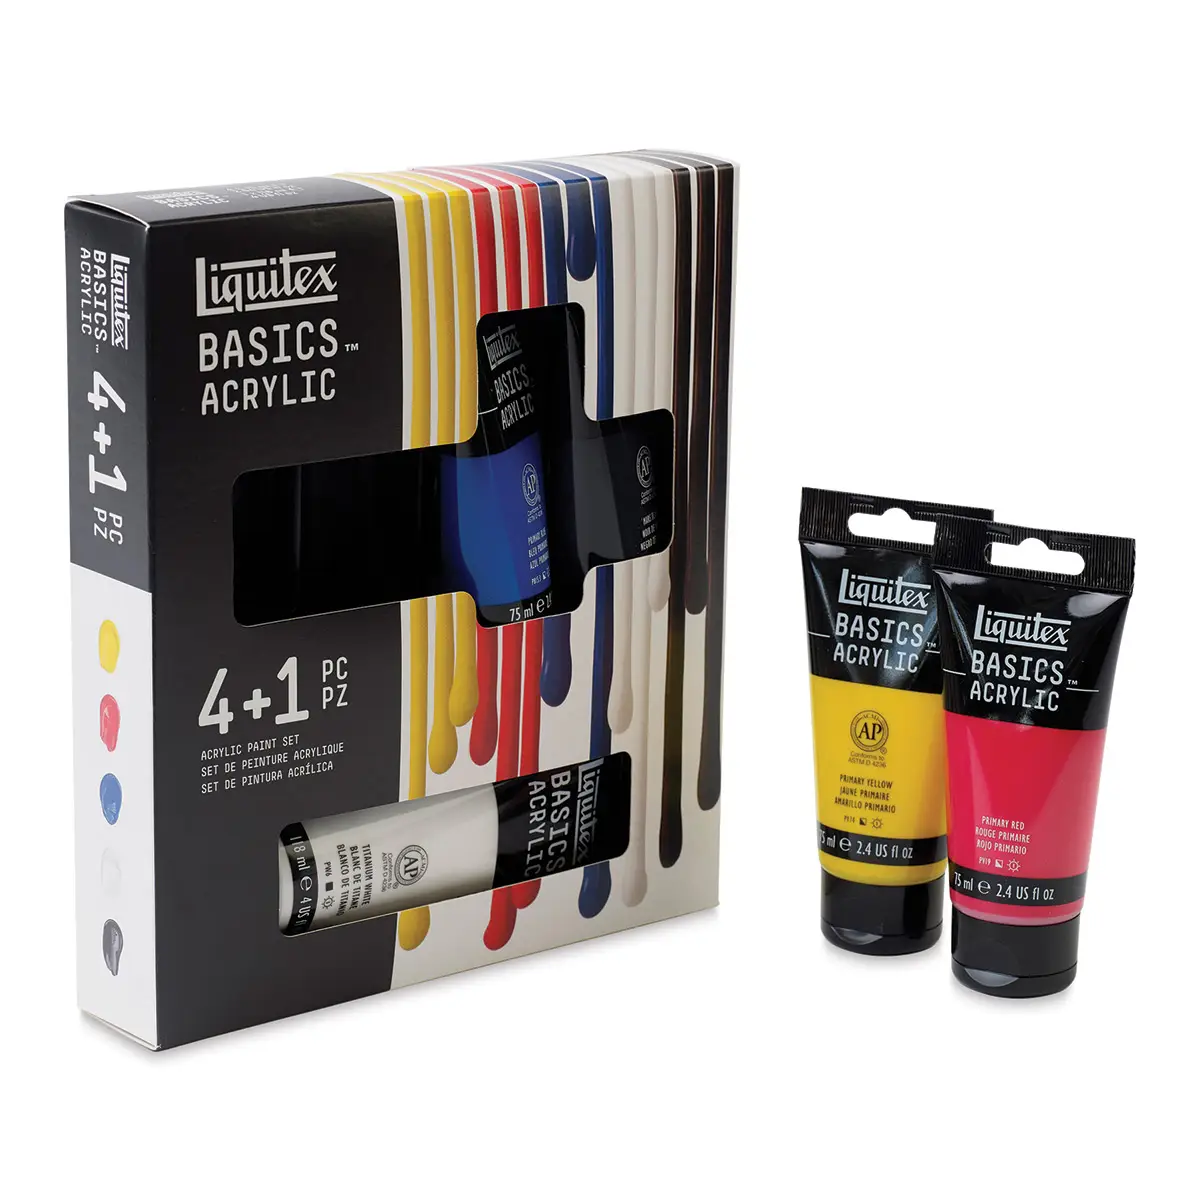
7. Acrylic paint
Acrylic paint is a water-based, fast-drying paint that can be used thickly for bold opaque coverage or thinned with water for translucent washes — making it the most versatile beginner painting medium.
This is my most-reached-for painting medium. Acrylics work on canvas, paper, wood, fabric — and they clean up with water. The colours stay vibrant after drying. They dry fast, which is great when you’re layering mixed media but requires quick working if you want to blend wet-into-wet.
My top pick: Liquitex Basics — genuinely good thickness, beautiful pigment, and more affordable than Golden. Blick Studio is also excellent at a similar price point. For a tight budget, any craft store acrylic will do for backgrounds and practice.
PROS
- Works on virtually any surface
- Dries fast — great for layering
- Cleans up with water — no solvents
- Vibrant, opaque colours
- Student-grade sets are very affordable
CONS
- Dries fast — hard to blend wet-into-wet
- Dries slightly darker than wet colour
- Can crack if applied too thickly and then flexed
- Cleaning brushes immediately is non-negotiable
Start with student-grade paint and practice freely — without worrying about ruining expensive tubes. When you notice the student paint limiting you (muddy colours, poor coverage), that’s your signal to upgrade.
Budget: Craft Smart or Apple Barrel · Mid-range: Liquitex Basics, Blick Studio · Professional: Golden, Liquitex Professional
From beginner-friendly acrylics to the magic of watercolor
8. Oil paints
Oil paint is a slow-drying painting medium where pigments are suspended in linseed or safflower oil — allowing extended blending time, rich luminosity, and extraordinary depth that no other medium quite replicates.

Oil paints feel luxurious in a way that’s hard to describe until you’ve used them. The colours stay workable on the palette for hours — sometimes days — giving you all the time you need to blend, layer, and correct. The richness and luminosity of a finished oil painting is genuinely different from any other medium.
For beginners: Winton by Winsor & Newton or Paul Rubens — both affordable, smooth, and lovely to work with. For artist-grade: Winsor & Newton Artists’ or Gamblin.
PROS
- Long working time — blend freely without rushing
- Extraordinary depth and luminosity
- Colours don’t shift when drying
- Perfect for smooth gradients and subtle transitions
CONS
- Very slow drying — layers take days or weeks
- Requires solvents (odourless mineral spirits) for cleaning
- Not suitable for art journaling pages
- More setup and cleanup than acrylics
Oil paints are not ideal for art journal pages — they never fully dry on absorbent paper and can bleed through. They shine on primed canvas or canvas paper. Start with a small set of the essentials: titanium white, burnt umber, ultramarine blue, cadmium yellow, and alizarin crimson.
9. Watercolor
Watercolor is a transparent, water-activated painting medium where pigment suspended in a water-soluble binder can be diluted to create anything from pale washes to saturated color — and uniquely, always reactivates with water even after drying.
Watercolor is a transparent, water-activated painting medium where pigment suspended in a water-soluble binder can be diluted to create anything from pale washes to saturated colour — and uniquely, always reactivates with water even after drying.
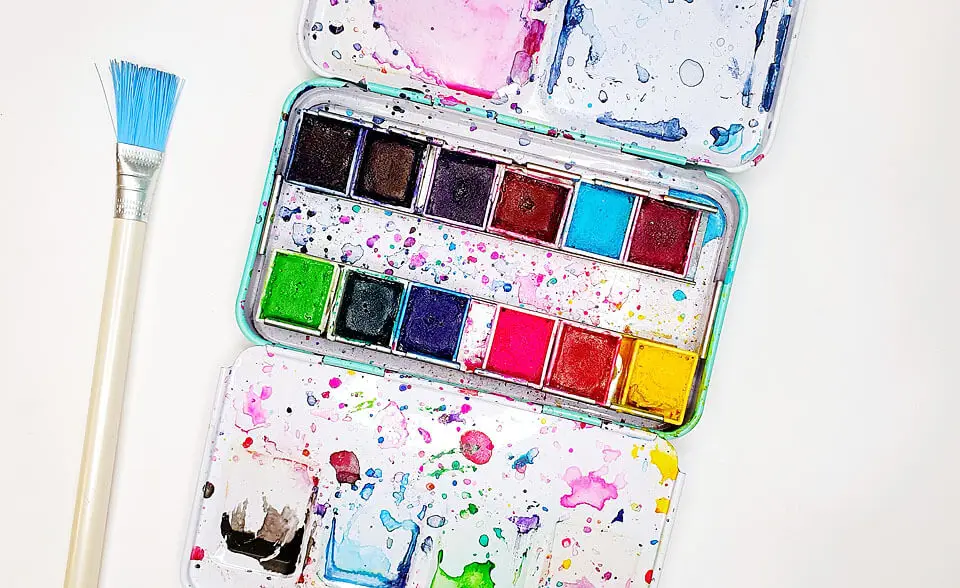
Watercolour is the medium that hooked me on painting, and it hooks most of my students too. The way colours bloom and blend on wet paper is simply magical — you can’t force it, you can only guide it, and that surrender is part of what makes it so meditative.
For beginners: Grabie 50-colour set or any student-grade pan set. When you’re ready to upgrade: Winsor & Newton Cotman, then eventually W&N Professional or Daniel Smith.
PROS
- Beautiful, luminous washes and gradients
- Reactivates with water — never truly “wastes”
- Portable and easy to set up
- Perfect for art journal pages
- Student sets are inexpensive
CONS
- Transparent — can’t paint light over dark (unlike acrylics)
- Needs thick paper (300gsm) or it buckles badly
- Hard to control — requires practice to guide
- Professional colours are expensive
Use a waterproof pen (Micron or UniPin) to draw first, then paint watercolor on top — the lines stay crisp and never bleed. → My waterproof supplies guide
10. Paper and art journals
Your paper choice determines what’s possible — the thicker and more textured the paper, the more wet media it can handle without buckling, bleeding, or disintegrating.
I use both paper pads and art journals — often cutting large sheets of watercolor paper down to the size I want. For art journaling, I mostly reach for mixed media and watercolor paper (300gsm) because they handle paint, water, and glue without complaint. My go to is Canson watercolor paper
PAPER TYPES BY USE
- Smooth drawing paper — pencil, pen, coloured pencil
- Mixed media (130–140gsm) — light washes + acrylic
- Watercolor (300gsm) — heavy wet media, no buckling
- Canvas paper — oil and heavy acrylic work
AVOID THESE MISTAKES
- Printing paper for watercolor — it disintegrates
- Thin notebook paper for acrylics — bleeds through
- Textured watercolor paper for fine pen detail
- Buying expensive paper before knowing your medium
The golden rule: the more wet media you plan to use, the heavier the paper you need. Start with a mixed media pad — it handles a surprising range of techniques and won’t let you down. You can read more about the best paper to choose here
READY TO PUT THESE SUPPLIES TO USE?
Start Your Free Art Journal Today
My free Art Journal Starter Kit gives you everything you need to make your first pages — step by step, no experience required. Grab it and start creating this week.
Whether you’re drawing or painting, having the right stuff at your fingertips is key. It’s all about finding what works best for you and your creative vision.
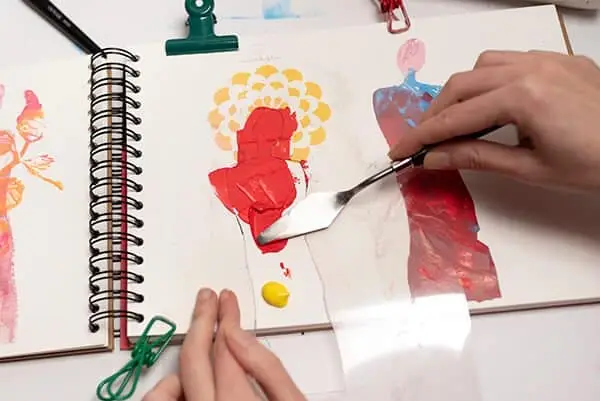
12. Palette knife and painting knife
A palette knife is a flat, flexible tool used to mix paint on your palette; a painting knife has an angled, offset blade used to apply paint directly to paper or canvas, creating texture and interesting mark-making effects.
A palette knife is a flat, flexible tool used to mix paint on your palette; a painting knife has an angled, offset blade used to apply paint directly to paper or canvas, creating texture and interesting mark-making effects.
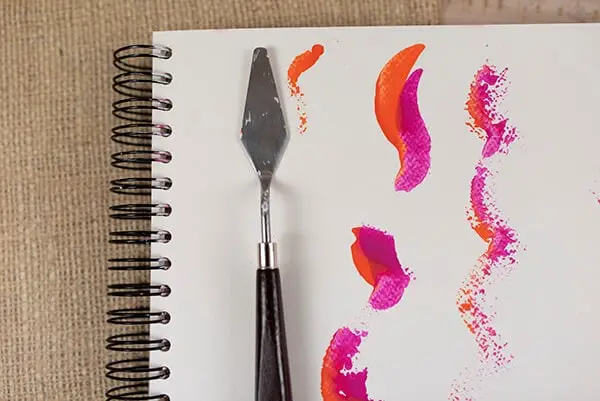
These are genuinely different tools — though both look like small spatulas. I use painting knives mostly for applying thick acrylic paint, creating texture with texture paste, or mixing paint on my palette. The marks they make are unlike anything a brush can achieve — chunky, gestural, and satisfying.
No painting knives? A piece of thick cardboard or an old credit card does the job perfectly well for spreading and texturing.
PROS
- Creates texture no brush can replicate
- Easy to clean — just wipe off
- Can mix paint without contaminating brushes
- Cheap cardboard substitute works surprisingly well
CONS
- Limited control for fine detail
- Hard edges — not good for smooth, blended areas
- Not useful for watercolor
→ See my palette knife painting ideas post — there are some beautiful things you can do with these that you’d never expect
13. Painting palette
A painting palette is any surface used to hold and mix your paint colours during a session — it doesn’t need to be a purchased palette at all.
I’ve used ceramic plates, jar lids, plastic palettes from school, pieces of glass, old tiles, and even wax paper. The only requirement: enough space to hold your colours and mix without them running into each other. My current palettes are gloriously messy and I very rarely clean them so dried acrylic on a ceramic plate just becomes your next background layer.
Wet palettes (with a damp sponge and damp palette paper) keep acrylic paint workable for hours. Brilliant for longer sessions or warmer climates where paint dries almost instantly.
14. Masking tape
Masking tape is a low-tack, removable tape that temporarily protects areas of your paper or canvas from paint — allowing you to create clean edges and reserved white space.
One of those humble tools that’s inexplicably satisfying to use. Tape off a border around your watercolor painting, paint the whole page, then peel — the crisp white frame that appears is genuinely gorgeous. In art journaling, use it to reserve space for writing by painting around it, then removing to reveal a clean journaling area.
Use painter’s tape or artist masking tape — not regular office tape. Regular tape pulls up the paper surface when removed. Always press the edges down firmly before painting to prevent paint bleeding underneath.
15. Washi Tape
Washi tape is also low-tack, removable tape and usually it has beautiful design that you can use as protection, to cover mistakes or to add texture.
I love using it in my art journal for the reasons I mentioned.
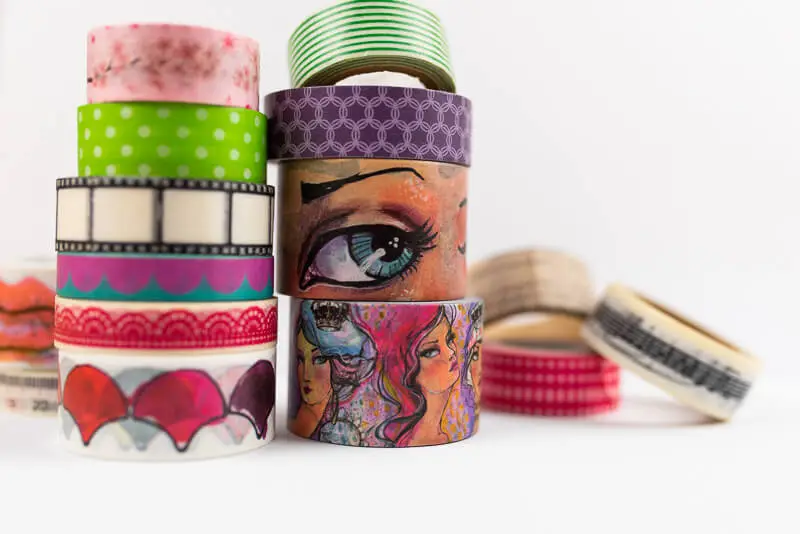
Use painter’s washi tape to add interest to your art journal. Read more on how you can use washi tape in your art journal
16. Sponges
Sponges are porous tools that create organic, textured paint effects that brushes can’t replicate — kitchen sponges work just as well as purpose-made art sponges.
I reach for kitchen sponges constantly for dabbing acrylic paint — the texture they create is wonderfully organic. Cut your sponge into a specific shape and it becomes an instant custom stamp. Don’t press too hard or you’ll lose the shape entirely and get a paint blob.
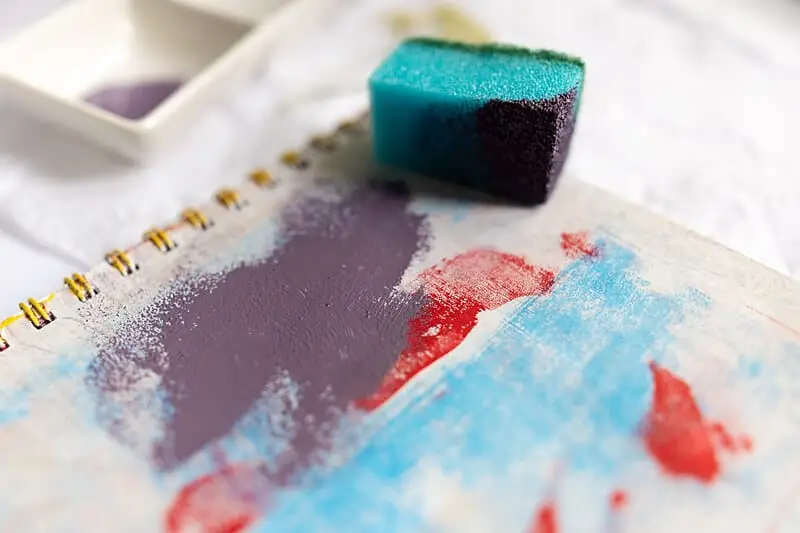
Dab rather than drag. Press straight down and lift cleanly — don’t smear sideways. Varying pressure gives beautiful layered texture effects, especially over a contrasting background colour.
17. Stencils
A stencil is a sheet with cut-out shapes or patterns that you can apply paint, ink, or texture paste through — instantly creating detailed designs without needing to draw them freehand.
We all love stencils. A gazillion designs, endless reuse, and they work with acrylic, watercolor, inks, texture paste, gesso — almost any medium you can apply with a brush or sponge. For maximum versatility, invest in geometric/abstract shapes and alphabets first — these are less dated than highly specific decorative stencils.
Hold the stencil completely flat against the paper while applying paint, and lift it cleanly while the paint is still slightly wet. Lifting a stencil too late can cause the edges to blur as wet paint moves.
18. Brayer
A brayer is a cylindrical roller tool used to apply paint in smooth, even strokes across a surface — or pressed unevenly to create distinctive grungy, textured marks.
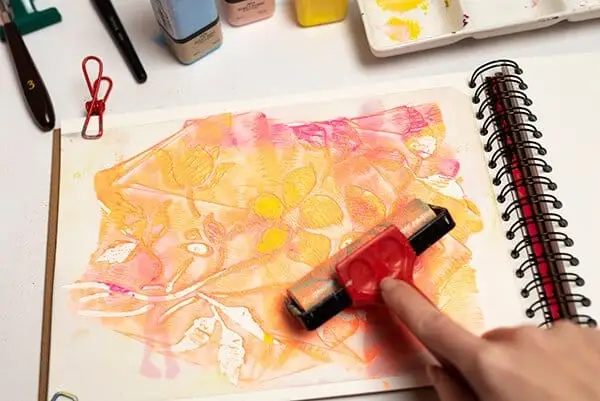
The brayer is one of my favourite art tools — possibly because I love watching the marks it makes and how paint flows from a roller onto paper. You can cover a whole page evenly, or go over a stencil to create beautiful layered texture. The one thing I’ll be honest about: cleaning it requires doing it immediately after use. I have learned this the hard way.
Clean immediately — the moment you’re done. Roll it across a damp paper towel or rinse under running water right away. Dried acrylic on a rubber brayer is very difficult to remove completely.
19. Gesso Added
Gesso is a thick, chalky white primer used to prepare surfaces for painting — it creates a receptive, slightly textured surface that paint adheres to beautifully, and can also be used as a painting medium in its own right.
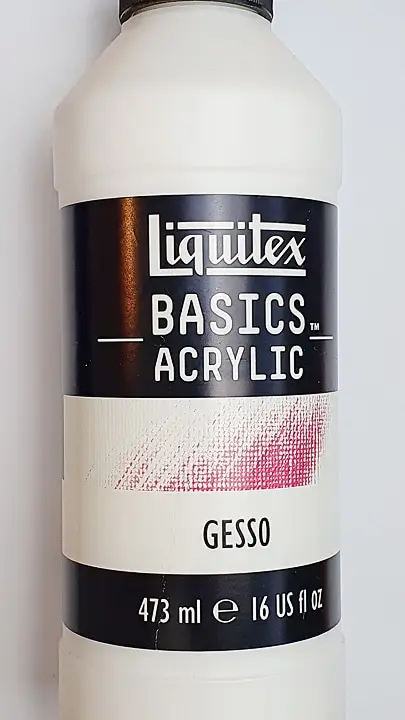
Gesso deserves its own entry here because in art journaling especially, it is absolutely essential. You use it to prime a journal page before painting (so paint sits on the surface rather than soaking in), to cover areas you want to paint over, to create texture by applying it thickly or through a stencil, or to tone a canvas before starting a painting.
White gesso is the standard, but black and clear gesso also exist — black is wonderful for dark, moody pages where you want paint to glow against the background.
How to use gesso in an art journal: apply a thin coat with a brush or palette knife to your page, let it dry, then paint directly on top. The gesso prevents paint from soaking into the paper and makes colours appear more vibrant. It’s one of the first things I teach every beginner.
Apply gesso in thin layers and let each dry completely before adding another. Thin it slightly with water for a smoother finish. → Read my complete gesso guide for art journaling
20. Canvas
A canvas is a tightly woven fabric stretched over a wooden frame, primed with gesso — providing a sturdy, textured surface designed specifically for acrylic and oil painting.
Canvas is exciting — it’s what you imagine when you picture “real” painting. But it can also feel intimidating. My advice: practice everything in an art journal first. Get comfortable with colour mixing, composition, and technique on forgiving journal pages before committing to a canvas. When you do go to canvas, start with small pre-stretched and primed canvases — they’re ready to use straight away.
Start with small canvases (20×20cm or similar). They’re less intimidating and perfect for practicing compositions before scaling up. Canvas board is a cheaper alternative and perfectly good for learning.
Disclaimer: Some links in this post may be affiliate links. This means that if you purchase something through that link, I get a small commission, at no extra cost to you.
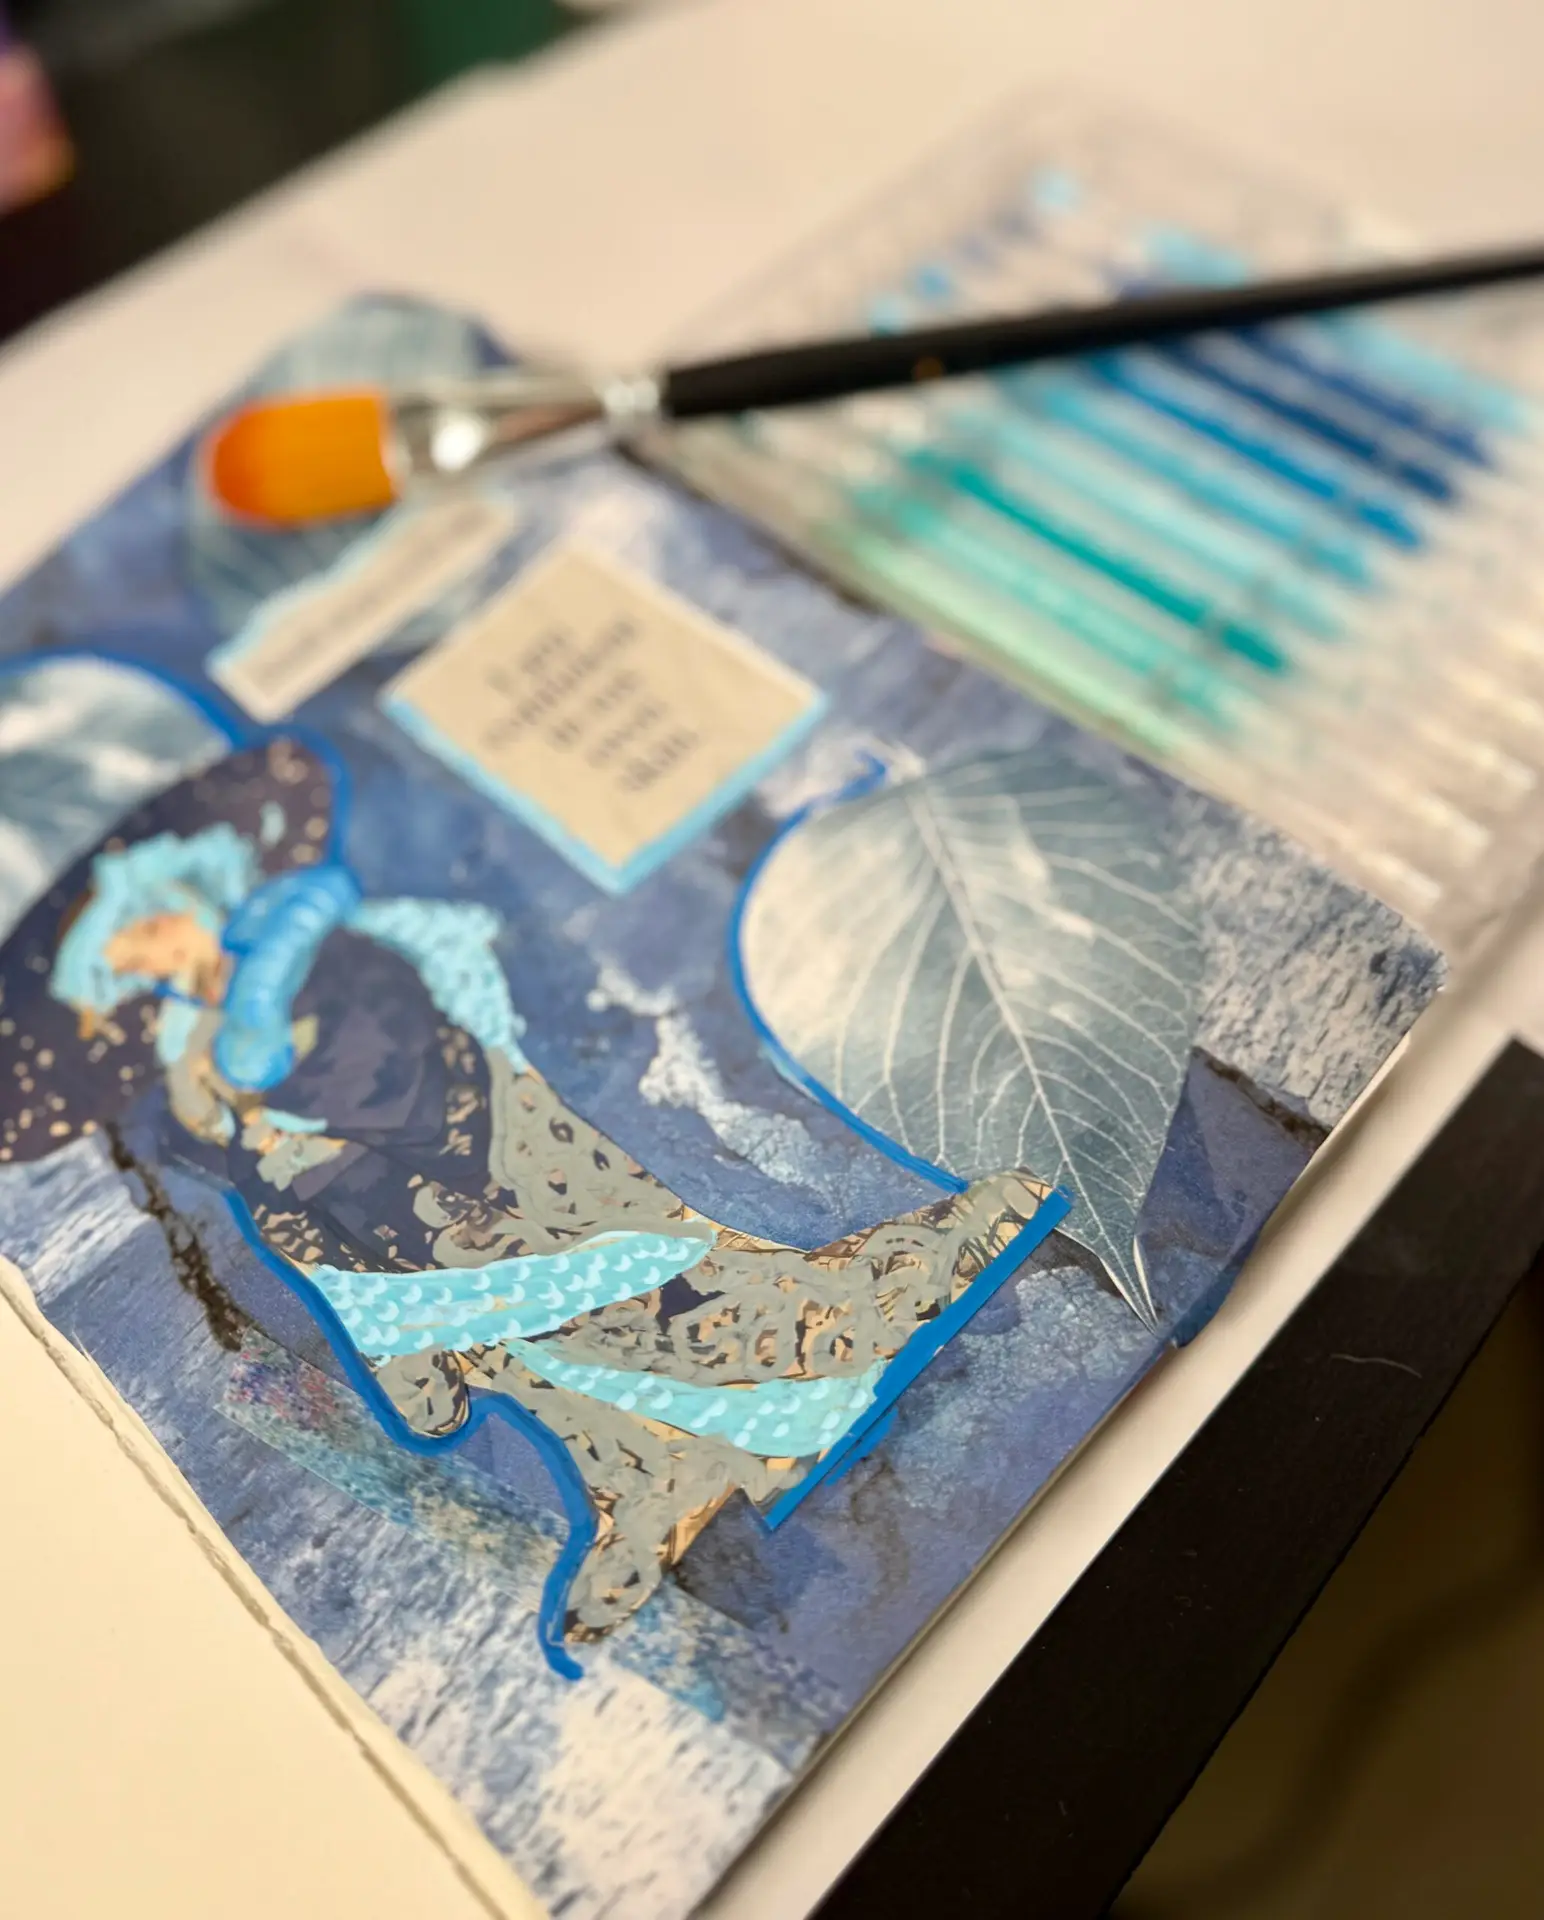
How these tools work in an art journal
All of the above — through the lens of your art journal practice
Art journaling is where almost all of these supplies come together. A single spread might use graphite pencil to sketch a face, waterproof fine liners to ink the details, watercolor for the skin and hair, acrylic for a bold background, a sponge for texture, a stencil for pattern, and gesso to tie it all together. The art journal is the best possible testing ground — there are no mistakes, only experiments.
DRAWING IN YOUR JOURNAL
Sketch with HB pencil → ink with UniPin → erase pencil with kneaded eraser → paint over with watercolor.
PAINTING BACKGROUNDS
Gesso the page → acrylic paint with flat brush or brayer → stencil a pattern on top → let dry → draw your subject over it.
Frequently asked questions about art tools and materials
What art supplies do I need to start drawing and painting?
For absolute beginners, start with three things: an HB graphite pencil (for drawing), a small set of acrylic paint (the most versatile medium), and one flat and one round brush. Everything else can wait until you actually need it. Buying too many supplies at once creates overwhelm and expense without improving your art.
For absolute beginners, start with three things: an HB graphite pencil (for drawing), a small set of acrylic paint (the most versatile medium), and one flat and one round brush. Everything else can wait until you actually need it. Buying too many supplies at once creates overwhelm and expense without improving your art.
Art materials are consumable — they get used up as you create. Paint, paper, graphite, and ink are materials. Art tools are instruments that help you apply those materials — brushes, palette knives, stencils, and brayers are tools. Tools last for years; materials need replacing.
Acrylic paint is the best starting point for most beginners. It’s water-based (easy cleanup), dries fast, works on almost any surface, and student-grade sets are affordable. Watercolor is second-best — beautiful and portable, but requires thicker paper and a different approach. Oil paint is wonderful but demands more patience and setup.
Yes — mixed media is the whole point of art journaling. The key is paper weight: you need at least 140gsm (mixed media weight) for light watercolor washes over acrylic, and 300gsm watercolor paper for heavier wet work. Always let each layer dry completely before adding the next.
No. A mid-range synthetic brush set is perfectly adequate for beginners and even intermediate artists. The difference between cheap and expensive brushes is in how well they hold their shape over time. Start with affordable synthetics, take care of them by cleaning immediately after use, and upgrade when you notice your brush limiting your results.
Use at least 300gsm (140lb) watercolor paper — anything lighter will buckle badly when wet and make painting frustrating. Cold-pressed watercolor paper (slightly textured) is the standard choice and works well for most techniques. Hot-pressed (very smooth) is better for fine detail and illustration work.
Gesso primes your journal page so paint sits on the surface rather than soaking into the paper fibres. It makes colours more vibrant and creates a beautiful slightly textured ground. It’s also used to cover up previous work you want to paint over, to create raised texture through stencils, or to tone a page before starting. It’s one of the most essential supplies for mixed media art journaling.
A kneaded eraser is a pliable, clay-like erasing tool you can mould into any shape. Unlike regular erasers it leaves no crumbs, can be shaped to a fine point for erasing tiny details, and can lighten (rather than fully erase) pencil marks — which is perfect when you want to keep a faint sketch visible under paint. It’s an inexpensive tool that dramatically improves the drawing experience.
Start with student-grade supplies and stay there until you notice the supplies limiting your results. Student paint is fine for learning. When you start finding that your colours are muddy, your coverage is patchy, or your pencils break constantly — that’s your signal to upgrade one supply at a time. There’s no value in expensive tools when you’re still building fundamental skills.
What I want you to remember: you do not need all 18 of these to make beautiful art. Start with the three in the beginner kit above, get comfortable with them, and then let your curiosity lead you to the next one. Every supply on this list was once new and unfamiliar to me too.
If you only have a pencil and a piece of paper right now — that is enough to start. The best art journalers I know aren’t the ones with the fullest supply drawers. They’re the ones who just keep showing up to the page.
“What the heck, just start!”
Salwa · Artful Haven
MA in Art · Art journaling teacher · Every supply in this post has been personally tested in my own mixed media practice. I help beginner artists start art journaling with zero overwhelm.
artfulhaven.com
Disclaimer: Some links in this post are affiliate links. If you purchase through a link, I earn a small commission at no extra cost to you. I only ever recommend supplies I’ve personally used and genuinely love.