Top 5 Basic Drawing Tools Every Beginner Can Use (Plus Optional Ones)
Do you want to start drawing but wonder about the basic drawing tools for beginners? I’m glad you’re here because in this post you’ll learn what these basic tools are and where to get them.
I just want to remind you that you don’t have to get them all to be able to draw magnificent things. Choose the ones you believe will be most useful to you and your drawing skills (and your budget, too).
I’ll also share additional drawing tools that can help you get the best drawing results and maybe help you draw things more easily.
Basic drawing tools
Here are the basic drawing tools you can use as a beginner.
- Pencils
- Pens
- Erasers
- Paper
- Paper stumps
Disclaimer: Some links in this post may be affiliate links. This means that if you purchase something through that link, I get a small commission, at no extra cost to you.
Pencils
Pencils are the most basic drawing tool and we all know that, right? But what kinds of pencils to use and how to decide that?
- Mechanical – mechanical pencils are amazing tools for drawing. You don’t have to sharpen them and they always produce the same line thickness.
You can trust your mechanical pencil to always deliver the same results. I love using them when I want my pencil marks to be consistent.
You can get different mechanical pencil lead sizes. You buy them in small containers and change them as they get worn out.
- Graphite – graphite pencils are also great and the best thing about them is that they come in different mark “types”.
This means that you can get pencils varying from very light marking abilities to very bold and dark ones. They’re usually marked by letters and numbers, eg. HB, HB4, HB5, etc.
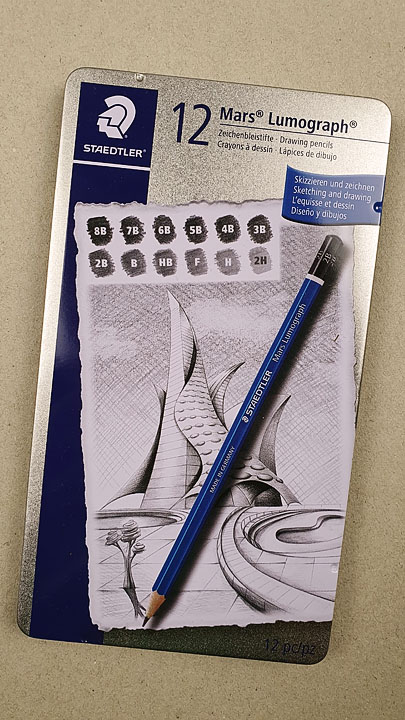
- Which to choose, a mechanical pencil or a graphite one?
I like using graphite pencils because of their range of thickness and hardness. They’re also great for shading and blending.
Mechanical pencils, on the other hand, always produce the same thickness and lightness (depending on the lead). They’re used for cleaner writing and drawing marks.
Pens
If you’ve been drawing with pencils for a while and wish to turn to pens for drawing or outlining, here are some suggestions you can use.
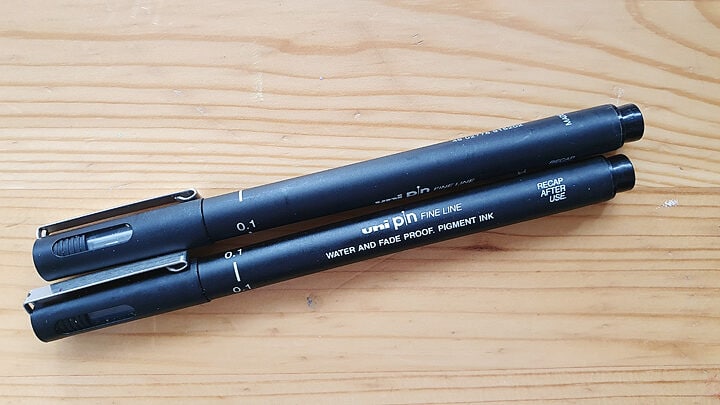
- Fineliners – I can’t stress enough how great these pens are. They usually have fine tips that help you draw thin and consistent lines.
They come in different sizes as well so you can choose from 005 sizes to bigger ones. For art journaling, I suggest black waterproof fineliners. You won’t be disappointed. - Brush pens – I don’t have much experience with brush pens but they also work great and have the flexibility of drawing thin and thick lines.
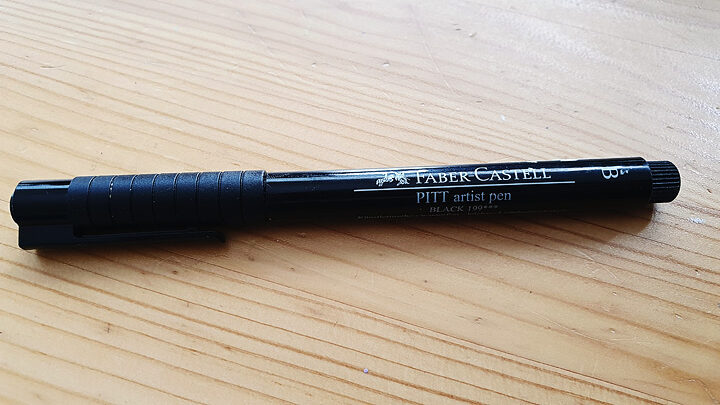
Their tip is flexible and resembles a brush. They’re great for writing or outlining your drawings. I use two: Sakura Brush Pen and the Faber Castell one.
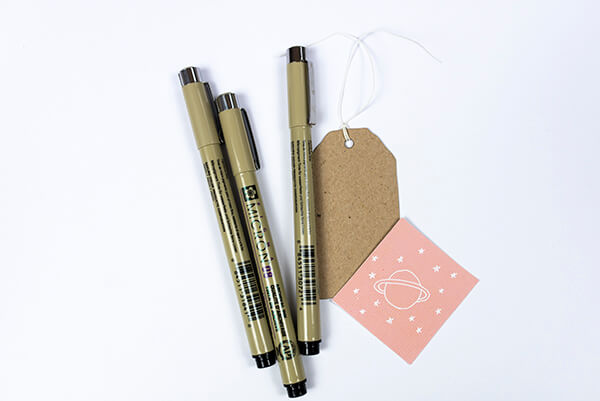
My best recommendations for drawing pens
These are the pens that I mostly use and they’ve never disappointed me. They’re waterproof so you can use them before you use paint.
Also, they come in various sizes and this gives you the freedom in drawing different lines.
Erasers
Erasers are a must if you draw with a pencil. However, some erasers do more damage than help you.
This is true for erasers students in school use. But if you want to explore better options, you can get some artist erasers that won’t leave erasing marks all over your page, smudge things, etc.
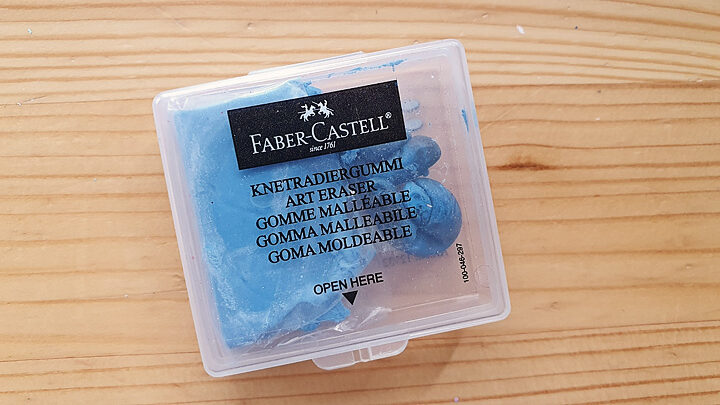
- Kneaded erasers are very popular among artists. They’re very soft and you can shape them easily. You can make them into a roller shape and just roll them over the page. It erases pencil lines. How amazing is this?
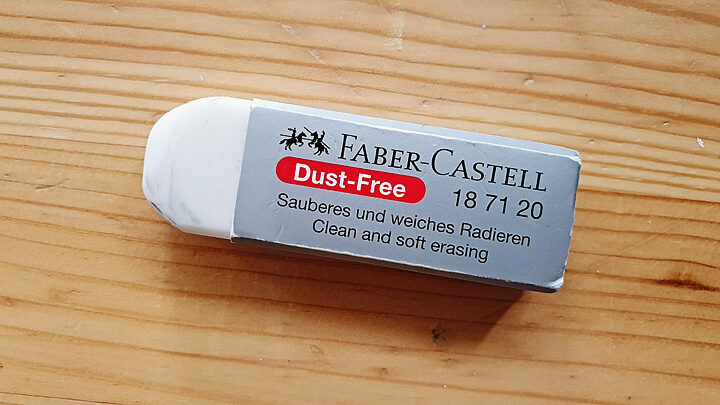
- Regular erasers – as I already said, regular erasers can smear the pencil, cause more damage, and frustrate you.
If you don’t want this to happen, you can get erasers such as Faber Castell’s No Dust Eraser. They leave no marks and don’t smear the pencil.
Overall, it’s a great eraser. (Although it does create a bit of dust, but nothing that’s distracting.) I’d always get the same one when I’m out of it.
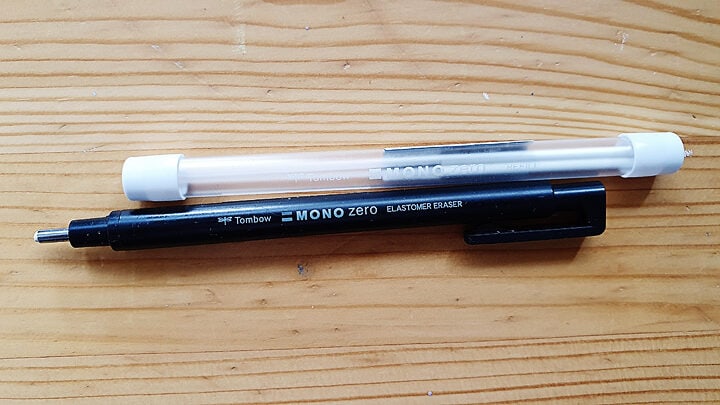
- Tiny/pencil-shaped erasers- tiny erasers are so helpful and when you draw details it is very handy when you want to erase tiny lines.
Big erasers are just clunky and not practical for this purpose. Getting a tiny eraser like the Tombow Zero Eraser will transform your drawings. You can also use them to add highlights to your drawings.
Paper
You might think this is silly, but having the right paper for drawing is a must. It usually depends on your needs and what you want to draw, or whether you’ll do much erasing, etc.
- Best drawing paper for beginners – when I just want to draw or practice drawing, I use regular paper like printing paper, paper pads with thin, smooth paper, etc. However, if I want to paint my drawing later, I need to use thicker paper.
So, here’s where it gets funky. Drawing on watercolor paper, for example, is more demanding because the pencil is harder to erase. The more texture paper has, the harder it is to erase the pencil marks you made on it. This is a good thing to have in mind.
Recommended paper pads & art journals
There are many sketchbooks and drawing paper pads out there. So, if you’d like to practice drawing, you need to find out which paper suits you best.
For me, it’s usually thicker paper because I mostly paint my drawings. For this, I use watercolor paper or mixed media paper.
Here are a few suggestions for the paper I use for drawing (plus painting):
Arteza Watercolor Book Premium
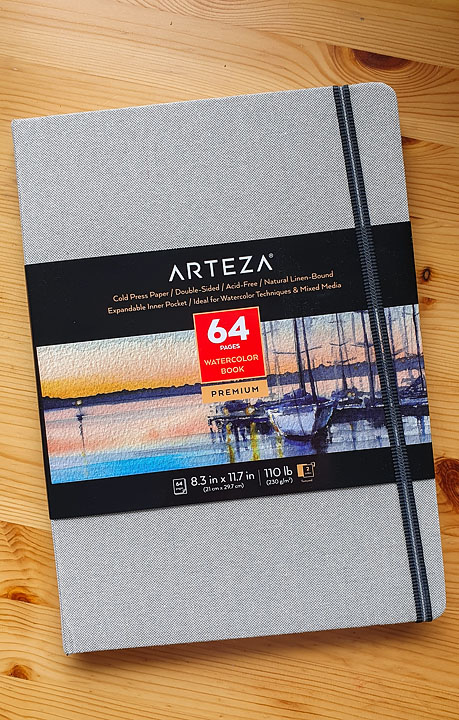
It’s a great mixed media book where I can draw without any problems. The pencil marks erase fine without issues (I use the no-dust eraser I mentioned above).
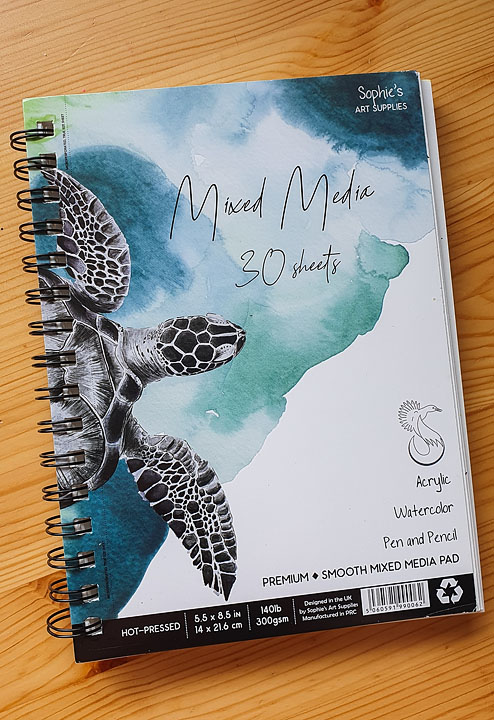
This is an excellent paper pad. Although the paper is very thick and suitable for painting, it’s also smooth for drawing with a pencil. It’s a win-win.
I got these notebooks in a set of three. They’re affordable and can be great sketchbooks.
Paper stumps
When I discovered these, my mind was blown. Before finding out about paper stumps, I used to blend my pencil with my fingers.
Well, that resulted in frustration and dirty fingers smudging the pencil back on the paper.
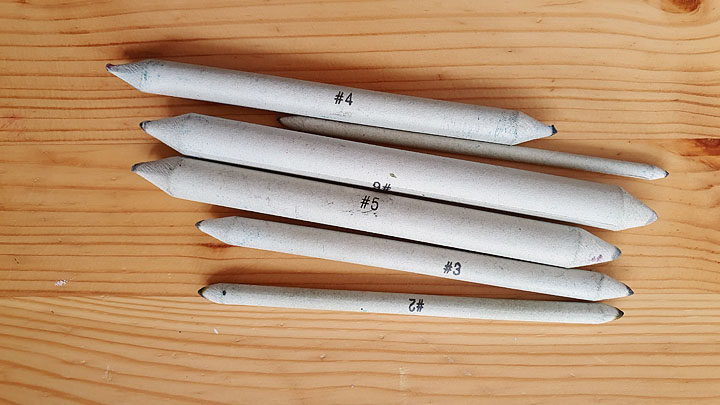
Paper stumps are a life savior. They’re used for blending pencil drawings and they do an amazing job.
They’re made of paper and are sharpened so they look like a pencil and you can get them in various sizes.
This comes in handy because you can then shade and blend even the smallest areas and the largest, too.
You sharpen them with special sharpeners, or with a knife as my husband does for me (him being very handy).
OPTIONAL drawing tools
The following drawing tools are optional and not necessary in order to produce amazing drawings, especially if you’re a beginner.
But I wanted to list them so you can see what else is out there, in case you’re super curious and want to try something new and exciting.
Colored pencils
Colored pencils are great drawing tools because you can add color even before you begin painting your drawing.
Also, when you draw with a colored pencil, you know you can’t erase it (not completely, anyway), and this gives you the freedom to make mistakes and to accept them. It makes you keep drawing without focusing on erasing all the time.
Graphite sticks
This is not my favorite tool, but it can give amazing and interesting results if you’re into trying it out.
It’s not as messy as charcoal and you can use it for sketching and shading, among others.
Due to their shape, you can create thick and thin lines, hard edges, or soft shadings.
They come in hard or smooth variants and you can usually get them in sets.
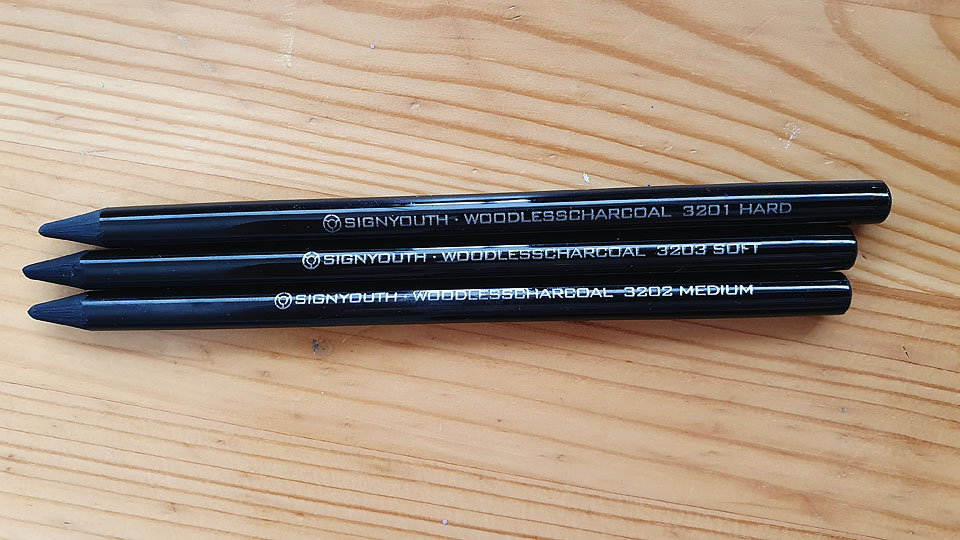
I use woodless graphite sticks, although not very often. But they’re a neat thing to experiment with.
However, they do make some mess, but not as much as charcoal so they might be a better option for beginners.
Tracing paper
Tracing paper is great for quick drawings. If you have a reference image, you can trace it with this paper and voila, you have a new drawing in minutes.
This can help you learn how to draw faces or flowers, for example.
When you draw a flower with tracing paper a few times, your hand muscles will remember the moves and strokes and you’ll be able to draw the flower easily on your own.
Charcoal sticks
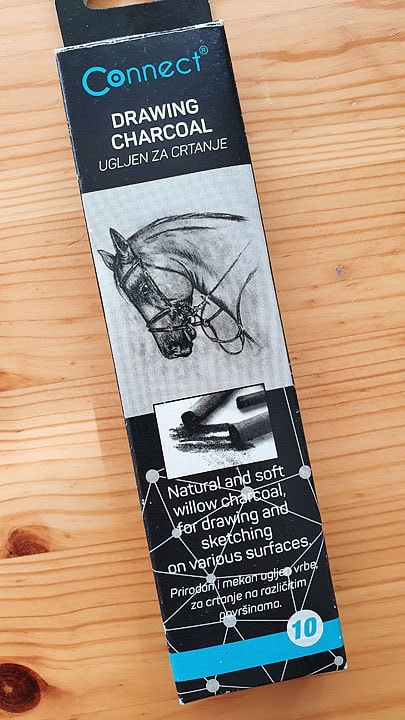
With charcoal sticks, you can get richer marks than with a pencil. They produce really bold and rich lines.
Also, it has a matte finish as opposed to graphite. If you do a test and shade a square with your graphite pencil, you’ll see how it reflects light and shows a shiny finish.
Charcoal sticks also have a powdery finish, so be careful about smudging.
Also, they can be erased without difficulty and repeatedly overlaid.
However, if you’re only a beginner in drawing, I wouldn’t recommend this tool for everything. If you want to try it out, that’s great.
But, choose a pencil or something easier to be your main drawing tool for now.
FINAL TIPS FOR BASIC DRAWING TOOLS
Now, you’ve read all about these amazing drawing tools, but I just wanted to give you a few more tips.
If you’re a beginner, start with the basic tools now, you can always explore more things later after you’re satisfied with the basic ones. A pencil seems boringly basic, but you can use it in so many different ways that it becomes really versatile.
Don’t overwhelm yourself with many supplies. Again, stick to the basics until you’ve learned how to use them effectively, and then move on to new things. This will grow your confidence without any overwhelm.
And all successful artists decide on a few tools, but not all of them. And practice with that one tool for a long time until using the tools becomes second nature.
Practice a lot and get used to your tools, whatever they are. Once you get to know your tools, your hand becomes one with them.
However, try a few different pencils, for instance, and see which one fits the best for your needs and skills.
Since you’re interested in drawing, maybe these topics can help as well:
Top 11 Art Tools And Materials for Drawing And Painting in Your Art Journal
