Palette Knife Painting Ideas for Beginners
In this post, my goal is to show you different ways you can use a painting or a palette knife in your art process and give you a few palette knife painting ideas.
What is a painting/palette knife?
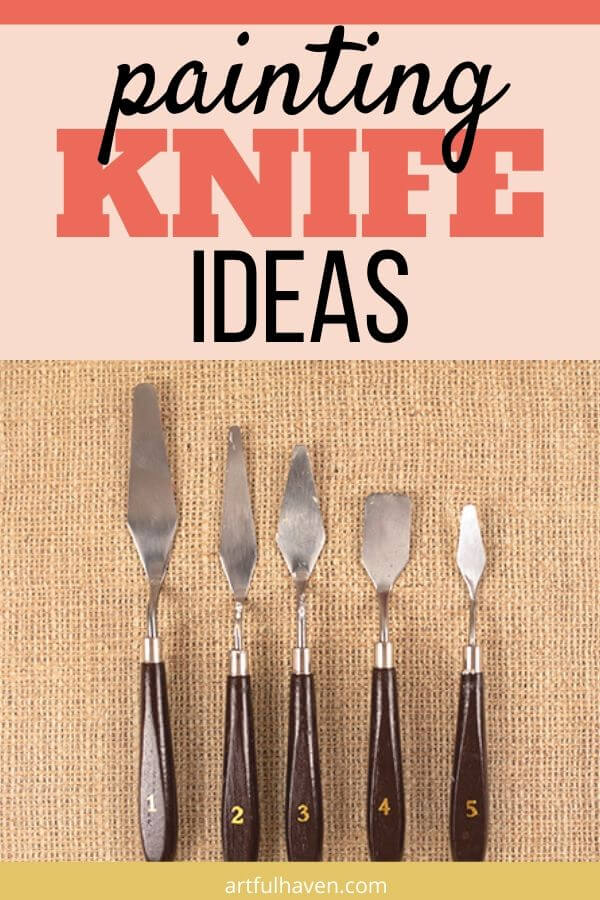
A painting knife is a painting tool with a flexible steel blade. It has a pointed tip and the blade comes in different shapes, and some are longer than others. See the photo below.
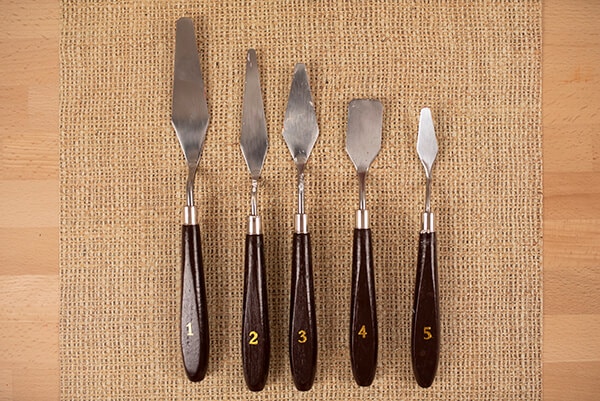
The blade is thin and easy to work with while the wooden handle is slightly bent so it lets you paint without touching the painting with your hand.
Once you try painting with a painting knife, you might leave your brushes for a while because exploring with this knife discovers the ultimate fun land. You just can’t get enough of it.
What’s the difference between a palette knife and a painting knife?
The palette knife is usually used for mixing paint on the paint palette.
The painting knife is used for applying paint.
Don’t let the terms confuse you. People often interchange these terms, so don’t worry about getting it right. And if you see me use both terms for the same purpose, just know that I’m talking about painting knives, used for applying paint.
In art journaling, I’ve heard so many artists refer to the painting tool as a palette knife.
What’s important is that you can paint with it. Period.
You won’t be wrong if you call it the palette knife. After all, they look so damn similar that it’s hard to notice the difference.
Disclaimer: Some links in this post may be affiliate links. This means that if you purchase something through that link, I get a small commission, at no extra cost to you.
Palette knife painting ideas and techniques
For these techniques and ideas, I’ll be using the set in the photo below.

Other supplies I used are:
Acrylic paint
Stencils
Ink (I used Jane Davenport’s Ink)
1. Palette knife + relief paste + a stencil
Palette knives are excellent tools when you want to create texture with relief paste and a stencil.
Relief paste is used to create a 3D effect or some kind of texture. It’s thick and when dried, the effect is awesome.
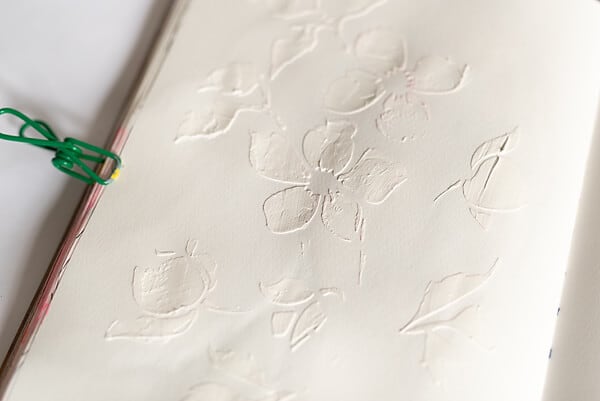
When I do a mixed media page I often start with using relief paste with these two tools.
What makes the palette knife great for this technique is its handle and blade. You can easily apply the relief paste over the stencil evenly and have a smooth finish on top.
2. Palette knife + stencil + acrylic paint
I love using stencils with palette knives. But bear in mind that for this technique to work, your paint must be thick, so don’t water down your acrylics.
Also, I’ve found that you can get the best results if you use stencils that have one open shape, like a circle, for example, without any details on it.
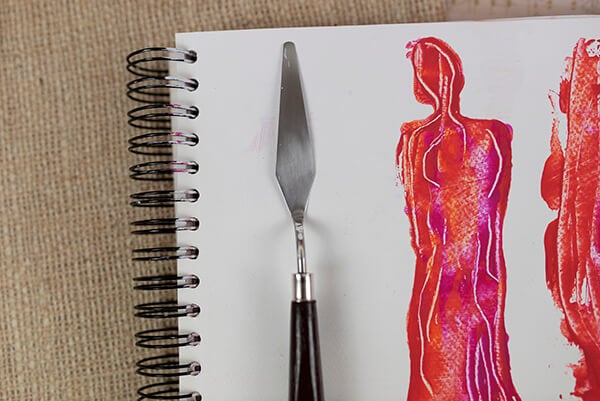
For this technique, I love using two or more colors because they mix beautifully and create a “flowing” look on the paper.
3. Palette knife painting with acrylic paint
This is a great way to make a background.
Unlike the paintbrush, the palette knife instantly creates texture when you apply the paint on the paper. And the drier the knife gets, the more interesting the strokes become.
This creates a grungy feel and a messy and loose background which I love.
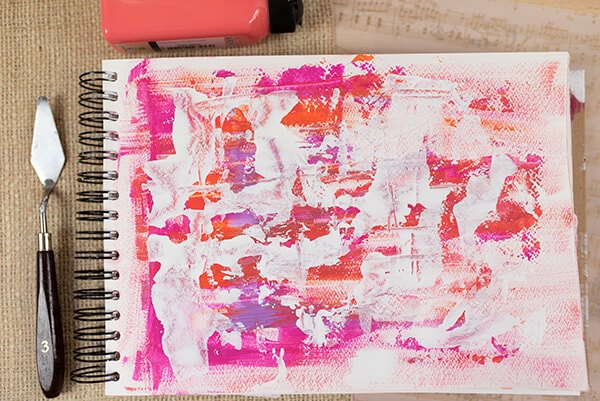
And there’s no right or wrong way to make this. Just take the palette knife and smudge some paint all over your art journal page.
You can add more colors on top. Experiment with that but be careful not to smudge all the paint at once and make it a brownish color (which you get if you mix too many colors together).
Leave the first layer to dry before adding another layer of paint.
Tip: Adding white paint in the end creates a lighter feel, and tones down the color a bit. This way, you can get a softer and more distressed look.
4. Create strokes
Now the palette knife becomes so versatile because of its shapes and lengths.
You can create strokes similar to the ones made with a brush but you can also experiment with the firm/light strokes.
In the photo below, you can see different strokes I made with different palette knives.
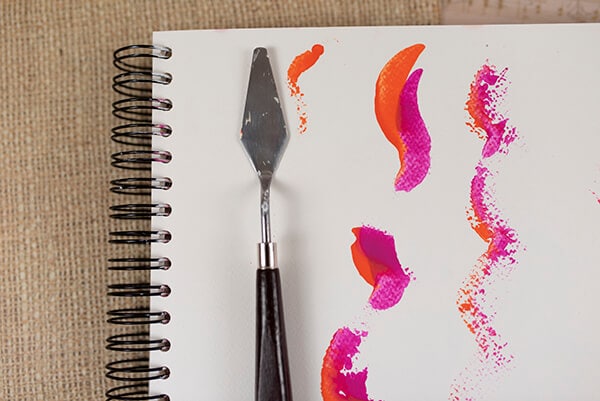
The strokes on the left have enough acrylic paint, and the ones on the right are drier and distressed because my palette knife was already mostly dry.
Imagine different flowers you can paint with these strokes. Think of petals or leaves to paint using two colors and a palette knife.
5. Create lines
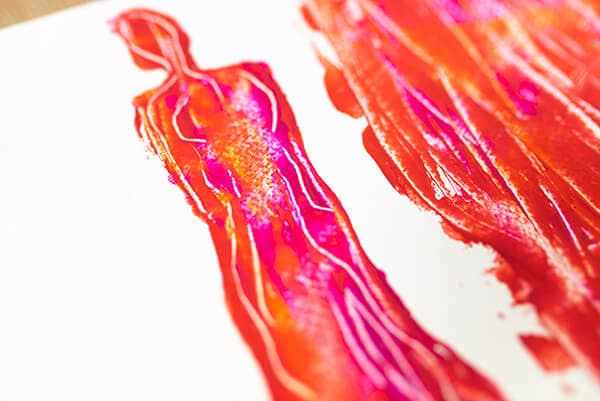
Once you’ve applied the paint on the paper, use the tip of the knife and try making lines. You should do this while the paint is still wet.
This way, you lift some paint and create texture, too.
That’s what I did in the image below.
6. Palette knife painting with ink
I tried using the palette knife with ink.
Try making round shapes with ink and then use the knife to make lines with it. It’s like spreading the ink around with a knife.
The details you’ll get are thin lines and strokes.
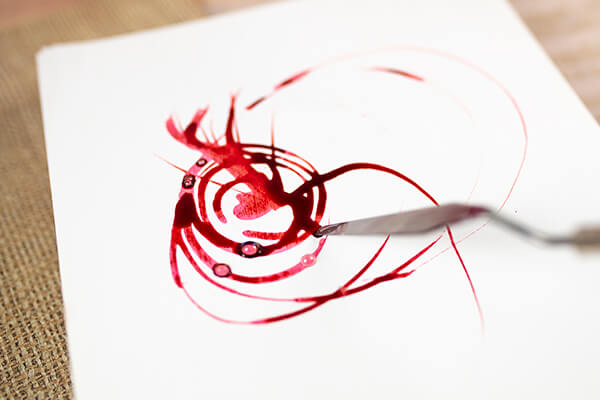
You can go in any direction you want, using straight or curvy lines.
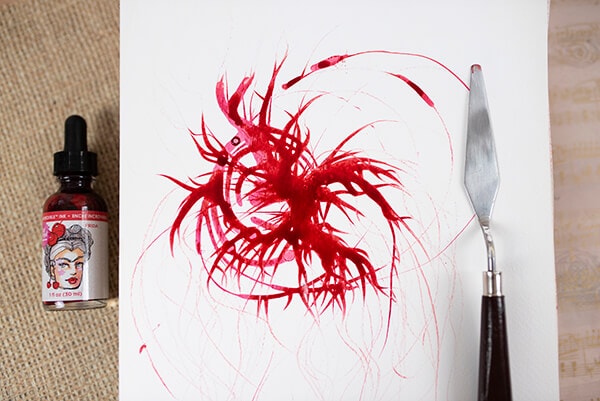
On the other hand, if you use the whole surface of the palette knife and spread the ink like that, you’ll get something like this.
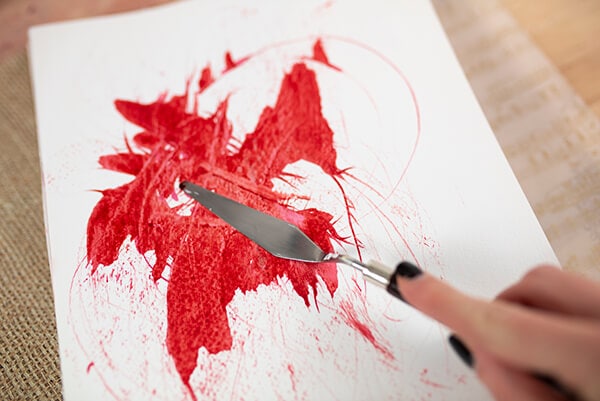
Notice the distressed ink spread at the bottom of the page.
Also, if you add another color and spread that ink as well, you can create interesting abstract shapes.
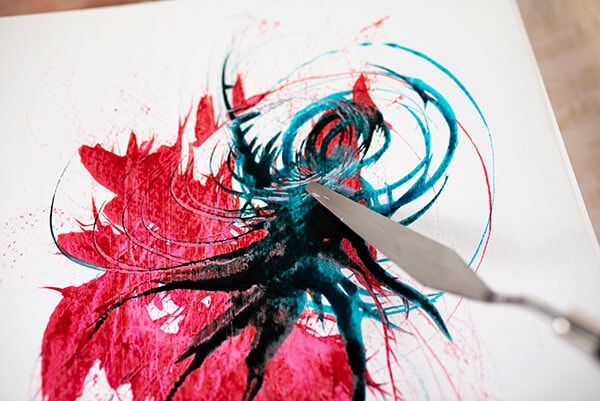
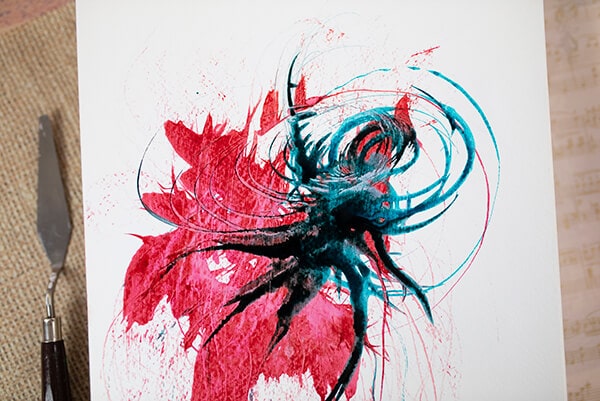
Mine looks like an alien from an alien invasion movie, but the process of making this makes me happy and I don’t care I have an alien on my page.
Just play with it.
Why use a painting knife at all?
This tool is often forgotten due to the all-time-painting-queen, the paintbrush.
In art journaling, you can freely experiment with your art supplies.
And the painting knife gives many opportunities for this.
1. You can create texture
The painting knife is different from the brush because the brush smudges the paint and the paint looks soft on the paper.
On the other hand, when you use the painting knife, the strokes are completely different. It doesn’t smudge the paint but creates texture with every stroke.
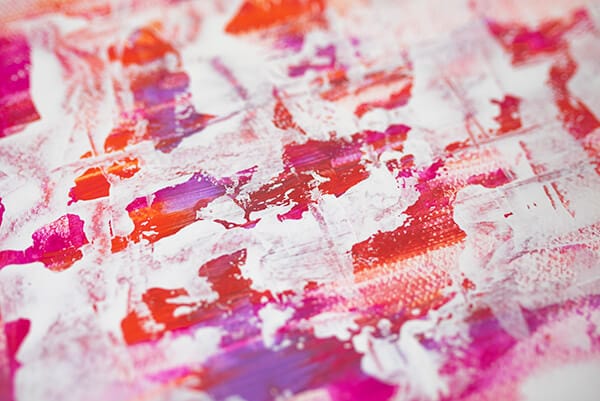
Although you can smudge it by pressing the knife all the way down on the paper.
2. You can make interesting lines
The tip of the painting knife is thin metal (or plastic) that you can use to make lines, shapes, or even doodles in wet paint.
Basically, you pick up some paint with the knife and it creates texture.
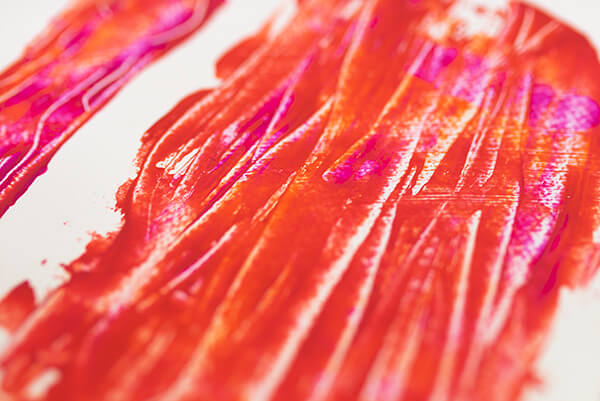
3. You can mix paint with it
Just recently, I tried mixing acrylic paint with a brush. It can be done, but the paint would always stay on the brush, so it took me longer to mix colors.
At times, it was even frustrating.
I just thought I could start painting and then I would notice there was still paint on the brush that wasn’t mixed and it made me crazy. The colors weren’t mixed well, the way I wanted.
But when I tried doing this with the painting knife, things got a lot easier.
4. Painting knives clean easily
There’s nothing more I hate than cleaning my tools when I work in my journal. This has always been so boring for me.
(My stencils are painted all over because I’m too lazy to clean, or I forget to do that.)
However, the painting knife is just the thing for lazy artists like me. When you’re done using it, just wipe the paint with a paper towel. It’s literally just one move.
I love the simplicity of this.
Where to buy a painting knife?
You can find it in almost every craft store or art supplies store.
They often come in sets so you get different shapes and lengths all at once.
Another good thing about them is that they’re not expensive at all.
I have a set similar to this one here, and I’ve been happy with using it for years. I suggest you buy a small set like this and experiment with painting knives.
What kind of paint do you use on a painting knife?
I’ve tried using acrylic paint and I must say the effects are amazing.
Acrylic paint is thick enough so you can pick it up with the painting knife and smudge it over the paper.
The paint creates great texture on its own, so using it with the painting knife adds more to the magic, and creates a unique texture.
Another thing I’ve tried is to use my painting knife to disperse ink on my pages. You’ll see this later in the example techniques for using the painting knife.
What can I use instead of the painting knife?
If you don’t have a painting knife, you can use an old credit card. It’s sturdy enough to give you similar strokes, but you don’t have the ease of holding it like with the knife, and that may result in your hand smudging the paint on your work.
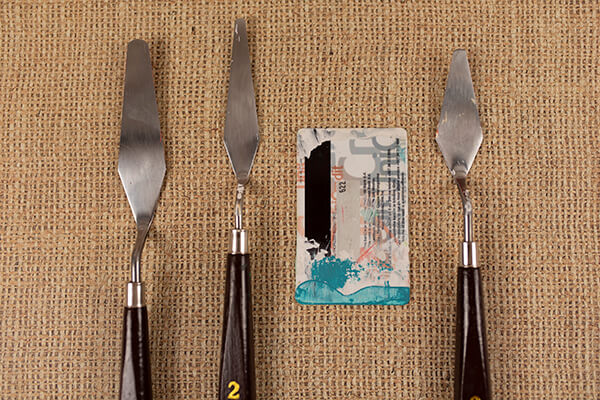
You can also create the same texture as with the painting knife by using the corners of the credit card. The corners are very similar to the blade tops of the painting knife.
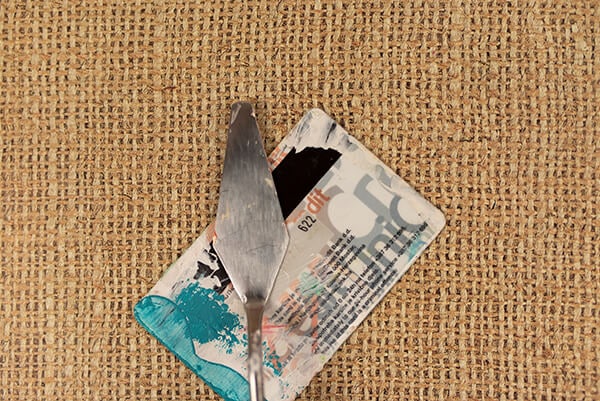
I’ve used my old credit cards for applying paint and they do a great job.
Palette knife painting drying time
When you do palette knife painting, you apply thick layers of paint and they need more time to dry. The thicker your paint, the more time it takes to dry.
If you make a textured background with the palette knife and acrylics, having a lot of thick paint in places, leave it to dry for hours.
I sometimes dry it with my heat gun, but it slows the drying process only for a little bit.
How to clean the palette knife?
This is the easiest thing ever and you can do it quickly and return to your work right away.
Right after you’re done with the knife, just take a paper towel or a cloth and remove the paint while it’s still wet. And that’s it.
However, if you don’t do this, acrylic paint will dry on the knife and it’ll be a nuisance to clean it afterward. And you can’t use the knife properly if there’s paint on it. It ruins your strokes.
Trust me, I used to neglect my painting knives until I threw a few of them after trying to scrape off the dry paint. It just isn’t worth your time and effort.
On the other hand, this can work great if you want a wonky texture in your strokes and would like to experiment. Then, by all means, leave some paint on the knife and try it out.
Palette knife painting tips
Here are some final tips for using the palette/painting knife.
Don’t worry about the terminology. Use painting knives for this purpose, but just remember that people refer to it as a palette knife as well.
- Clean the knife right after you use it. This will save you time, money, and patience.
- Experiment with different amounts of paint, stencils, and strokes.
- If you put thick paint on the paper, give it enough time to dry.
- Experiment with the tip of the knife but also with the whole blade.
- Use the painting knife to create distressed or grungy backgrounds.
- If you don’t have the knife, try using an old credit card.
Do you like these palette knife painting ideas? Pin them to your favorite Pinterest board
