3 Fast And Easy Mixed Media Background Ideas For Art Journaling
Does freedom in art sound like this: finger painting, uncontrolled splashes of paint, gluing paper scraps all over the place, spraying color around like there’s no tomorrow, stamping with no plan or goal, mixing colors like a playful toddler?
To me, this is freedom and in artsy circles, this freedom is called mixed media.
And today, I’m going to share easy mixed media backgrounds you can do even if you’re a beginner.
Disclaimer: Some links in this post may be affiliate links. This means that if you purchase something through that link, I get a small commission, at no extra cost to you.
What’s mixed media art?
It’s the way of creating art that gives you the most freedom and so much joy in exploring and experimenting with your supplies.
It’s MIXED and it’s MEDIA. You take different media and mix them all together to create an amazing piece of art. This process can be as simple or as complex as you want it to be.
Just like art journaling itself. Mixed media is just one way of creating art journal pages, and most of us use this technique because we mostly use more than one tool, paint, or medium.
It really doesn’t matter how many things you use, the most important thing here is that mixed media gives you infinite freedom in art-making because there are no limits to what you can use. How great is that?
This can be a great excuse to try most of your supplies at once!
What do you need for mixed media art?
With mixed media art, it’s easy. You practically use anything you like. And I mean, anything!
Do you have any paper scraps? Use them.
What about watercolors, or a black marker, or a nice fine line pen? Use them as well.
Also, add some buttons, lace, photos, twine, flowers, and all kinds of embellies you’d love to see on your page.
Put some paper on the page, add paint or gesso, stamp some more here and there, paint with your fingers, cut some designs and glue them on top, write a note on it, and the list goes on and on.
How to do mixed media art?
The only advice I’d give you for doing mixed media is to do everything in layers.
If you use different media, especially wet ones, you’ll need to wait for them to dry.
That’s why a mixed media project can take longer to make and you’ll need to be more patient.
But, hey, this should serve your alone, fun time. So, do it the way it suits you.
Don’t try to make it right, just make it fun.
Also, with thoughtful layering, you’ll easily finish your page and be more aware of the next steps and the overall balance of your page.
So, first, you create a background. And this is what I’m dealing with in this post mostly. I’ll show you how I make some of my mixed media backgrounds in my art journals.
Then, you can leave the background as it is because they usually make wonderful pages.
Or, you can continue creating layers by adding new things such as papers, stickers, photos, collage, embellishments, etc.
Mixed media art journal backgrounds
I’m going to show you some ideas for creating mixed media backgrounds in your art journal. Expect a lot of photos so you can really see what I’m doing on the pages.
Mixed media tutorial No.1
This tutorial is for a color-rich and textured background.
Supplies you’ll need:
- Acrylic paint, colors of your choice.
- Kitchen sponge
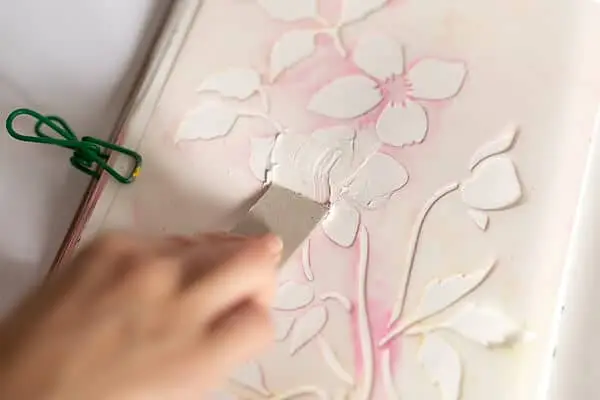
- Stencil
- Relief paste/texture paste
- Palette knife/piece of cardboard
- Stamp+ waterproof ink
- Baby wipes
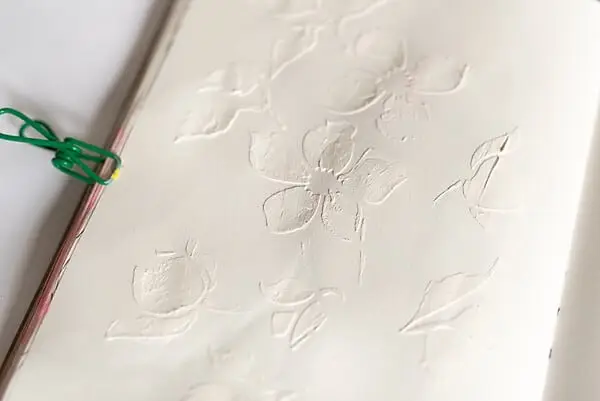
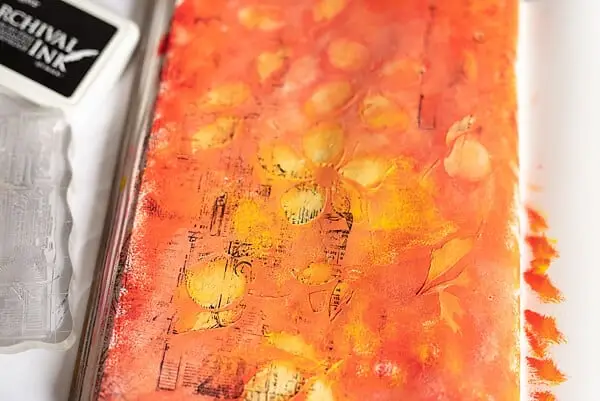
Step 2.
Use acrylic paint and a kitchen sponge to dab it over the stencil image, and the rest of the page.
Mix different colors for interesting effects.
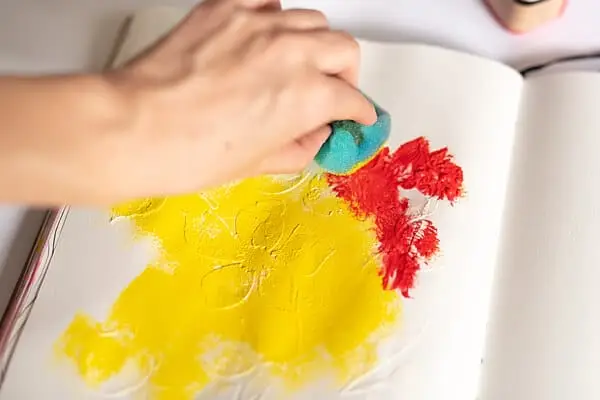
Finally, I added some white to soften the page a bit.
Then I used the baby wipe and cleaned some of the paint off my flowers, just to pop them a bit.
We’ll do this later, after every layer of color. You’ll see, it’s a neat effect.
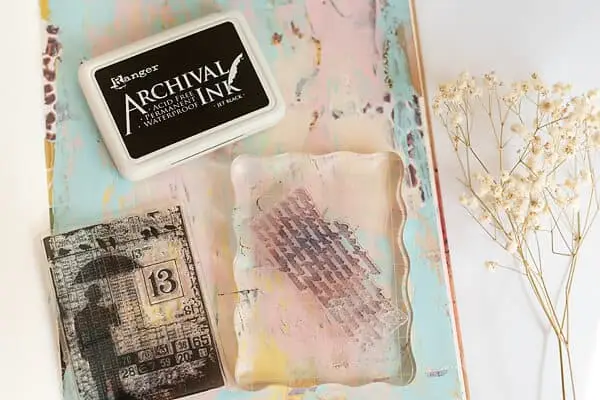
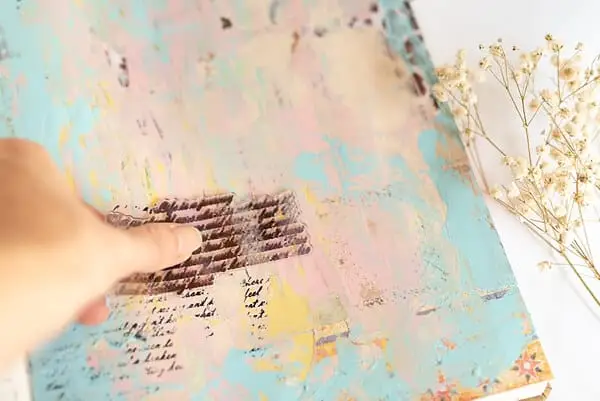
Step 3.
Choose the stamp you love and stamp with waterproof ink, here and there.
I used waterproof ink by Ranger Ink, black archival ink pad. I’ve loved it ever since I got it. The ink isn’t smearable, and I feel free to do anything with it!
Make it a bit distressed by not pressing the whole stamp at once.
Also, you won’t be able to, because you already have a textured background, so some of it will resist the stamp. I love this effect.
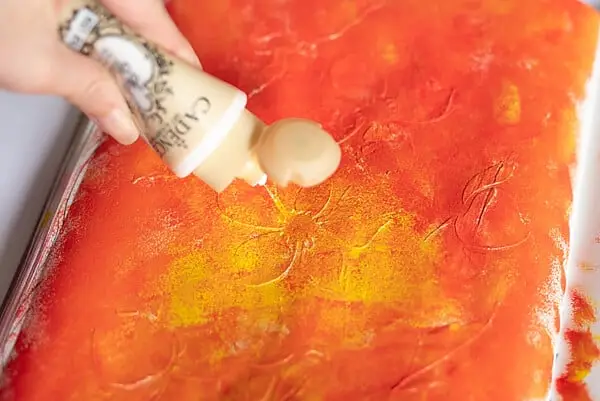
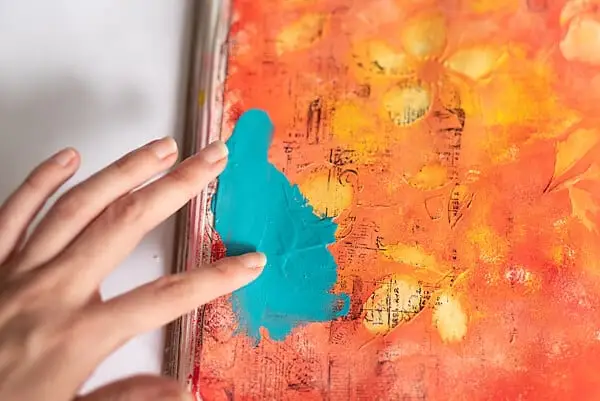
Step 4.
It’s time for some finger painting. Go wild! Just smudge it in places, and if you feel there’s too much of it, just clean some off with a baby wipe.
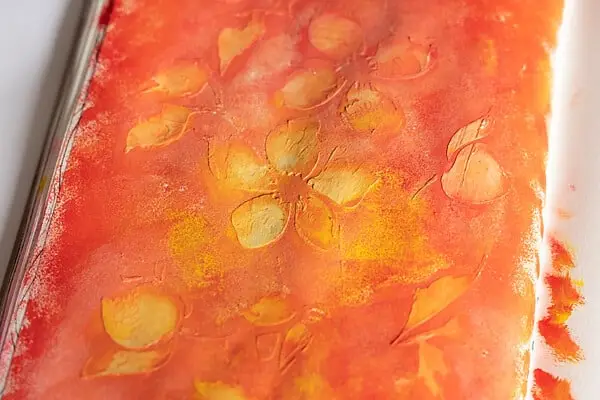
Step 5.
Then, while the paint is still pretty wet, use the baby wipe and clean only the flowers. See how you now see the layers from underneath? Layering, remember?
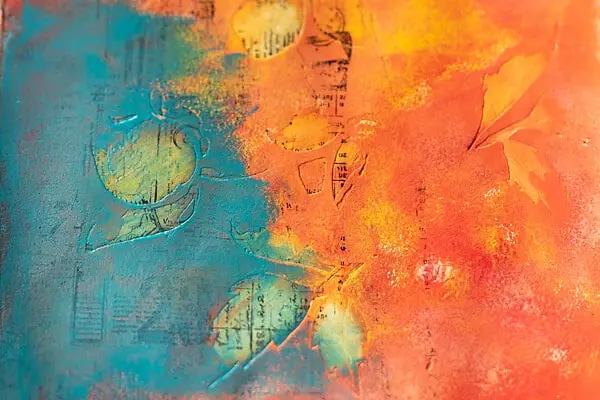
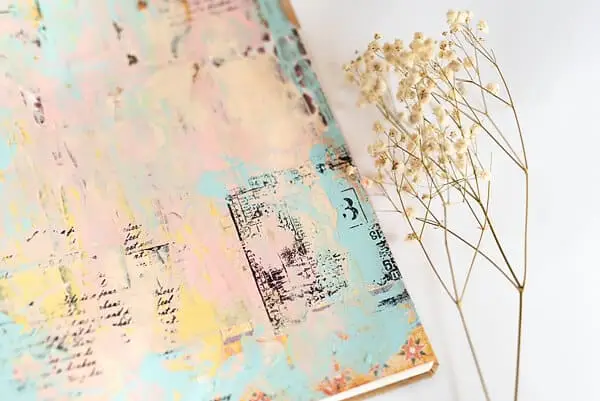
I continued to put more paint with my fingers, I added some more blue and yellow.

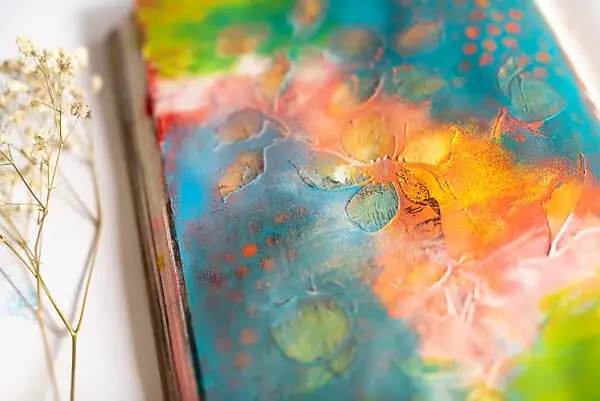
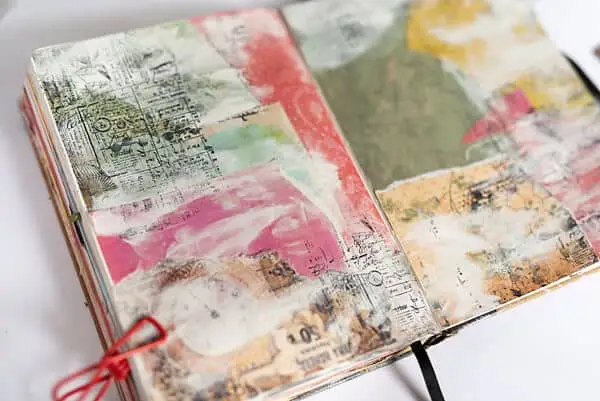
And voila, here’s the finished mixed media background! I left it as it is because I love the colors and the texture.
I might write something later or add a nice photo, I’ll see. For now, I’m satisfied with this beauty.
Mixed media tutorial No.2
Supplies you’ll need:
- Paper scraps
- Glue
- Stamp + waterproof ink
- White acrylic paint
- An image or a cut-out you love
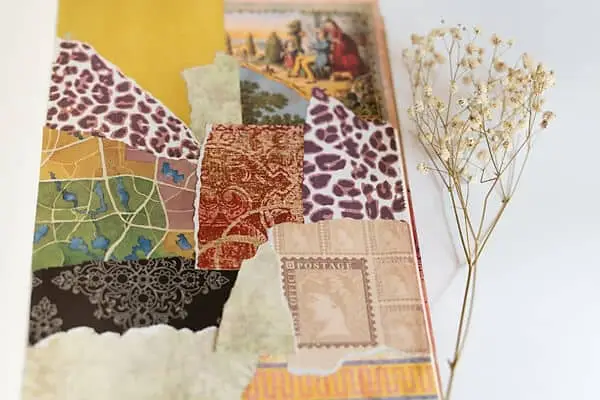
Step 1.
Gather some paper scraps you have around your craft room. Even the tiniest ones, don’t throw them to waste. They make wonderful backgrounds. These are some of mine:

Start gluing them down on your art journal page/spread. Don’t overthink this, just go with the flow.
You can use papers from one color palette or just use whatever color you want. Either way, these backgrounds look amazing.
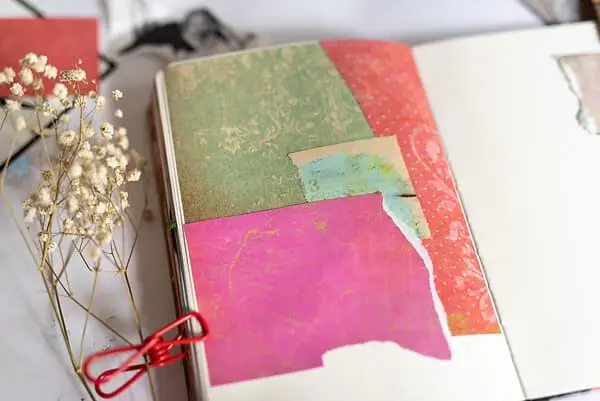
This is how it looks after all the gluing is done.
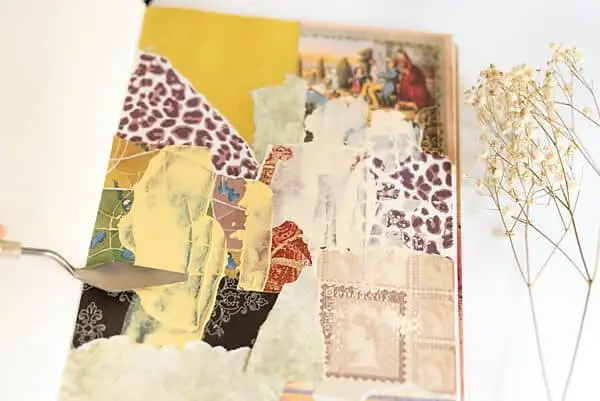
Step 2.
Choose a stamp you love and stamp it in three places with waterproof ink. For a more distressed look, don’t stamp the whole image, just parts of the stamp.
Step 3.
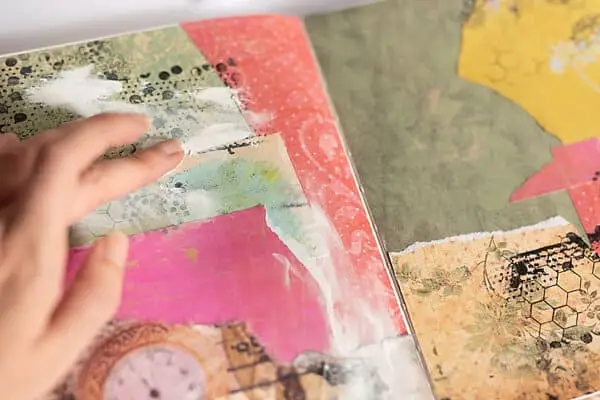
Use your fingers again and apply white acrylic paint to distress the page even more. Lightly go over most of the page and smudge the paint.
You can use a brush, but doing this with fingers is way more fun and interesting, and you get slightly different results. A brush can never smudge like your fingers.
Step 4.
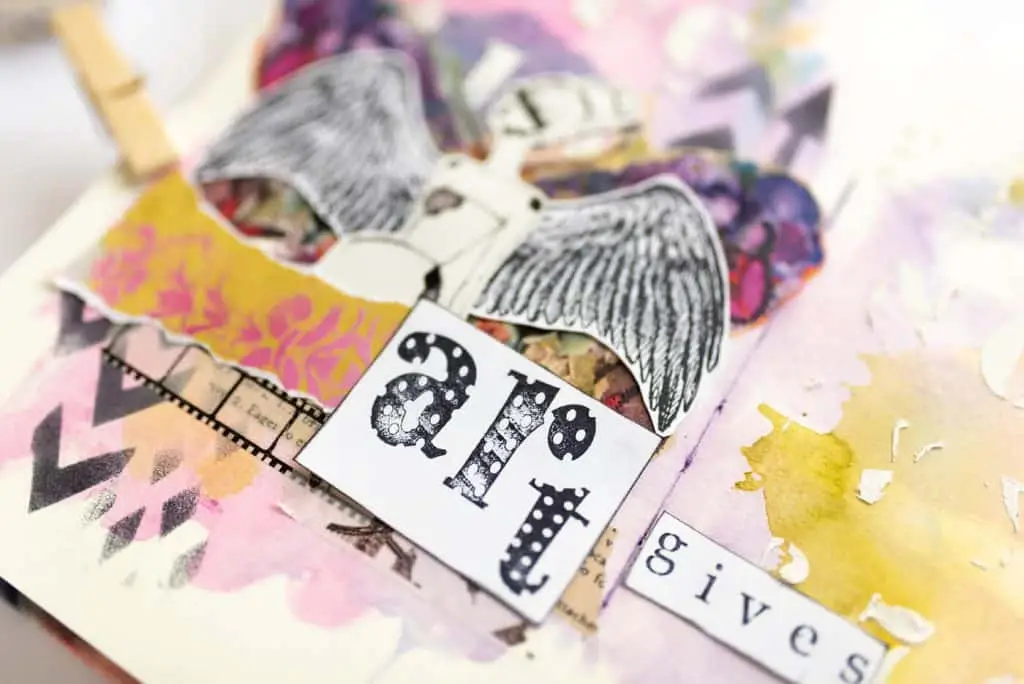
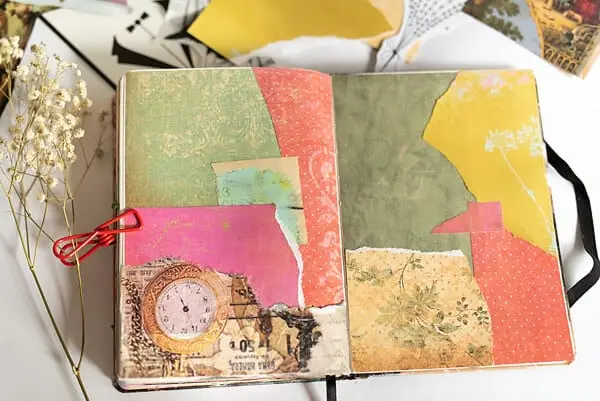
Next, I added more stamping with a different stamp. Just to break the white a little bit. Here’s the finished mixed media background:
Step 5.
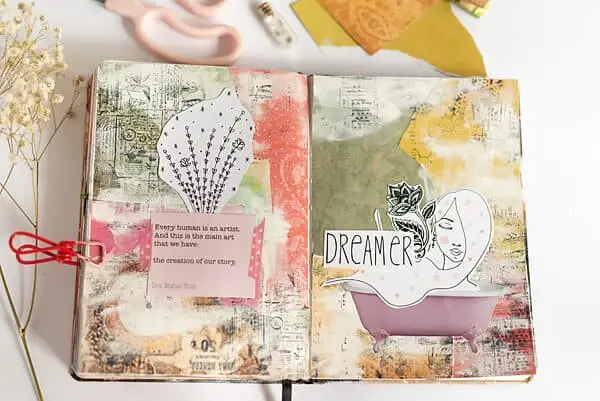
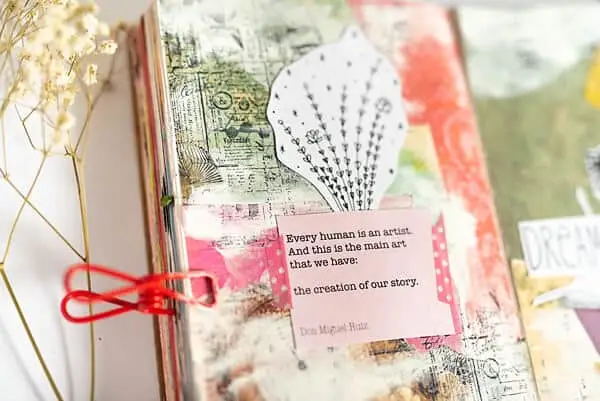
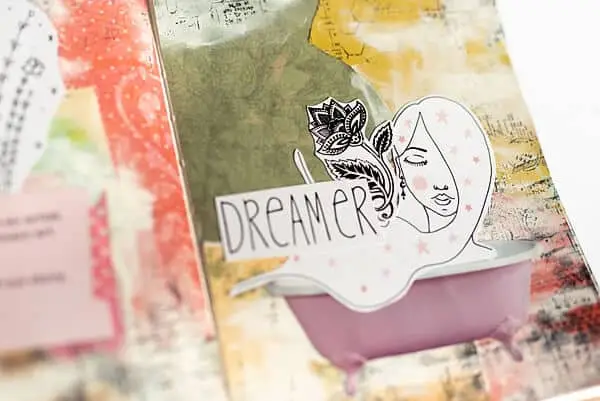
If you want to add more things on top, check this out. I glued a girl from my printable design. Also, I used other paper cut-outs from my previous projects.
Mixed media tutorial No.3
This one is going to be messy, so I’m giving you the heads-up.
Supplies you’ll need:
- Acrylic paint, different colors
- Paper scraps
- Glue
- Stamp + waterproof ink
- Palette knife or a piece of thick cardboard
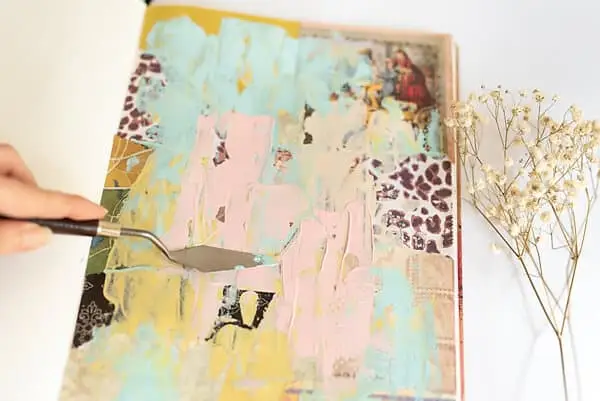
Step 2.
Take the palette knife and add some acrylic paint. Wherever you want. First, put one color down, then choose two more and add them in the same way.
I used beige, yellowish, blue, and pink.
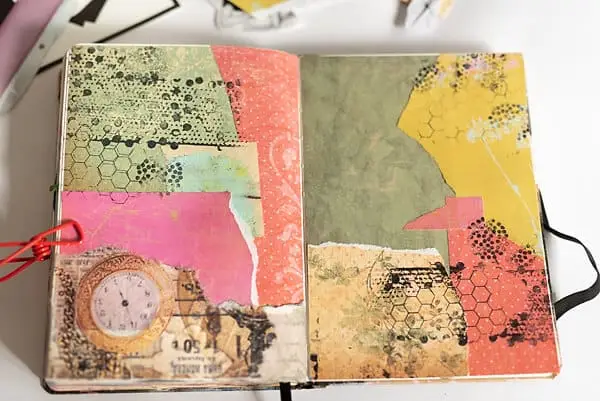
Step 3.
Then, choose some stamps and randomly stamp them on your page.
A good tip for this is to stamp in three places rather than cover the whole page.
And if you want the distressed look, just don’t press the whole stamp and press it lightly.
Step 4.
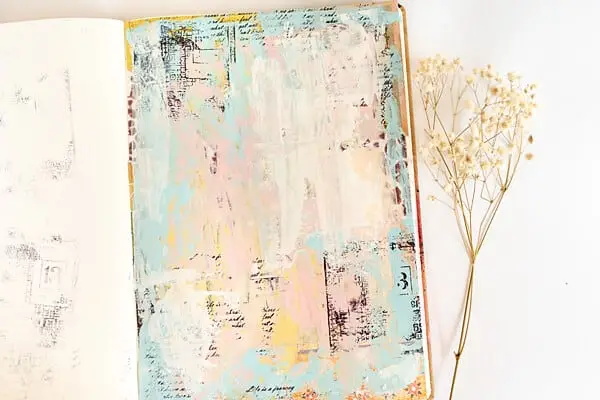
Finally, I added some white acrylic paint. Again, I used my palette knife and just painted a few strokes from above and from below, not too much.
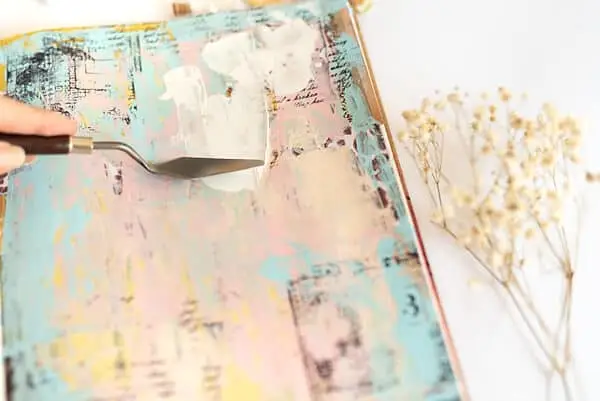
And here’s the finished background. It’s ready for some writing or drawing. But be careful with your pens on acrylic paint.
They can get clogged and you can damage the tip. Maybe the best solution would be to use a marker of some kind, or just use a paintbrush and write with it.
I’d use Posca paint pens for textured backgrounds. They are amazing tools for mixed media art.
If you want to know about the best pens and markers, check out this post on the best pens and markers for art journals.
A few tips on creating mixed-media backgrounds
If you want to try creating mixed media backgrounds, here are some simple tips you might find useful.
As I already said, work in layers. Think about what you want to be most visible and leave it for the end.
Layering helps you build a page slowly and predict what might work well on the bottom and what is on the top.
If you want a textured background, use relief/texture paste or paper scraps. You don’t have to use the paste with a stencil, you can just put some randomly on the page.
Clean your tools right away, especially if you use relief paste. Unless you clean it, it’ll stick to the tool you’re using and then you can throw it right into the trash.
I know, I’ve ruined a number of these, because I was, you know, naively thinking I could clean them easily later.
Maybe you know about a cleaning product for these, but I just wash them right away with water and have no problems.
If you use a baby wipe for wiping the paint off your page, be careful to use the clean part of the wipe for every new piece you want to clean.
Otherwise, it’ll just transfer the paint you just wiped off back to the paper. A neat idea would be to save the baby wipe as an ephemera for other projects.
Don’t overthink. I think this is the best advice I can give you. Just experiment with your supplies and I promise it’ll feel good.
If you don’t like something, just paint over it and create more texture.
I hope you’ll enjoy this process, and if you like these tutorials, let me know in the comments. I’d love to hear what you think.
You can check out some mixed media terms and artists that made interesting mixed media artwork here or watch simple mixed media videos and tutorials.
RELATED MIXED MEDIA ARTICLES:
The Simplest Mixed Medai Art Journal Tutorial – Step By Step
Fall Collage: Creative Mindfulness Exercise With Mixed Media
Mixed Media Art Journal Tutorials Using Free Printable Stencils