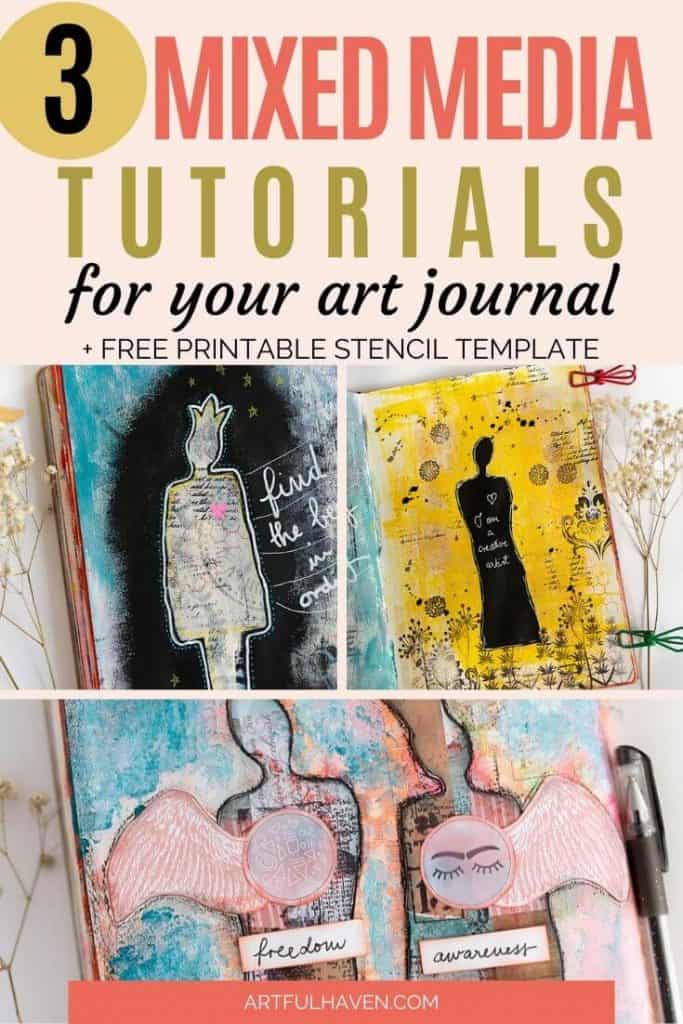
Mixed Media Art Journal Tutorials With Free Printable Stencil
What is it about mixed media and stencils that are so appealing and irresistible? Sometimes I think this combination is undoubtedly magical.
Whenever I set out to make art in my art journal with a stencil and a bunch of paints and inks, I tend to feel like a free child in an amazing land of creativity and awesomeness.
That’s why I love experimenting and making new things. A LOT. Sometimes I don’t get what I wanted in the way I wanted it, but other times, I end up with a great creative tool that I start jumping and singing like I’m in some kind of overly cheerful musical.
This musical scenario happened a week ago when I tried to make my own stencils. I love drawing women and feminine, unusual faces.
Also, when a female figure or a face is a tiny bit off, I love it even more. When I create something that is not entirely realistic, I fall in love with it. That’s why I love these DIY stencils!
Disclaimer: Some links in this post may be affiliate links. This means that if you purchase something through that link, I get a small commission, at no extra cost to you. This helps support my blog. Thank you for your support!
How I created my own stencils
I looked at all the stencils out there, perfectly cut female faces, with precise details, and thought to myself: Oh, honey, it would be a drag to cut something so tiny like this with your not-so-sharp exacto knife.
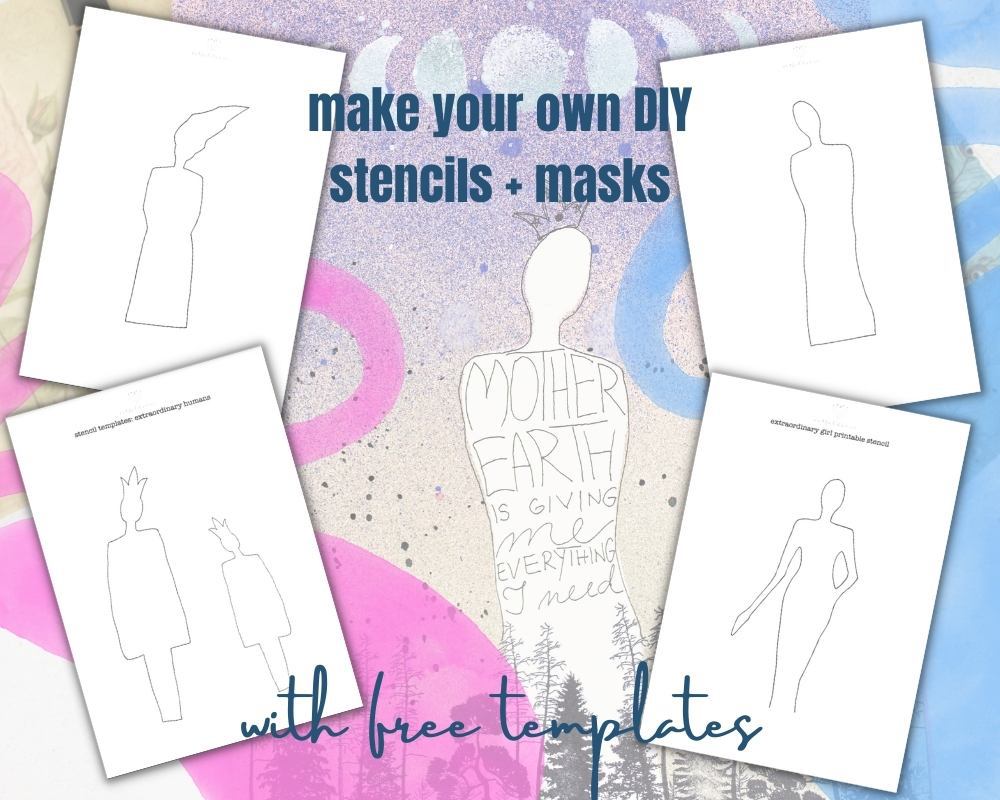
But, I still wanted to create something that reminded me of the human figure. So, I sketched a few figures, printed them on transparency paper, and got myself some great stencils and masks. Yes, masks!
I call them Extraordinary humans, and I love how they turned out and how they’ve helped me make amazing art journal pages.
And, of course, I’m sharing these stencils with you!
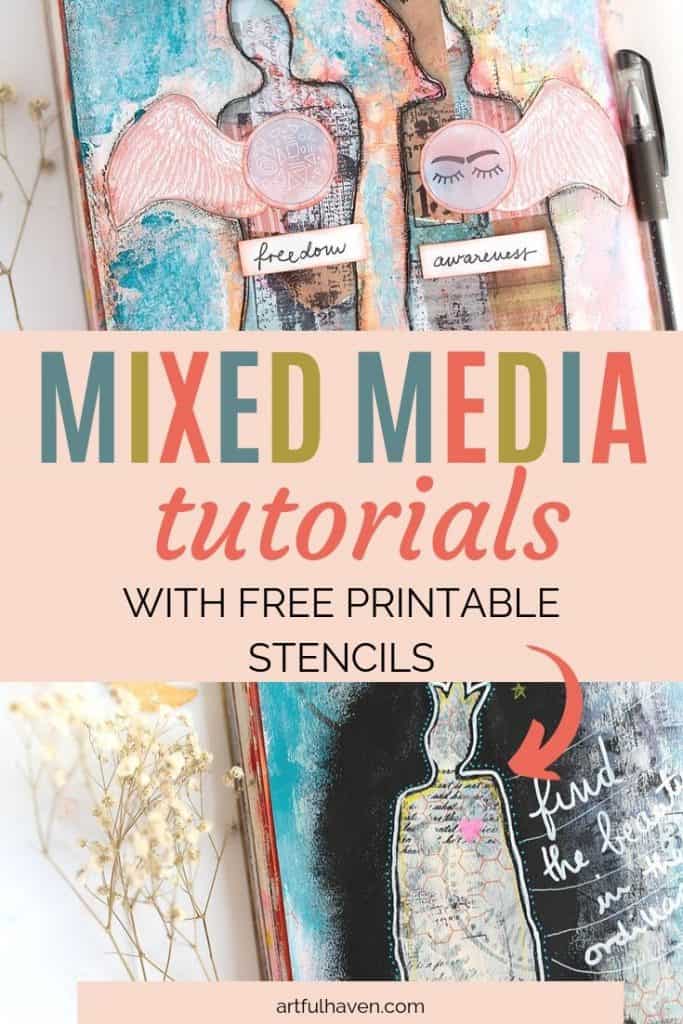
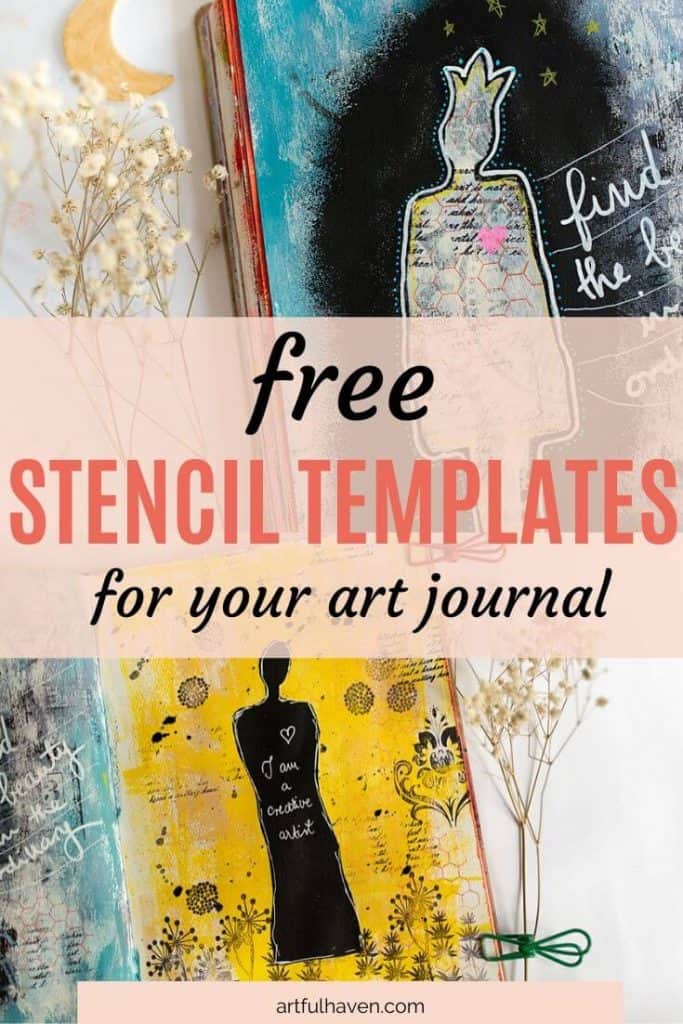
Also, I’m sharing three mixed media tutorials with these DIY stencils and masks, so you can see in what ways you can use them in your art journal.
How to print and cut the stencils
You can do this in a few ways.
1. Print the template on transparency paper and just cut out the figures with an exacto knife. (This is what I do because you can clean the transparency easily and reuse it.)
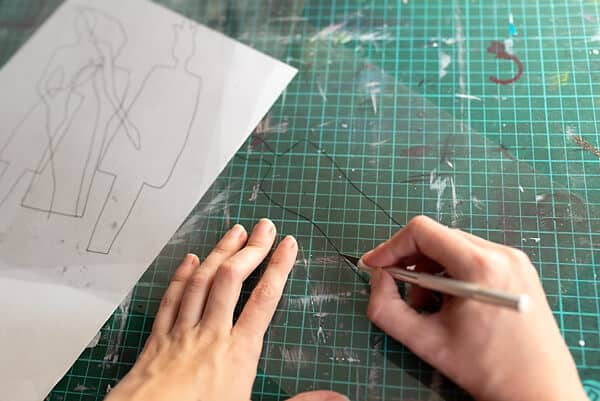
2. Print the stencil template on ordinary printer paper. Then, lay down transparency over it and trace it with a marker. Finally, cut the shape with an exacto knife.
3. Print the design on heavier paper and cut out the stencil. Just bear in mind that this way, your stencil won’t last long because the paper tends to soak liquids and can easily get wet and useless. Maybe you won’t be able to reuse it again.
How to store the stencils and masks
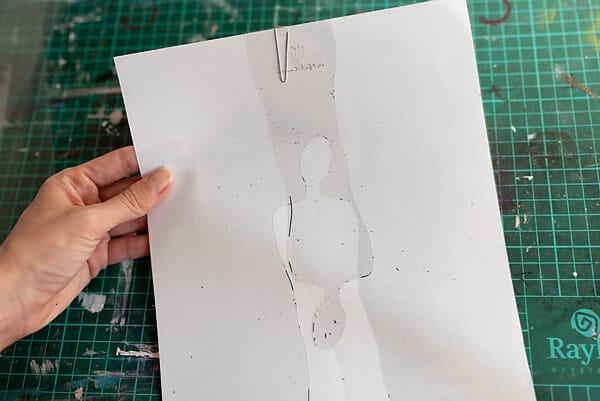
After I cut out the designs, I put the stencil and the mask on plain printer paper, attach them together with a paper clip, and store them in a transparent document folder.
This way, you protect them from tearing and you can easily find them under other creative mixed media supplies on your desk. I know my desk is always in a mess. A messy mess. (Argh.) So, I know what I’m talking about.
How to do mixed media with stencils and masks
I’m sharing three different mixed-media tutorials for art journal pages. In these tutorials, I use stenciling and masking with mostly acrylic paint. But, I’ll show you the whole process, from the blank page to the finishing touches.
Let’s dive into some magical art!
Mixed media tutorial 1
Supplies you’ll need:
1. One of the masks you cut from the printable stencil kit
2. Other stencils you have and like
3. A stencil brush or a kitchen sponge
4. A baby wipe or a wet cloth
5. A white marker (I’m using Posca pens because I love them!)
6. Acrylic paint
7. Stamps & ink (use waterproof ink because in mixed media projects, everything is wet and smudgeable, and waterproof ink doesn’t smudge)
Step 1.
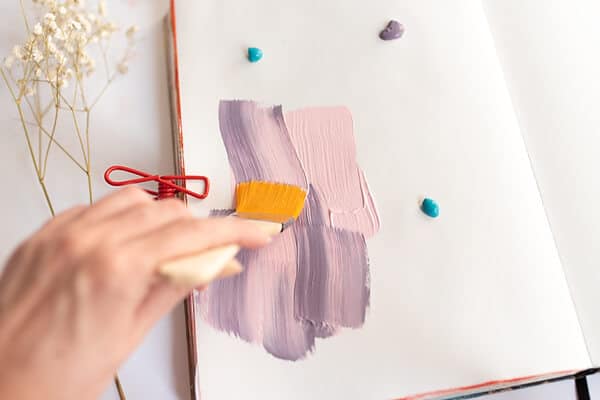
Choose acrylic paints you like, and just spread the paint over the page. I use a larger paintbrush for this.
Mix at least two different colors for a more interesting effect.
Step 2.
Take a stencil from your stash that you like, and dab some paint over it. You can do this on the whole page or just randomly on some parts.
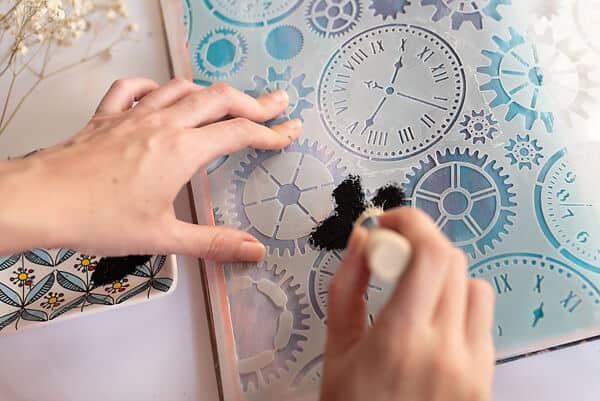
Here’s how mine turned out.
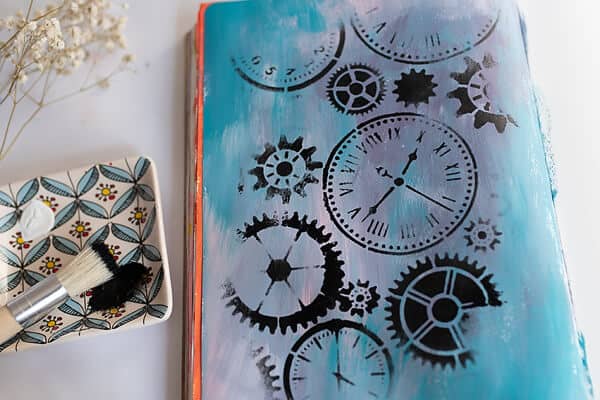
Step 3.
The black from the stencil was a bit too contrasty to me, so I used some white paint to make the page softer.
I used my brayer for this but you can use a paintbrush or a kitchen sponge.
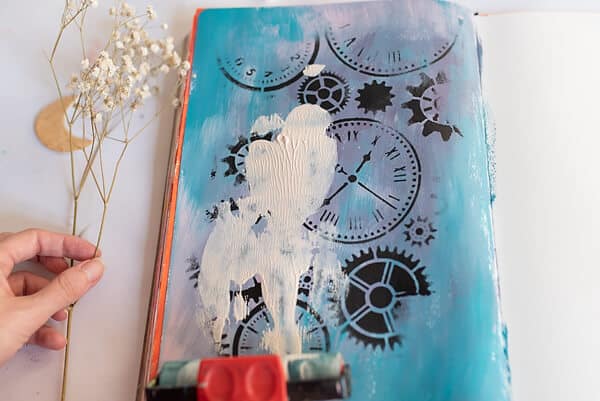
Afterward, I just stamped randomly with my waterproof ink.
Step 4.
And now comes the fun part.
I used the mask from my stencil template (the figure I cut out from the transparency).
Choose where to place the mask because this is the part that’ll be visible once you’re finished painting.
Once you’re satisfied with the placement, pick up some black paint and dab it all around the mask.
You can do this with a stencil brush or a kitchen sponge.
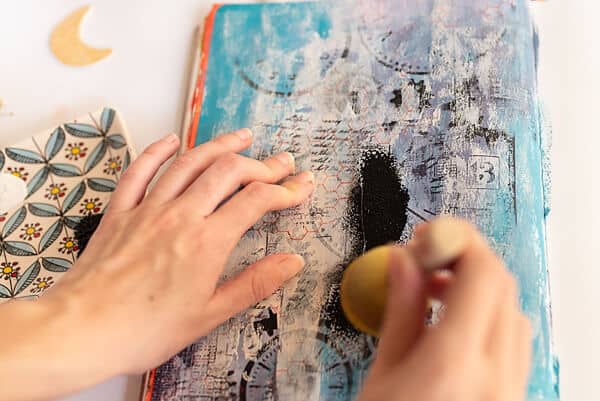
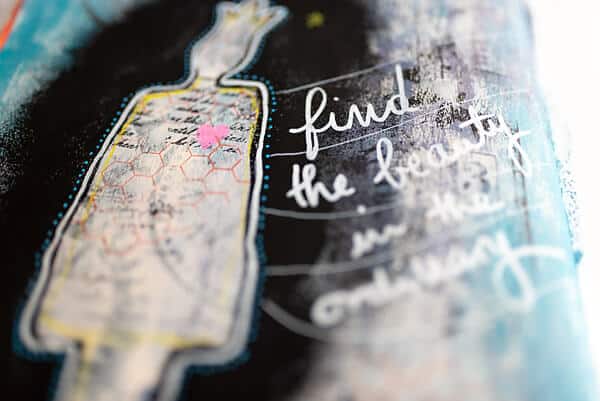
And there it is! Now you have a wonderful, unusual figure popping from your page. Don’t you love it?
I was worried about this crown, but when I finished painting, it really turned out perfect!
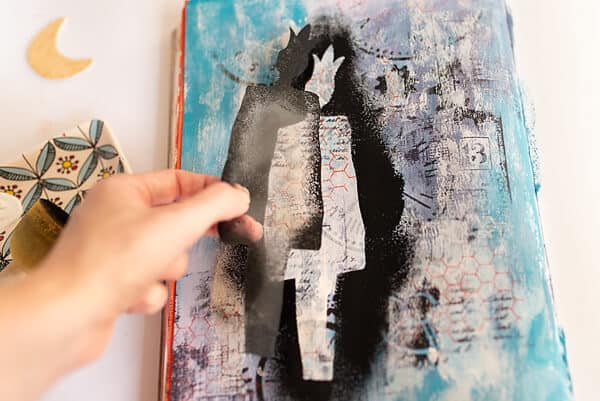
Just a quick tip: clean the mask right away while the paint is still wet, so you can reuse the stencil without worrying about leftover paint.
Step 5.
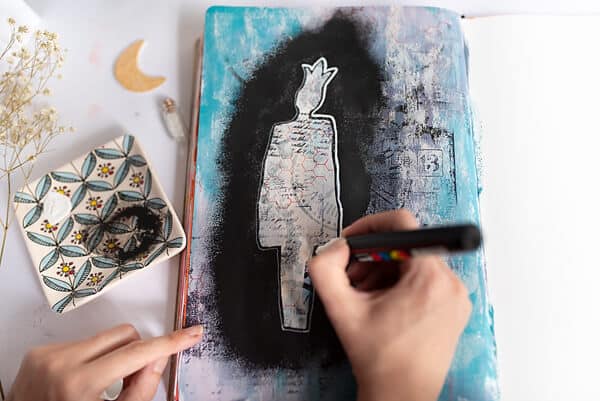
Finally, you can decorate your extraordinary human. For me, Posca pens work like magic here.
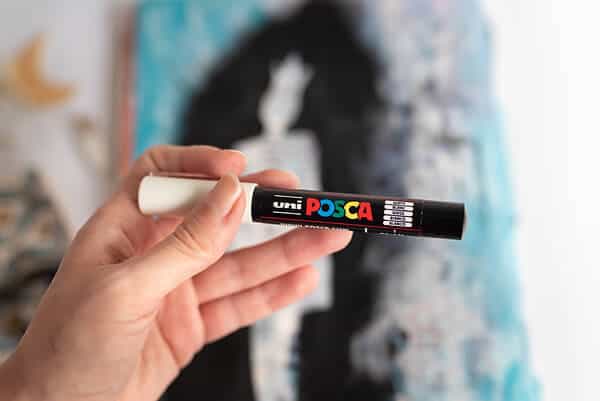
I just outlined the shape to make it pop even more.
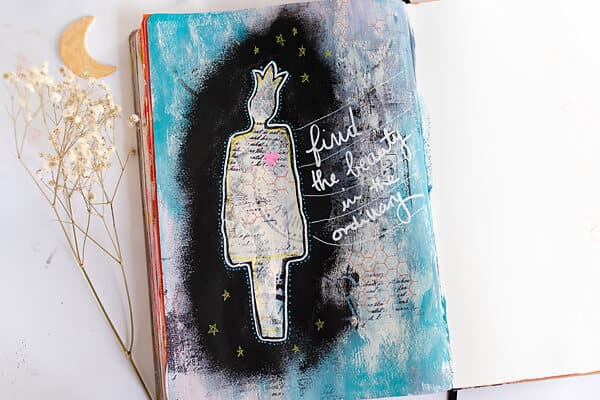
And here’s the finished page. As you can see, I also added some yellow lines, a pink heart, stars, and a simple quote.
Mixed media tutorial 2
The supplies are pretty much the same as for the first tutorial, but here they are so you don’t have to scroll up and down ;).
1. Acrylic paint
2. Any stencil from your stash
3. A stencil brush or a kitchen sponge
4. A baby wipe or a wet towel
5. A white marker
6. One of the stencils you downloaded from my library
7. Stamps & waterproof ink
Step 1.
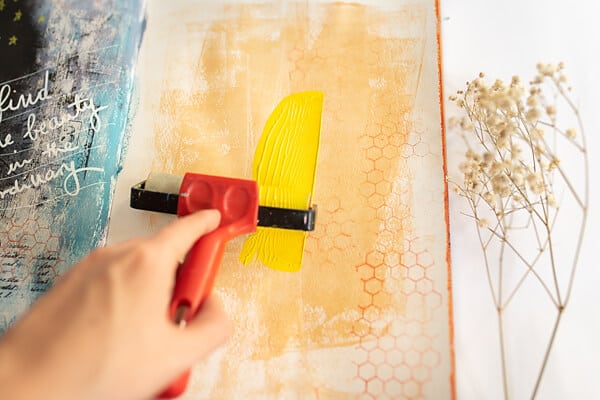
Prepare the background with some paint you love. I chose orange and yellow to start with.
Later, I’ll add some more contrast with black stamping.
Step 2.
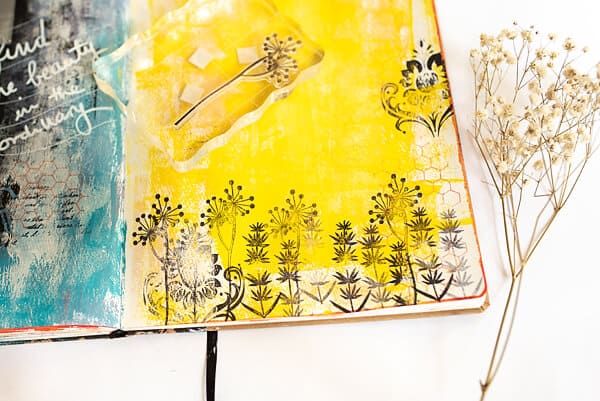
Now, take the stencil from the DIY stencil kit, place it on the page, and start painting.
I wanted my figure to be centered because it’s contrasted to the lighter background. It just seemed right to me, but you place yours wherever, of course.
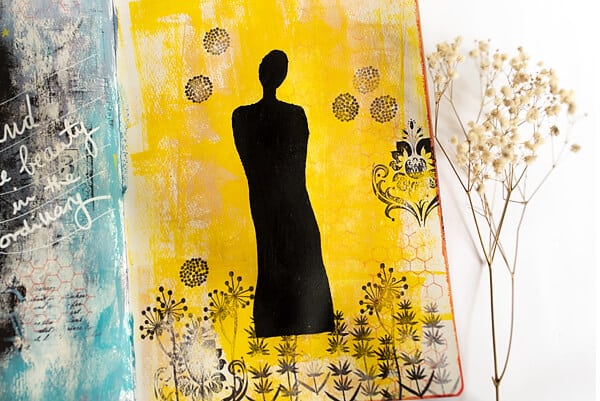
Step 3.
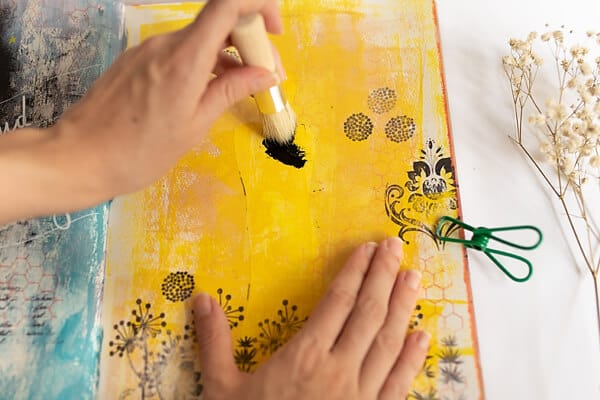
Doodling is fun, right? That’s why I doodled inside my figure and wrote some meaningful words. A positive affirmation. I love using them in my art journals.
If this idea interests you, check out this article where I write about the ideas and benefits of using positive affirmations with art journaling.
Back to our page. A white marker makes the best effect here. Some white on the black, can’t go wrong with that.
Also, I dripped some black ink with my brush to make ink splashes and blobs. (I love those messy techniques!)
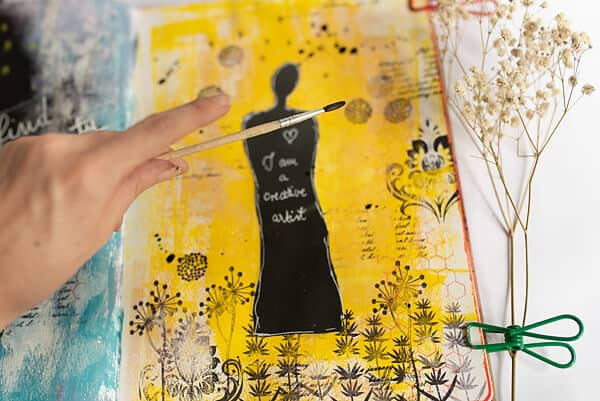
And voila! Another page with these DIY stencils and some simple mixed media!
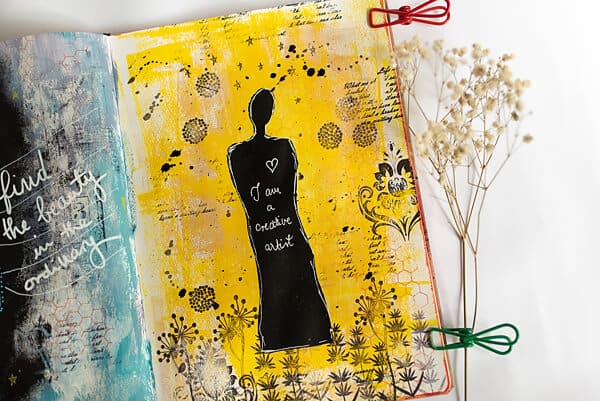
Mixed media tutorial 3
This mixed media tutorial is based on collaging and painting, of course.
As always, bear in mind that most of the supplies are optional, you can use whatever you want to make a background.
Check out the supplies you’ll need:
1. Paper scraps
2. Glue (if you have Mod podge or other liquid gluing medium, that would be the best option)
3. Scissors
4. Two of the stencils from the printable stencil kit
5. Another stencil from your stash (for the background)
6. Stamps & waterproof ink
7. Additional cut-outs and stickers you can find at my resource library (if you already don’t have them, request the password at the bottom of the post)
8. A black pen or pencil for outlining
9. A white printer paper sheet
10. A small piece of a paper towel
Step 1.
Take the printer paper and glue your paper scraps on it. In any way you like. You could also play with the colors of the paper scraps. Whatever makes your heart happy!
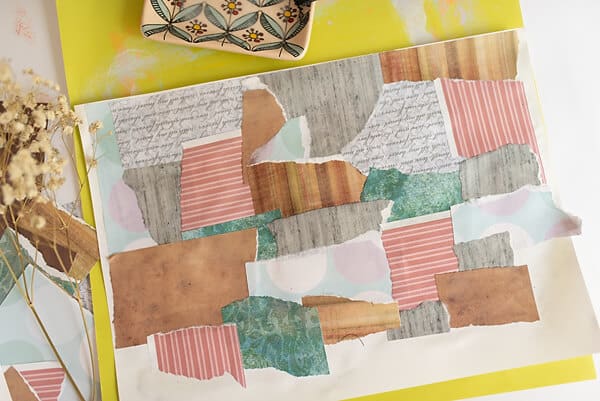
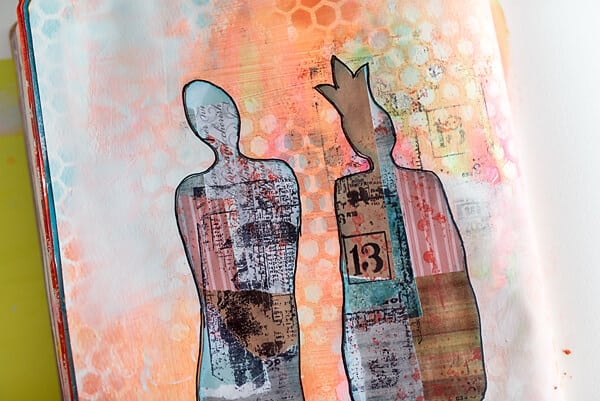
After you’ve done this and it’s dry from the glue, turn it to the other side and draw the human figures using the stencil and a pencil.
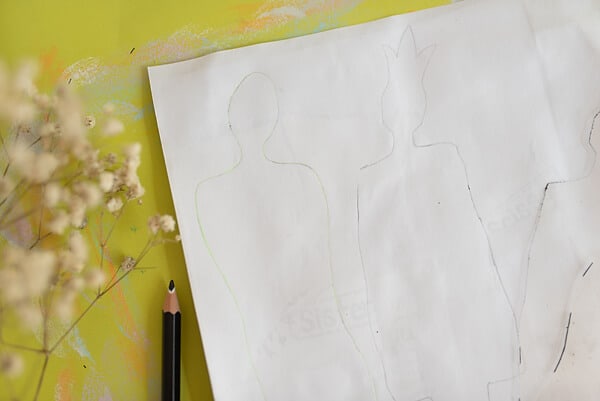
All you have to do now is cut out these beautiful figures. After cutting, I stamped on mine to give them more dimension and interest.
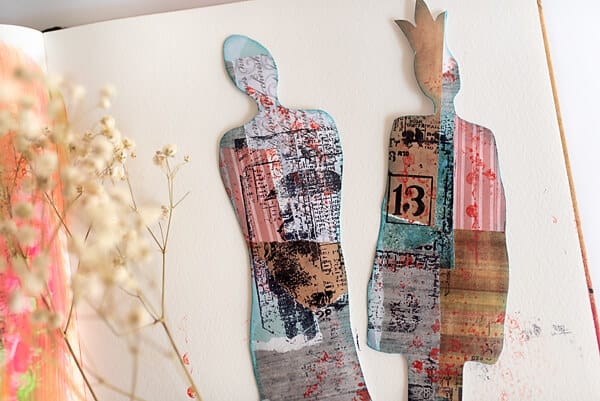
Step 2.
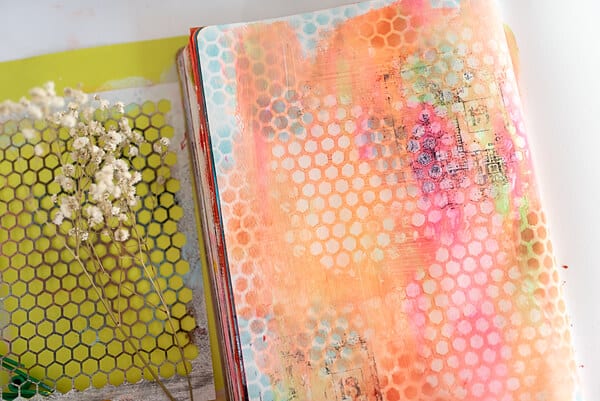
Prepare the background with the paint you’ve chosen. I used a brayer and a paintbrush again, but any tool is fine here.
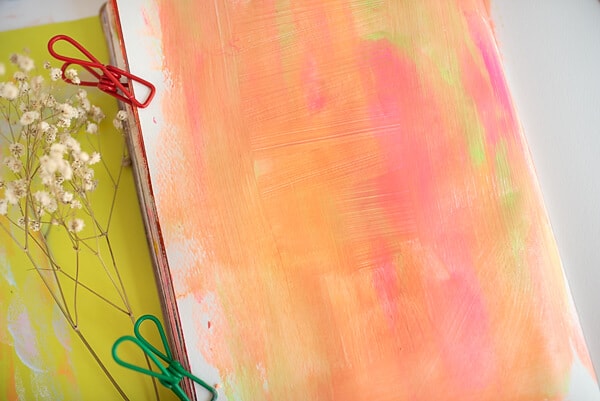
Next, while the paint is still wet, take any stencil you have in your stash and a baby wipe (or a wet cloth) and wipe off the paint in some areas.
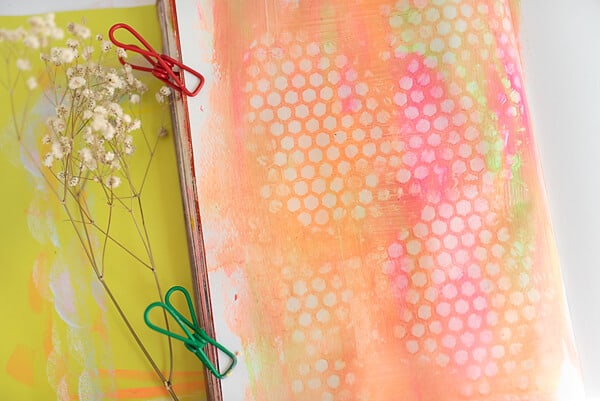
Again, I did some random stamping. But I also took the same stencil and an ink pad and made these blue parts on the page.
Step 3.
Glue your figures on the page and outline them with a black pen if you’d like to.
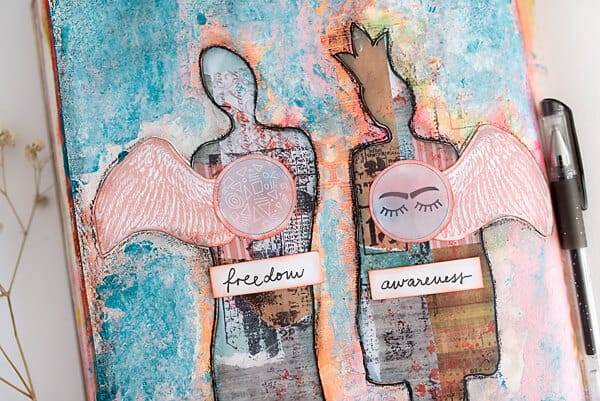
For this step, I used some of my designs: the wings and two round stickers.
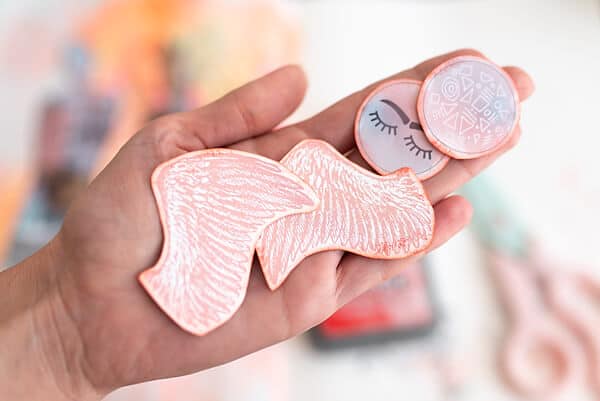
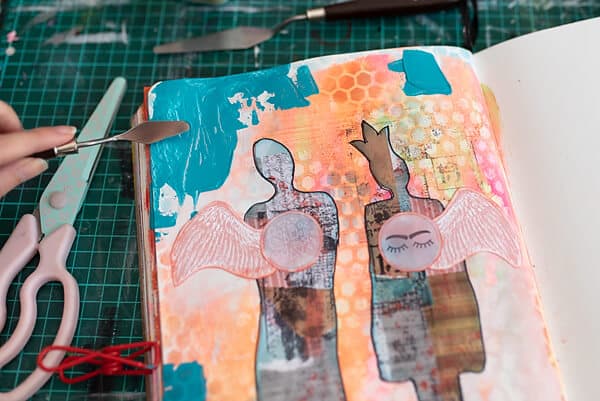
Each figure gets a wing and a sticker. This blue thing you see is our next step.
Step 4.
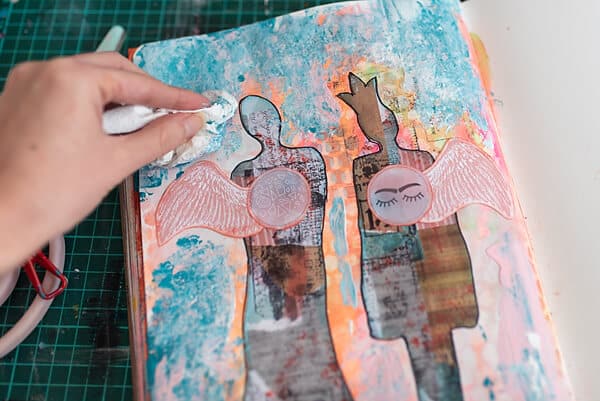
If you want to, add some more color to the page, around the figures. I used my palette knife for this because I love the look it creates.
Next, take a paper towel and start dabbing on the fresh paint. This way, you’ll get great texture and a bit of a grungy effect.
Step 5.
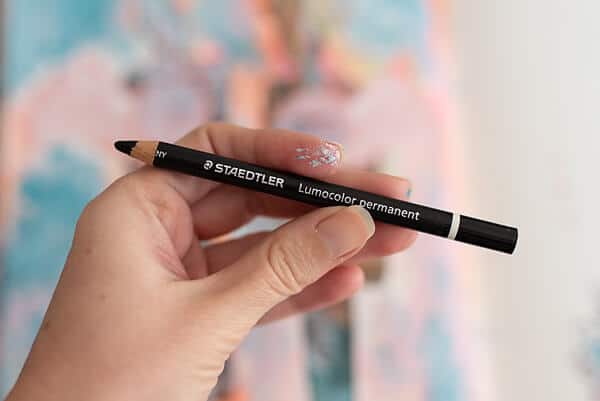
If you want to outline the figures more, use a soft pencil like this one, the one that you can smudge with your fingers.
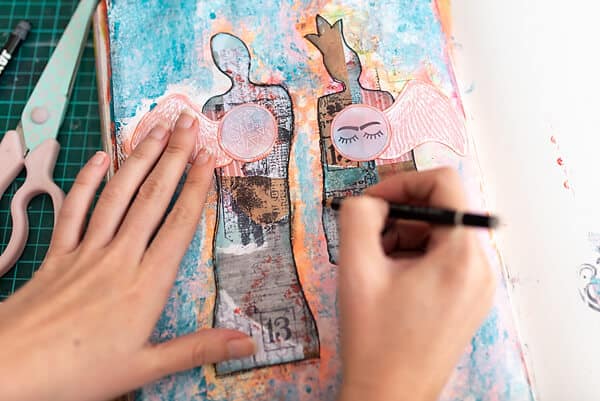
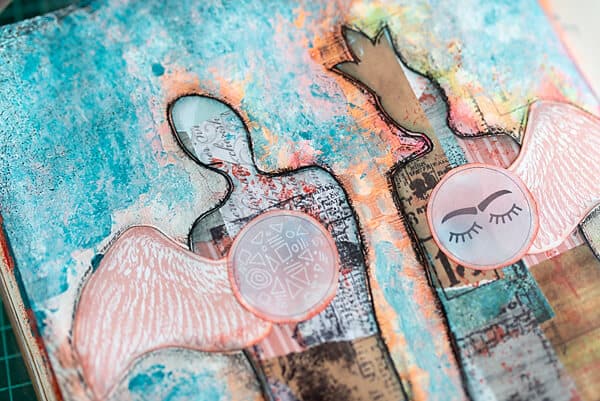
I also added some of this pencil on the edges and smudged it to get a neat texture. I like how it turned out.
Step 6.
I didn’t plan on doing this one, but somehow the page called me. It needed some words. So, I thought about what could these figures represent for me.
I noticed their wings and stickers instead of their hearts and two words came to me: freedom and awareness. Because this is how I want to feel: free and aware of the world around me.
I was a bit surprised by this mindful moment and that’s why I love the page even more.
Final thoughts on mixed media with stencils
I think stencils and masks are such great tools to make interesting art journal pages and enjoy the mixed media process.
These mixed media tutorials are only one tiny part of the possibilities you can do with the stencils. Just explore and let your imagination flow.
You’ve seen in the tutorials that I used stencils and masks. Why not combine a stencil and a mask on one page? I think you’ll get amazing results.
Using stencils can speed up the process when you’re not in the mood for drawing. They just push you toward the creative outburst a bit faster.
So, with these printable stencils, you’ll have so many ideas popping up in your head, like crazy popcorn! I promise you a lot of fun in exploring all the ways you can use them in your mixed media art.
Make your pages simple and minimal, or create art bursting with colors and layers.
Well, I hope you enjoy them and make some wonderful pages. Feel free to share your thoughts in the comments!
RELATED MIXED MEDIA AND STENCILS ARTICLES
Fast and easy mixed media background tutorials for your art journal
Paint the Moon phases with a DIY stencil
Fall collage: creative mindfulness exercise with mixed media
