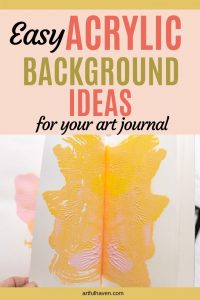
Easy Acrylic Background ideas For Art Journaling – Great For Beginners
Are you wondering how to create acrylic backgrounds in your art journal? I’m sharing beginner ideas to help you start your art journal pages quickly and easily.
Acrylic paints are versatile, easy to use, and they give amazing results. What’s best, paper loves acrylic paint. It’s the kind of romantic relationship the two of them have.
Background can be anything as long as you love what you see and enjoy creating it. That’s why I love experimenting.
This post is all about different acrylic painting ideas for beginners, but I think you should also know a few little details about acrylics so you can be more confident and know what to expect.
Experiment with acrylic paint
When it comes to acrylic paint and art journal backgrounds, it’s all about experimenting. The ideas I’ll share today are all results of my experimentation over the years.
You can try some or all of these ideas but I also encourage you to experiment on your own. No idea is a bad one; don’t throw it away before you even try it out.
Disclaimer: Some links in this post may be affiliate links. This means that if you purchase something through that link, I get a small commission, at no extra cost to you.
What to expect from acrylic paint?
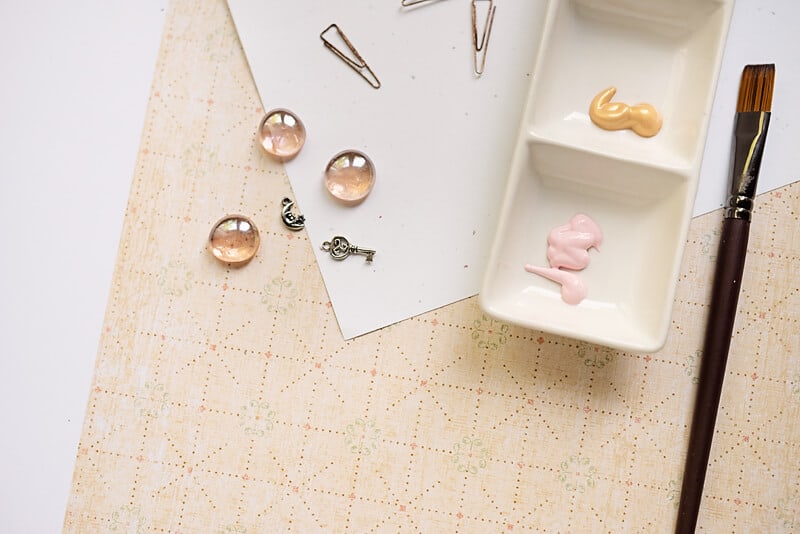
Acrylic paint is great, right? It’s smooth, creamy, and dries really fast. That’s what I love about them. Also, they come in so many colors and shades that they are irresistible to work with. And they are cheap!
Here are just a few things about acrylic paint that you may find useful when you start painting.
- They are water soluble while wet, but when they dry, they are permanent. This means that once your art journal page is dry, you can add more layers of paint, and the first layer won’t be affected.
- It dries really fast. Well, it depends on how thick your layer is, but all in all, you won’t have to wait for ages.
- They can be used as an adhesive. Put a piece of paper on top of wet acrylic paint, and when it’s dry, you’ll find they’re stuck together!
- They have little odor, so you can easily work with them without having a headache.
- Also, they aren’t toxic. I mean, children dip their fingers in acrylic paint every day. It’s safe as long as you don’t eat it. Which I doubt you’ll do.
- They are creamy. I rest my case.
Art journal acrylic background ideas
Back to basics: use paintbrushes
It’s a pretty simple technique we all tried at least once when we were in school. You basically apply acrylic paint with a paintbrush.
What you can experiment with is the amount of paint you use at once or the type of brush strokes you make.
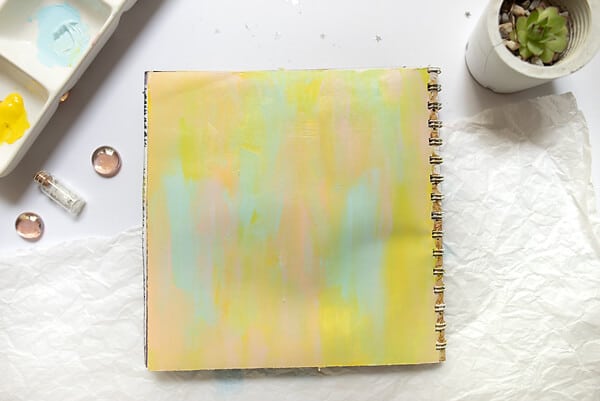
I suggest you use 2 or 3 colors and just make fat lines with the brush. Mix the colors while they’re still wet so you can blend them better. But you can also leave them without blending and get a higher contrast. It’s just a matter of preference.
I used light blue, pink, and yellow.
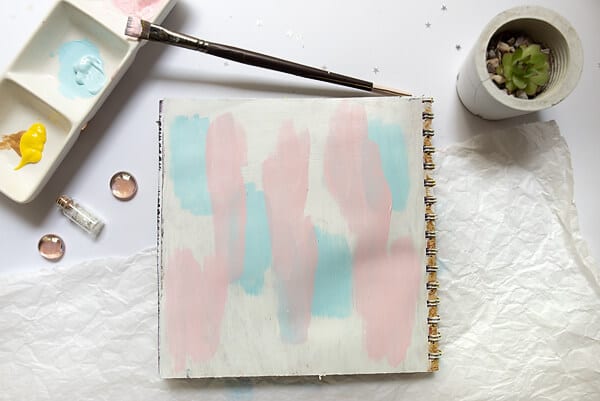
I worked quickly here to blend them because I love the soft look, especially with pastel colors.
What brush to use to blend acrylic paint?
I mostly use a flat brush, medium or large size. You won’t get the mentioned results with a round brush. This round type of brush is mostly used with watercolor.
Use a baby wipe
First, apply acrylic paint on the page, whether you use just one color or more.
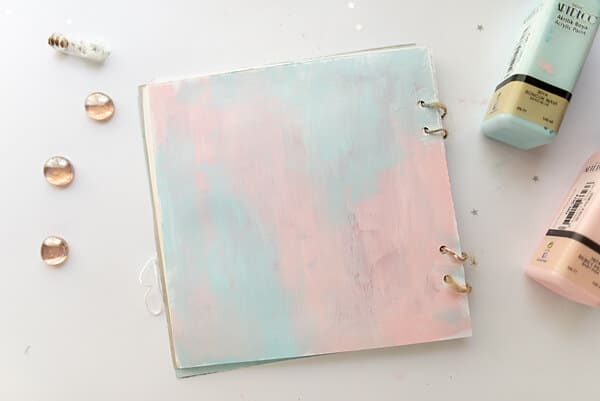
Then, when that’s dry, put another coat of paint. But now, don’t wait till it’s dry. You need to work with wet paint here.
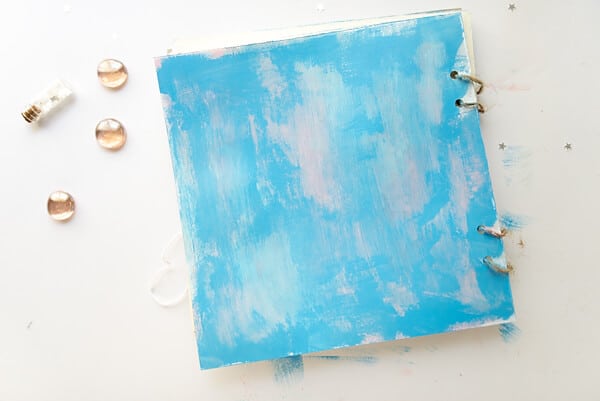
Take a baby wipe and wipe off paint in random areas. You’ll get a grungy, vintage, old wall effect.
Acrylic painting technique with a sponge
My worst daily nightmare is doing the dishes. However, I love kitchen sponges. And I often use them in my art.
They are great for applying acrylic paint on paper. Although they’re soft, I’ve noticed that they don’t soak the paint so much, so you can squeeze most of the paint out of them.
I love using the sponge in two ways:
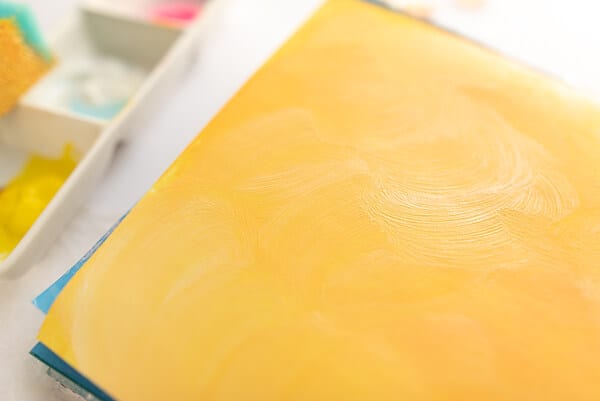
- Apply the paint in a circular motion
- Dab paint with the sponge
In each of these techniques, I use more than one color. Using just one is fine, it can also be bold and effective.
It’s easier to blend the paint if you move the sponge in a circular motion. What I love doing here is using all the chosen colors at once (I don’t let any of the colors dry). So, while they’re wet, they easily blend with each other.
Dabbing is also a great technique for acrylic backgrounds. You just take the sponge and dab the color onto the paper. The paints also blend here but create more texture than circular motions. And if you’re into texture, you’ll love this one.
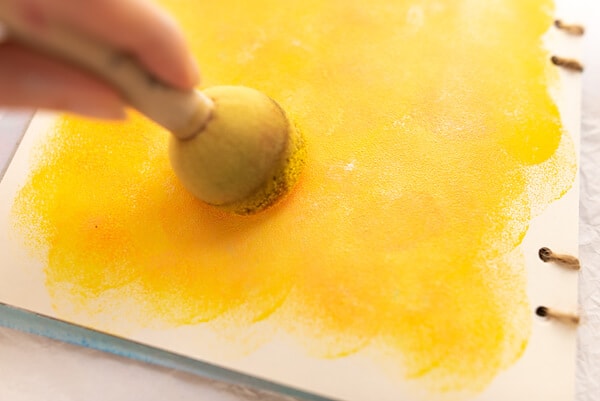
A bonus idea for painting galaxies
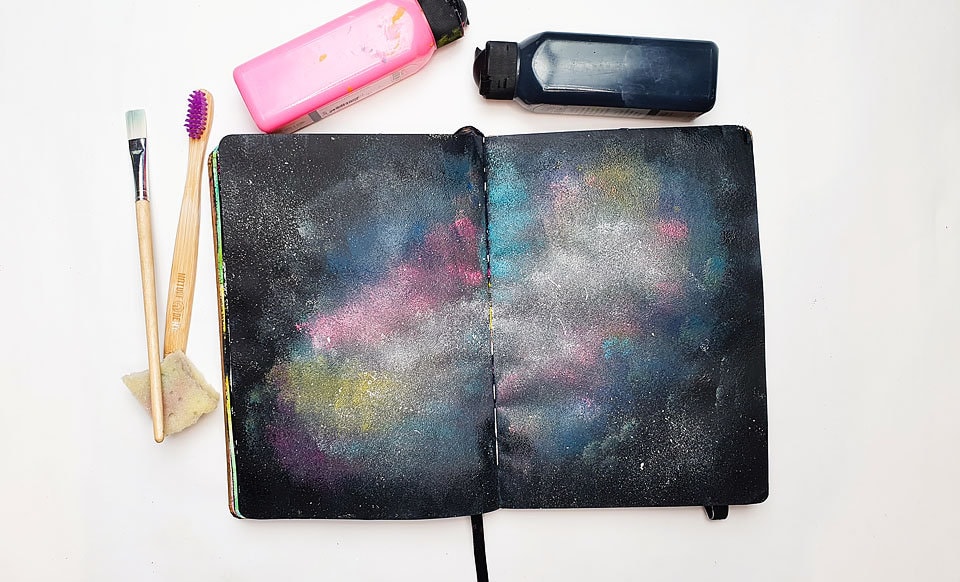
I love the idea of creating a galaxy with acrylic paint and a sponge, using the dabbing technique.
Make a magical acrylic background with a brayer
A brayer is one of my favorite tools. While it blends the paint, it also creates a gorgeous texture with just a few moves. Looking at it making its magic is such a visual feast.
Choose two or three colors for the best effect and put some paint on the paper.
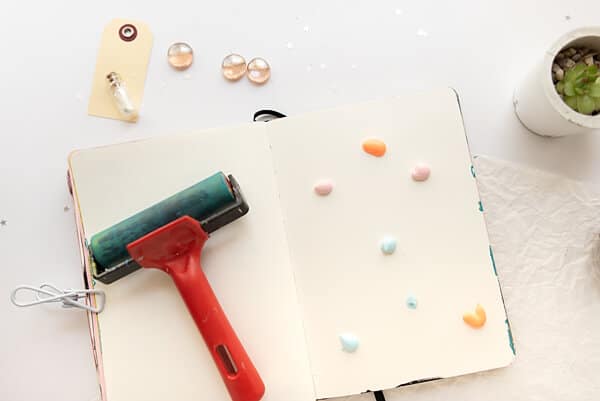
Then gently go over them with the brayer. You’ll see how they blend as you move around the page, and you decide when it’s done.
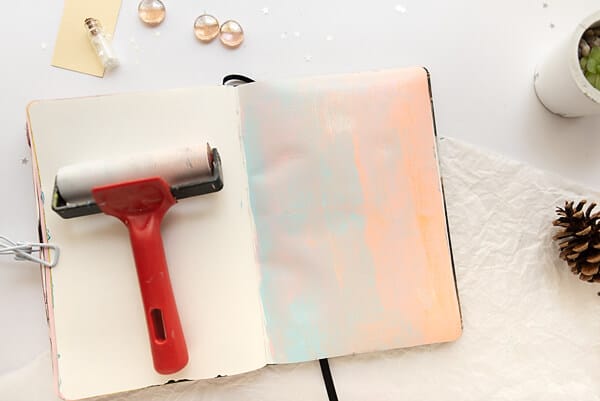
Sometimes I’m unable to resist blending the heck out of them because it’s just hard to stop when you’re creating magic.
Perfect combo: acrylic paint + stencils + baby wipes
Whoever invented stencils, I wanna hug them. This tool is versatile, easy to use, and offers endless possibilities to create.
The basic way to use them with acrylic paint is to paint over them to get the stencil image on the paper. That’s pretty obvious, right?
I want to show you another way of using them that’s even more fun. When you try this, you’ll create these art journal backgrounds over and over again.
First, apply a coat of acrylic paint on the page. Even better, use more than one color for a more interesting effect. If you look at the photo below: on the left, I just cleaned the paint from my brayer, so it served as the underlying layer here.
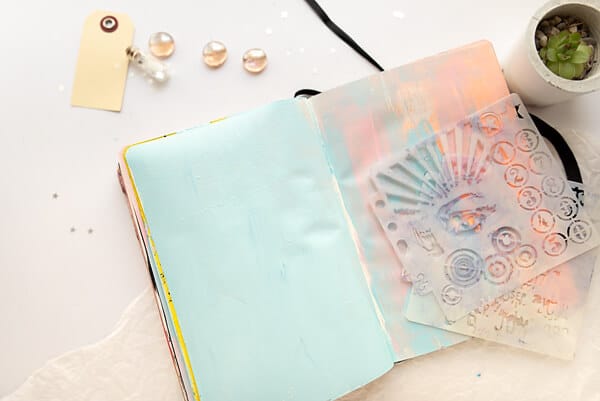
After this is completely dry, put another layer of paint on it, usually darker or lighter than the first layer. I painted the page light blue.
Then, while the paint is still wet, put a stencil on it and rub off the paint with a baby wipe.
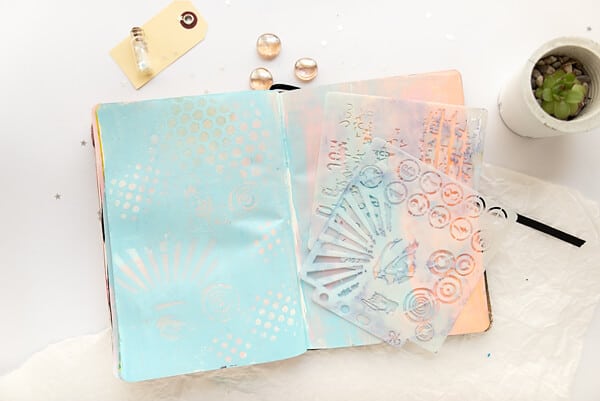
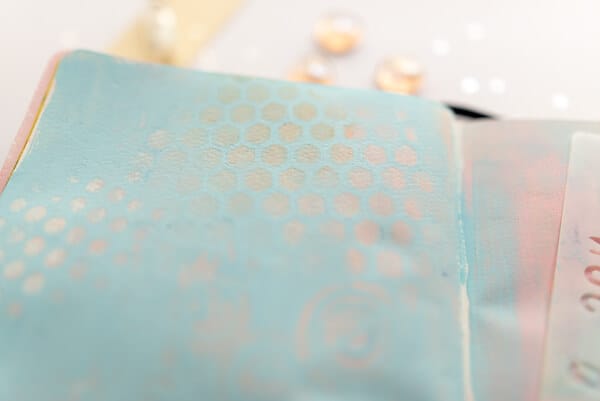
The underlying layer will show through the stencil. So, you can do this only on a part of your page or on the whole page. Just a matter of taste.
Use an old credit card or a gift card
Simply put, you squeeze a blob of acrylic paint on the top of the page. Then, you take the credit card or cardstock and push the paint down by pressing it against the paper.
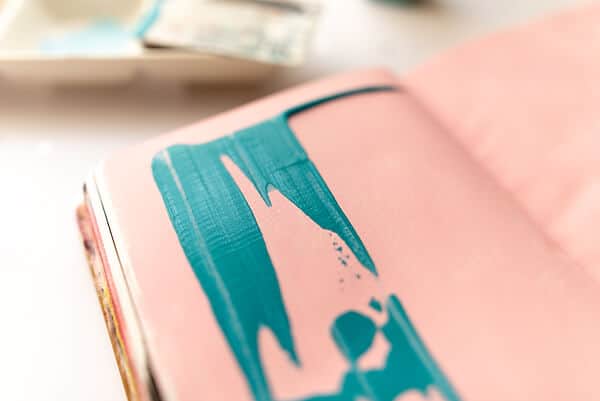
For the purposes of this post, I used only one color (blue). I challenge you to try two or more and see what you’ll get. Experiment!
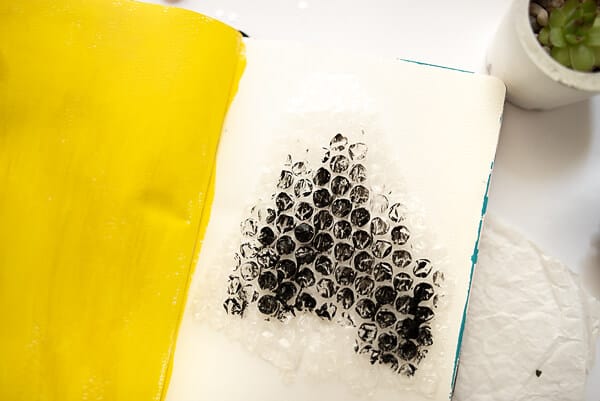
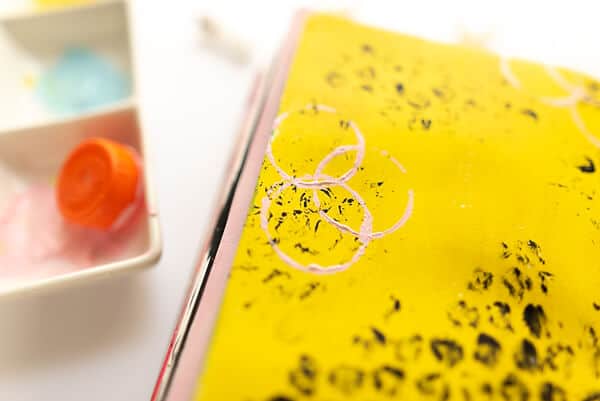
Bubble wrap mark-making
Bubble wrap is ideal for making interesting and messy marks with acrylic paint. With this, you can create interesting acrylic backgrounds.
Simply, apply some paint on the cute bubbles with a paintbrush. Then, press the wrap onto the paper. Do this gently if you don’t want the paint to smudge.
But, hey, making a mess is also an art journaling joy, so smudge away if you want.
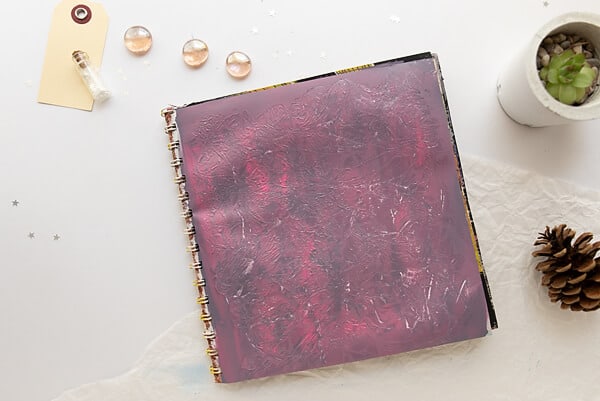
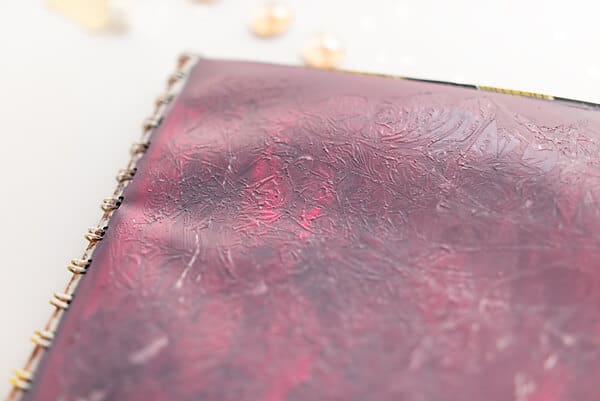
Make texture with acrylic paint and kitchen foil
This technique will take you a bit longer because the paint needs to dry longer.
So, apply a thick coat of paint (one or more colors). Even thicker than you’re imagining now.
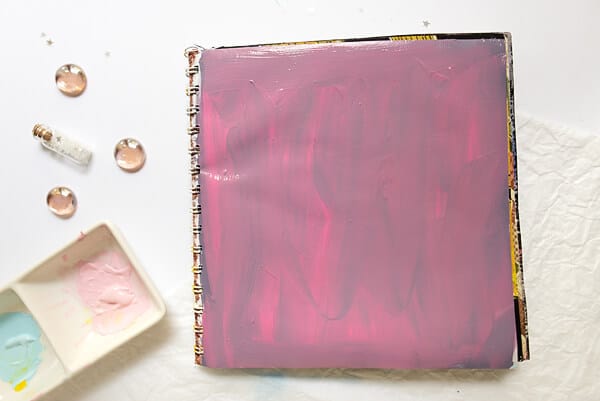
Next, while the paint is still very wet, put the foil on it and squeeze it into small crupbles.
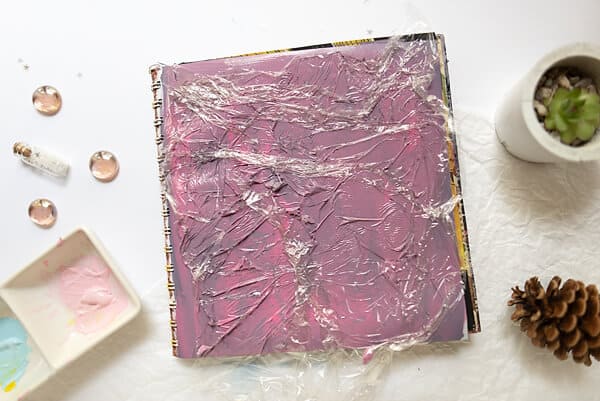
Leave it to completely dry before you remove the foil. The texture on your background will be amazing!
Spray water on wet acrylic paint
Besides water and acrylic paint, you’ll also need a paper towel or toilet paper.
Apply some paint on the page and don’t let it dry. Immediately spray water from a mister or use a brush to make water splashes.
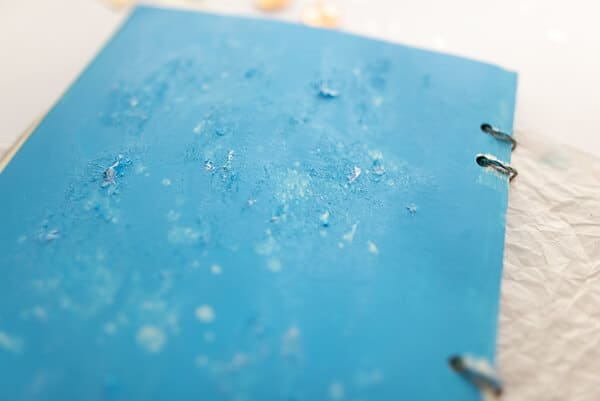
After that, cover the page with the paper towel by gently pressing it until it absorbs the water you sprayed. The paper will pick up the paint and leave beautiful marks.
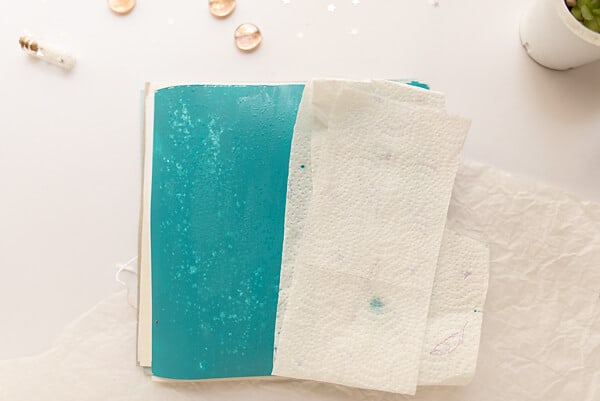
While I was experimenting with this background technique, at one point the toilet paper tore and some pieces were left on the page. At first, I screamed: Noooooo!
But a second later, I noticed how this mistake made a great texture. So, I continued making this on purpose! It’s what artists call a happy accident.
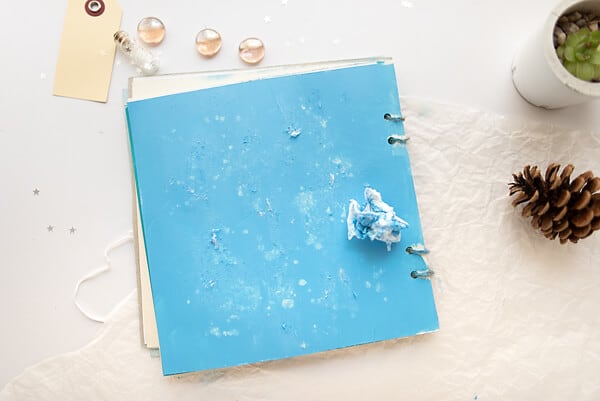
Create a grungy acrylic background
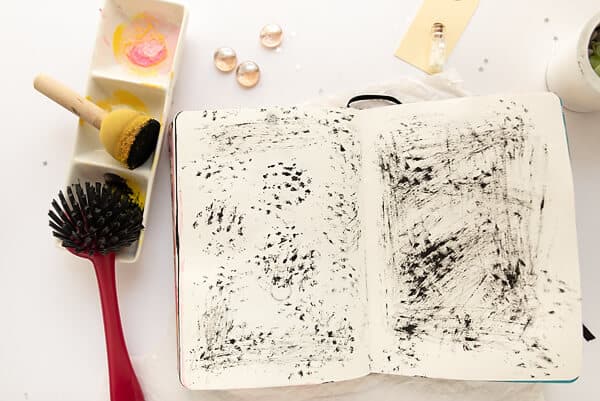
Having no words on how to explain what this is, here’s a photo of it.
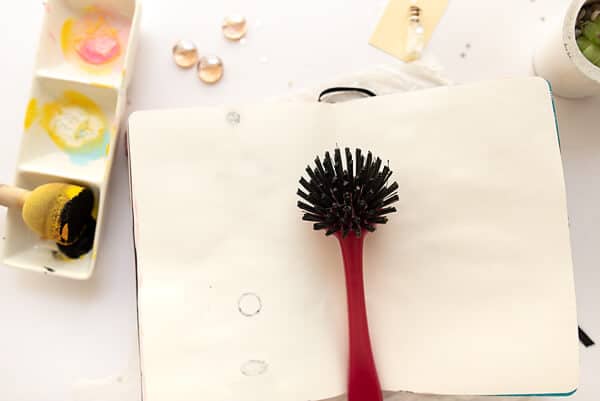
My boyfriend looked at me like I was the weirdest human on Earth when I brought this one from the kitchen and started painting it. Oh, well, weird or not, I got amazing results.
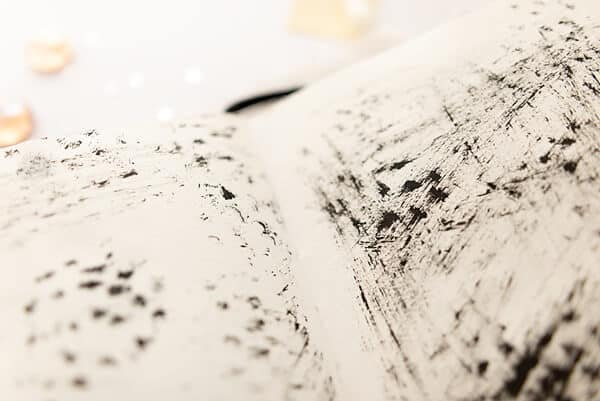
You just apply paint on this brush with a paintbrush and then make marks on the paper. You can dab or make irregular strokes with it. I love the grungy effect of this technique.
Kiss and Divorce: a creative background idea
Remember how I said that acrylic paint and paper have a special relationship? Well, let’s kiss them and then divorce them for a moment.
You do this by opening a clear spread in your art journal. Then, apply some paint on one side.
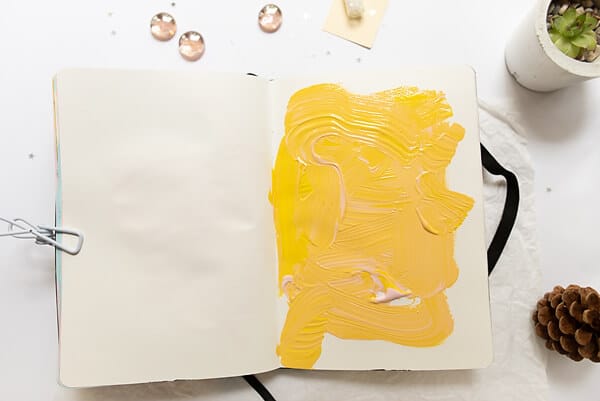
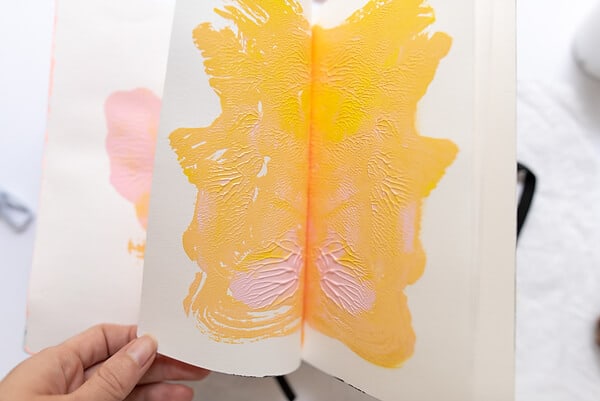
And while it’s still wet, close the journal for a second and press it gently.
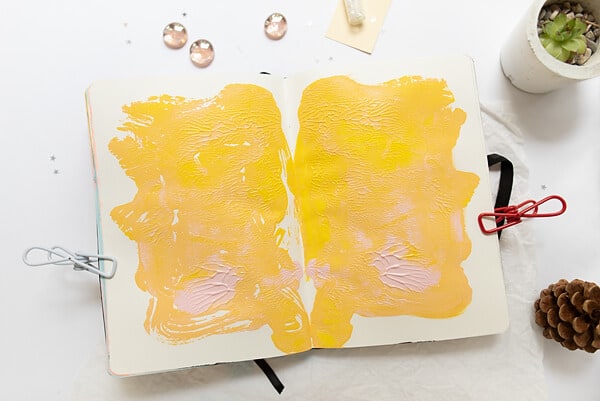
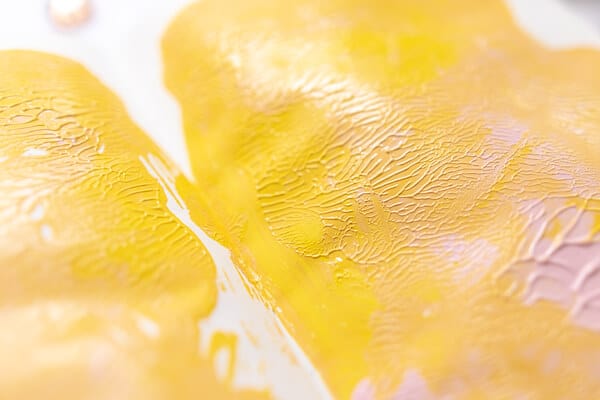
Next, open the spread again (divorce the pages), and voila! You’re looking at a messy symmetry in your journal.
This is one of the coolest acrylic backgrounds I’ve tried.
Final thoughts on acrylic background ideas
These art journal background ideas are meant for you to just start painting something on your page. After you’ve done the background, you can put more layers of paint, do a collage, or write with markers.
The techniques are very easy to do, and for many of them, you can use household items you already have.
But what I want the most from you is to continue experimenting. Explore different tools, various strokes or pressures, and the amount of paint you use, and see what new things you’ll learn.
Above anything else, just start something. Pick one idea today, and make a creative background. And remember, no judges or art police, just you and your art journal.
P.S. If you still aren’t satisfied with creating backgrounds with acrylic paint, try the other way around and make a page with a white background. Use white space as an effective element in your art journal.
If you like these background ideas, save them to your favorite Pinterest board!
