Best Glue For Collage – How To Avoid Bubbles Or Wrinkles
Wondering about the best glue for your collages and how to avoid bubbles and wrinkles?
That’s a subject many creatives would like to know.
There’s nothing worse when you find a beautiful image and want to glue it down and your glue creates wrinkles and bubbles and it all just becomes a huge mess and no aesthetics.
That’s why I’m going to share my best choices for collage glue and tell you how to use them to avoid bubbles and wrinkles so you can enjoy your collaging to the fullest.
Disclaimer: Some links in this post may be affiliate links. This means that if you purchase something through that link, I get a small commission, at no extra cost to you.
Best glue for collage – top 3 picks
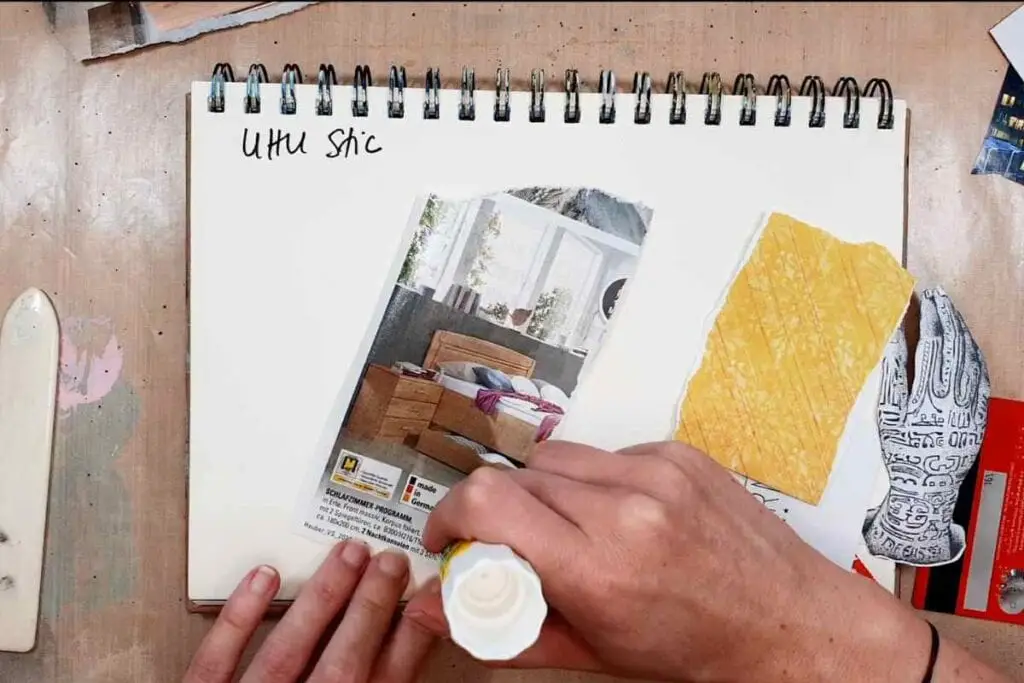
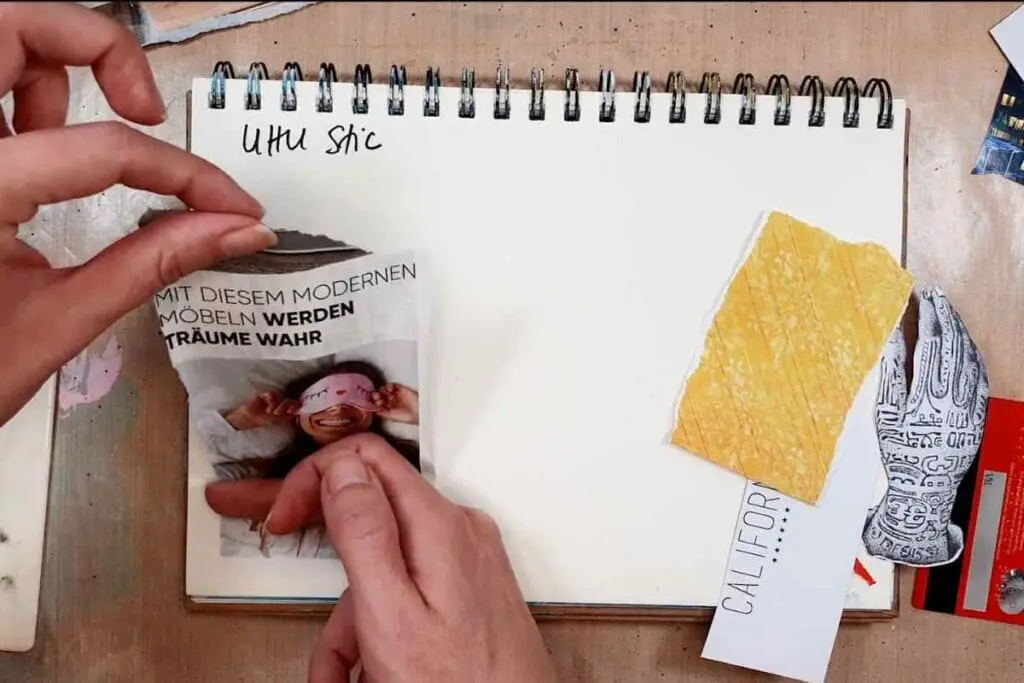
1. UHU Stic is my top pick as the best glue for collage
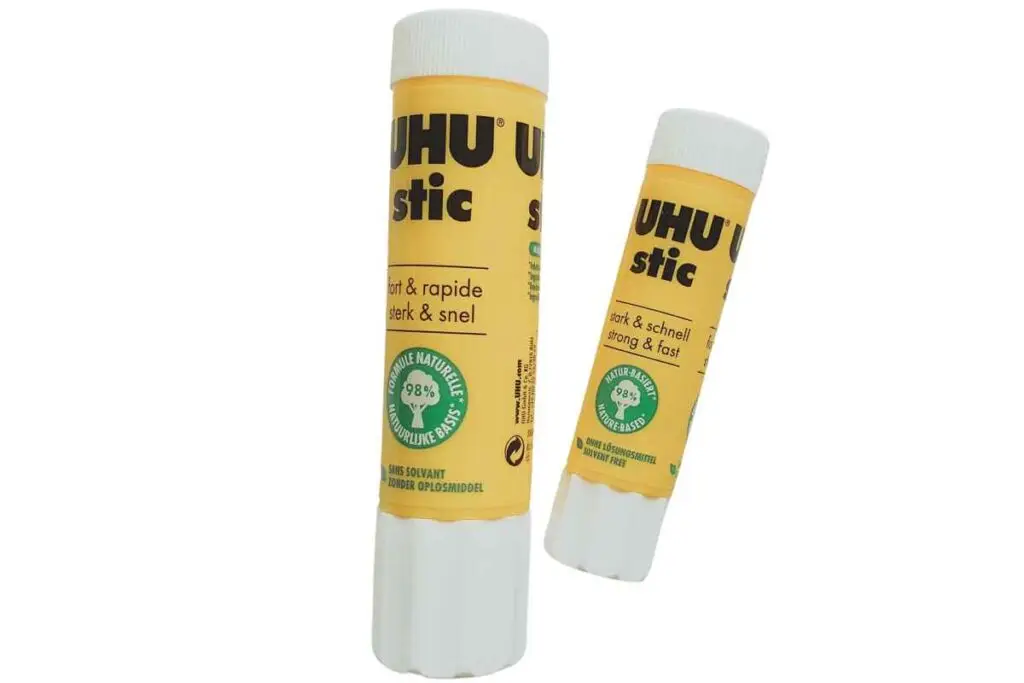
UHU Stic is a great glue that’s easy to apply dries quickly and doesn’t have a lot of moisture like the first two.
It’s great to use with all kinds of paper but you need to iron out your image since it’s watery and has a lot of moisture.
It’s ideal for using with magazine clippings and easy to iron out with an old credit card. I manage to use it without any bubbles or wrinkles.
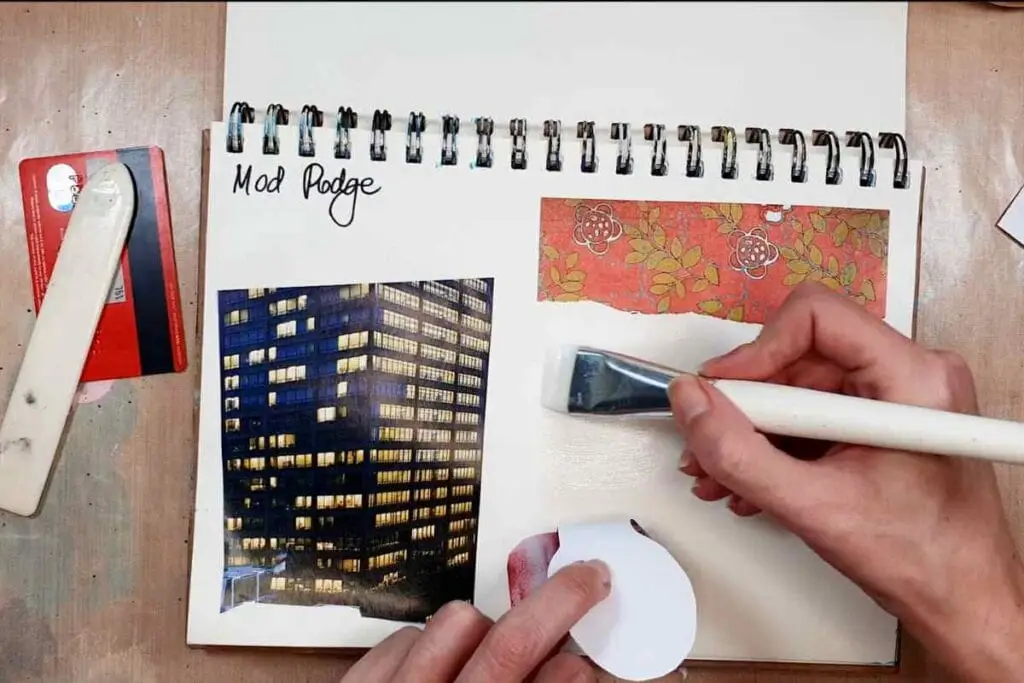
2. Mod Podge
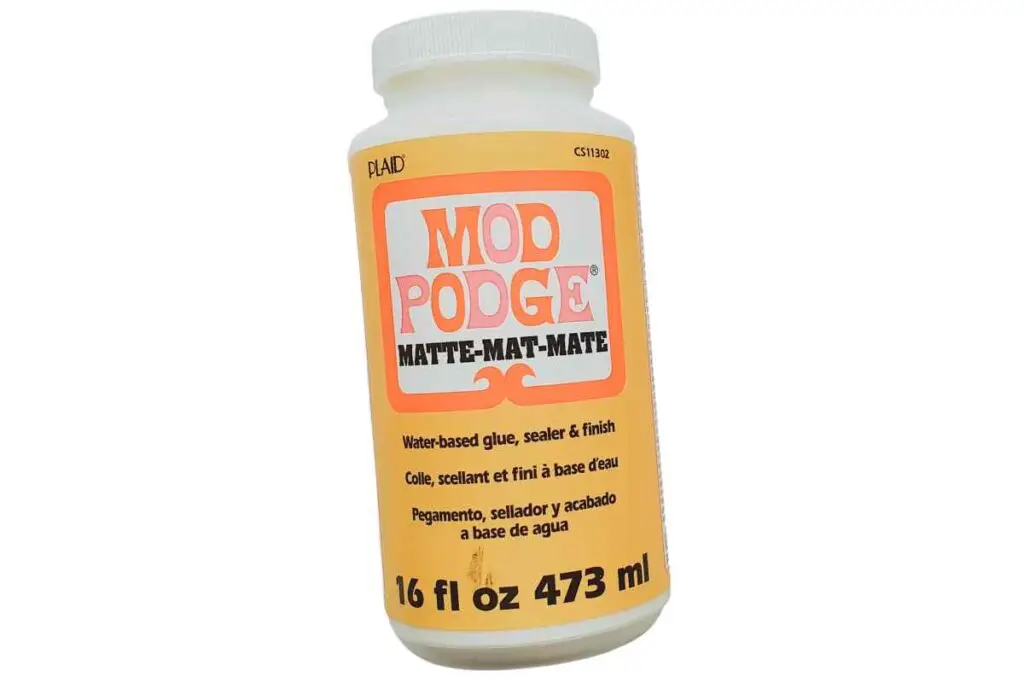
This is a water-based glue, sealer, and finish. It dries matte and it’s liquid.
Use a brush or a foam brush to apply it.
Works best with papers, even thicker ones.
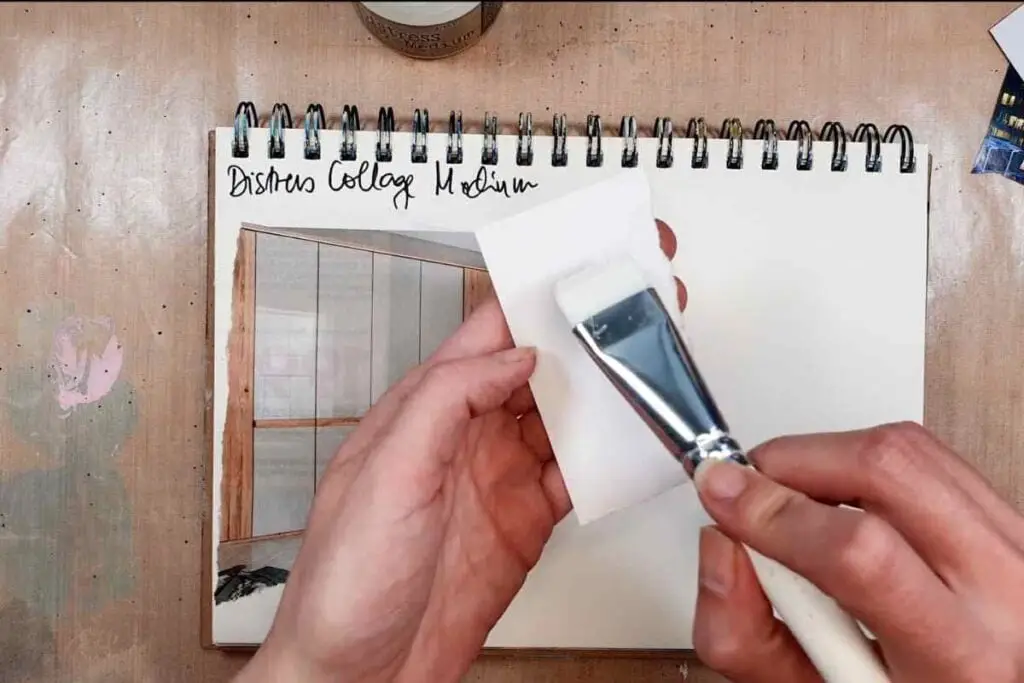
3. Distress Collage Medium
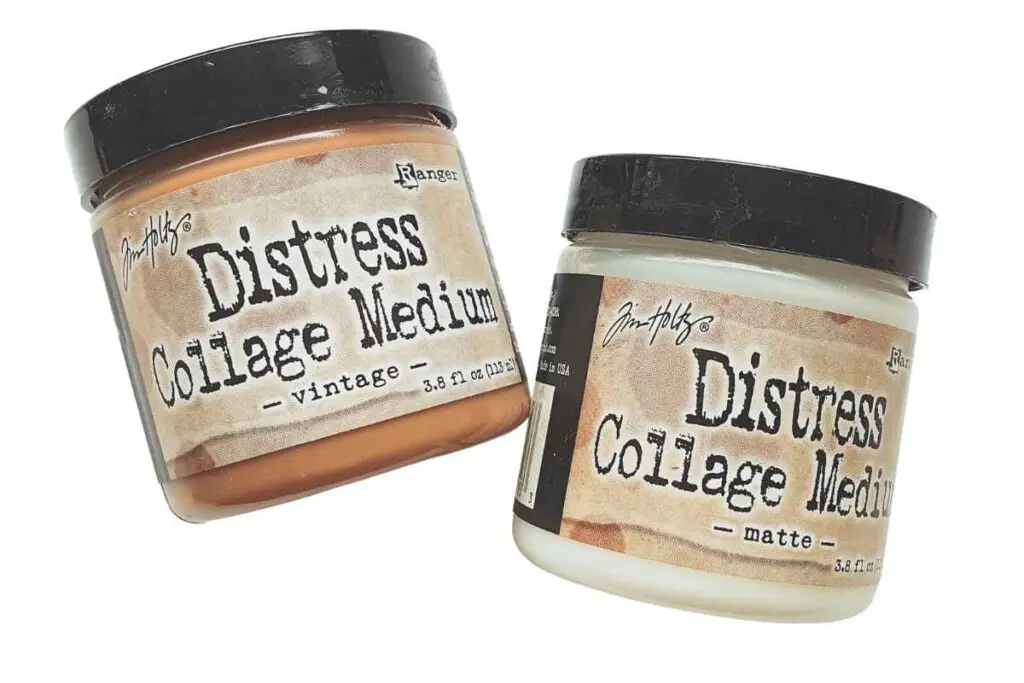
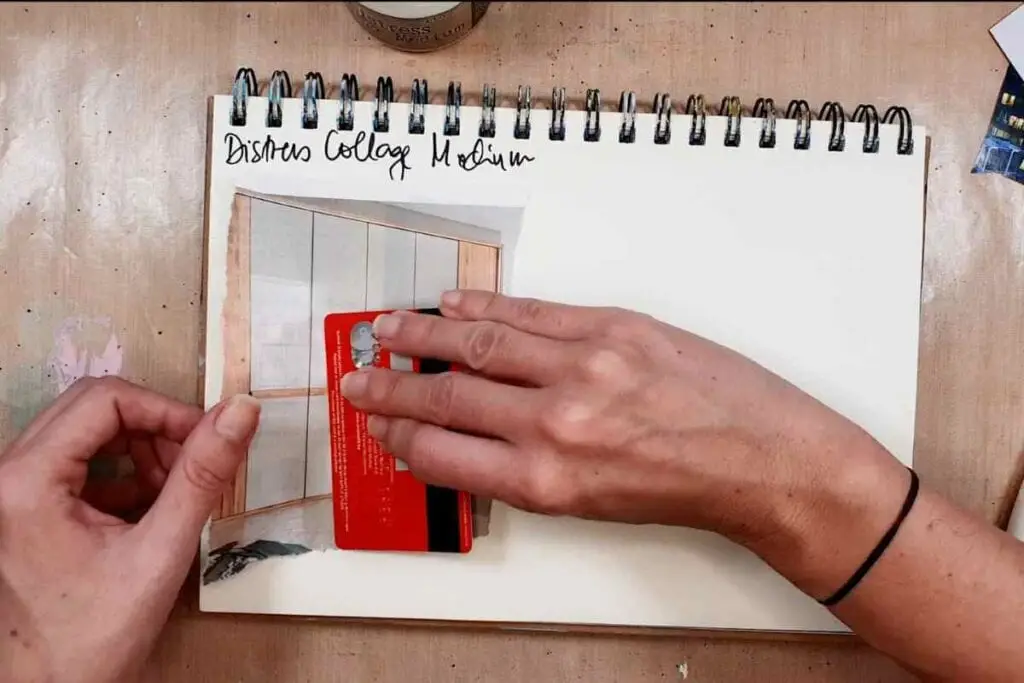
This is similar to Mod Podge. You can apply it with a brush or a tool such as a palette knife or an old credit card. I suggest using a sturdier brush for this one.
It dries with a mate finish and you can choose between the matte one that dries transparent and a vintage one that has a brownish tone after drying.
Things to consider when choosing glue for collage
Before you decide which glue to use for your collage art, let’s go over some things you should consider first.
It all depends on your needs, techniques, and what final result you want.
For example, if you want your collage to withstand the test of time, you’ll need acid-free glue that’s transparent and glues really well.
But remember, you’ll make the best decision if you test and experiment. I’m going to provide info based on my experience, but you still need to test how it works for you.
Let’s look at these factors.
Adhesion strength
I want to make collages only with the type of glue that really sticks things down and doesn’t allow the paper to unlgue itself later.
All the glues I’m using have this ability. These are:
- UHU Stic
- Mod Podge
- Distress collage medium
I’ve tested these three and they really glue things down well.
Transparency
Bet it’s important to you that your glue is transparent when dry, right? You want to see your collage rather than some glue stains.
A good collage glue should dry clear, without leaving any noticeable residue or marks on your artwork.
All three glues I’m testing here dry transparent.
Drying time
We all want to work quickly sometimes, and a glue that dries fast is super convenient.
That’s why I love UHU Stic, because you can glue an image down with it, and continue working right away. Maybe it will buckle your surface just a little bit, but that’s ok because you can press it later to straighten it up. No biggie.
The types of glue that are water-based might take a bit longer, especially if you also use it as a sealer (Mod Podge). But I’ve never had to wait for too long for it to dry.
When I’m impatient, I use my heat gun for a few seconds.
Acid-free and archival quality
This is important if you want your collages to stay healthy for a long time. Especially if you’re framing it.
However, when I work in my art journal, I don’t mind if my collages turn yellow over time (I’m talking years) because my art journal is a place to experiment and enjoy and not worry about what’ll happen in 5 years’ time.
Application method
This is just a matter of personal preference.
I love using UHU Stic because it’s so easy to apply without using any other tools. I just use an old credit card to iron out my image.
Unlike Mod Podge, for example, where I need to use a brush or a foam brush to apply it.
But even using another tool isn’t complicated and that shouldn’t be an obstacle for you.
Best glue choices for collage
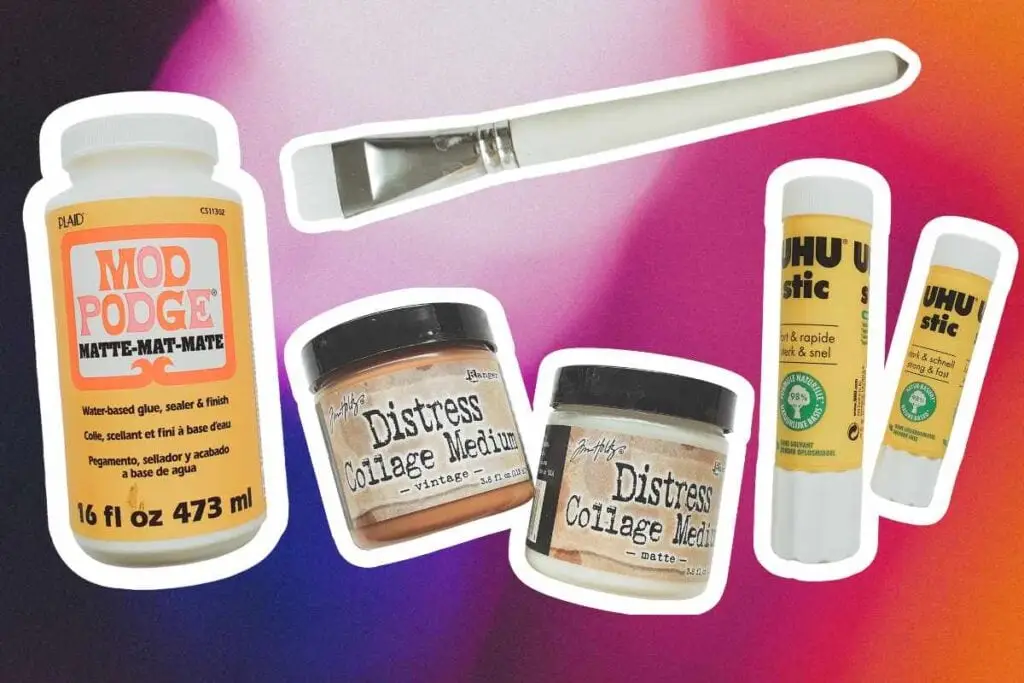
I’ve been using three different gules for collages:
- UHU Stic
- Mod Podge
- Distress Collage Medium
All three are great for making collages. And each has its unique quality that might be great for you.
Mod Podge
This is a water-based glue and sealer. It’s liquid and you need an applicator to use it: a paintbrush or a foam brush.
It sticks paper really well but it can create bubbles and wrinkles.
However, there’s a way to avoid that and it’s a reliable technique. All you need is an old credit card and you use it to iron out the image before the glue is dry.
This will help you remove all the bubbles and wrinkles.
But I need to tell you that you should also carefully put the glued image down. I usually start from one end and then slowly iron it out with my fingers, and after it’s completely down, I use an old credit card to even it out more.
Mod Podge can be used as a sealer. This means that you can cover your collage with it to really seal it down and protect it.
UHU Stic
Using this glue stick is a similar process as with the Mod Podge.
First, I put some glue on the image carefully, covering the whole image.
Then, I slowly glue the image down while ironing it with my finger.
And lastly, I use a credit card to iron it out further and I must tell you: I have no wrinkles!
Distress Collage Medium
It’s a glue for collage created by Tim Holtz (Oh, how I love his products) and it comes in a variety of colors. I have a plain matte one that dries transparent and a vintage one that gives you a bit of a brownish feel when dry.
This one is very similar to Mod Podge, but it’s a bit thicker, and not so liquid. And you can use it as a sealer, too.
The application method is the same: use a brush or a foam brush.
Glue recommendations for specific collage materials
Sometimes you want to make collages with magazine images, sometimes with cardstock, or just plain paper. So, here are the glues you can use for each of these purposes.
Paper
For plain paper (thin papers) I love using the UHU Stic. It doesn’t wet my images too much and it’s easy to apply and iron out.
Mod Podge can make thin papers curl a bit because it’s moist, but it can be dealt with using something to iron out the image.
Apply very thin coats of glue for plain, thin papers.
Magazine images
Magazine images are usually on the thinner side. That’s why I love using UHU Stic with them. And it’s rarely failed me.
A thin coat of glue is enough, you don’t want to make your magazine image wrinkle because of all the moisture.
Cardstock
Glue sticks sometimes can’t hold cardstock because it’s thicker paper. However, I’ve managed to glue down thinner cardstock with UHU Stic really well.
But when it comes to heavier cardstock, I’d definitely use Mod Podge or another gel medium. And with cardstock, you can go a bit more generously with glue.
And you won’t have to worry about wrinkles or bubbles, this paper is too heavy for that.
Fabric and textiles
If I have a piece of lace or something similar, I can glue it down with Mod Podge and go over it as well. It can stick really well this way.
Small pieces of fabric (that aren’t too thick, but rather flat and thin) can easily be glued down with something like Mod Podge.
Tips for using glue in collage
Here are some tips and techniques to make your papers glue down without you stressing over them.
Prepare the surface
Before starting your collage, it’s important to prepare the surface you’ll be working on. Make sure the surface is clean and free of dust or debris.
You might even apply a layer of gesso or acrylic medium to seal and protect the surface you’ll be working on, especially if you’re using porous materials like paper.
Use thin and even layers
Let this be your rule. I bet you’re usually sticking thinner papers like magazine images and printed-out stuff.
The key to gluing them down evenly without bubbles is to apply a thin coat of glue. This is especially important if you’re using something liquid like Mod Podge.
Even it put with your brush and leave a thin layer and then put your image down on top of it.
Test your glue with different papers/materials
The best way to learn techniques and what works is to test. Use the glue that you have and test it out on a few different things.
You can see me doing that in the video.
This is how you’ll know what works best for your glue.
Allow sufficient drying time
If you’re using liquid glue, let it sit for a few moments until it’s dry so you can continue working. You’ll maybe notice that your surface is buckling. No worries, you can flatten it out later by putting it under something heavy.
But wait for a few minutes until you attack the collage image with paint or something else, ok?
Iron out the wrinkles/bubbles
I already mentioned this, but it’s so important I want to come back to it.
Every time I make a collage, I have an old credit card ready to go. As soon as I put an image/piece of paper down, I use the credit card to iron out any bubbles or wrinkles.
However, this technique isn’t successful if you’ve applied thick layers of glue. Instead, use thin and even layers. That should ensure you can iron out the image afterward (while the glue is still wet).
Also, don’t just put the image down and slap it. Do it gradually and use your fingers to slowly press it down and iron it out.
You can also see me do this in the video.
Frequently Asked Questions (FAQ)
What is the best glue for paper collage?
My top choices for paper collages are:
- UHU Stic
- Mod Podge
- Distress Collage Medium
The one I mostly use is the UHU Stic. It’s easy to apply, dries fast, and is transparent, it can be ironed out, and it works great with thinner papers like magazine images.
How can I prevent wrinkles or bubbles when gluing?
As we already discussed above, there are a few steps to avoid bubbles and wrinkles:
- Apply an even and thin layer of glue on your surface, or on your image (I apply directly on the image if I’m using UHU Stic, and if I’m using Mod Podge, I apply it to the surface first)
- Gently start gluing down your image/paper starting from one end and slowly ironing it out with your fingers while putting down the rest of the image
- Use an old credit card to iron it out even further, going from the center to the edges
Or, you can use thicker paper that won’t buckle at all. Try experimenting with thicker scrapbook papers, that might be an interesting collage.
Is it necessary to seal the collage after gluing?
Depends. If you want to sell it or frame it, maybe it’s a good idea to seal it. I usually collage in my art journal and I don’t seal my pages.
How can I prevent the glue from seeping through a thin paper in my art journal?
To prevent the glue from seeping through the thin paper in your art journal, try using a lighter adhesive that won’t saturate the paper, such as a glue stick.
Additionally, you can place a protective sheet or piece of wax paper underneath the page you’re working on to keep the glue from spreading to other pages.
What is the top choice for gluing magazine clippings?
In my experience, the best choice for gluing magazine clippings is the UHU Stic. I’ve mostly used thin, glossy magazine images and this glue stick has been great.
I apply it in thin layers, ironing out the image and it glues down perfectly.
The glues that are too watery can easily make wrinkles on thin magazine papers.
Some final thoughts
So, here are the top three choices for collage glue:
- UHU Stic
- Mod Podge
- Distress Collage Medium
These are great glues for collage because they stick well, are dry transparent, and can easily be used without wrinkles or bubbles – if you follow the steps and are careful.
My best tips:
- don’t work quickly
- use application and ironing tools
- really devote attention to applying thin layers of glue, putting the image down, and ironing it out
I can say these are the most important steps when it comes to glue and collage.
Make stunning art even if you’re a complete beginner
Download your free art journal kit and start creating wonderful pages in no time with this beginner’s guide. You’ll find amazing tips and steps for creating a page.
Do you want to get some collage ideas? Follow the articles below:
13 Easy Collage Art Ideas Anyone Can Do (With Designer Tips & Tricks)