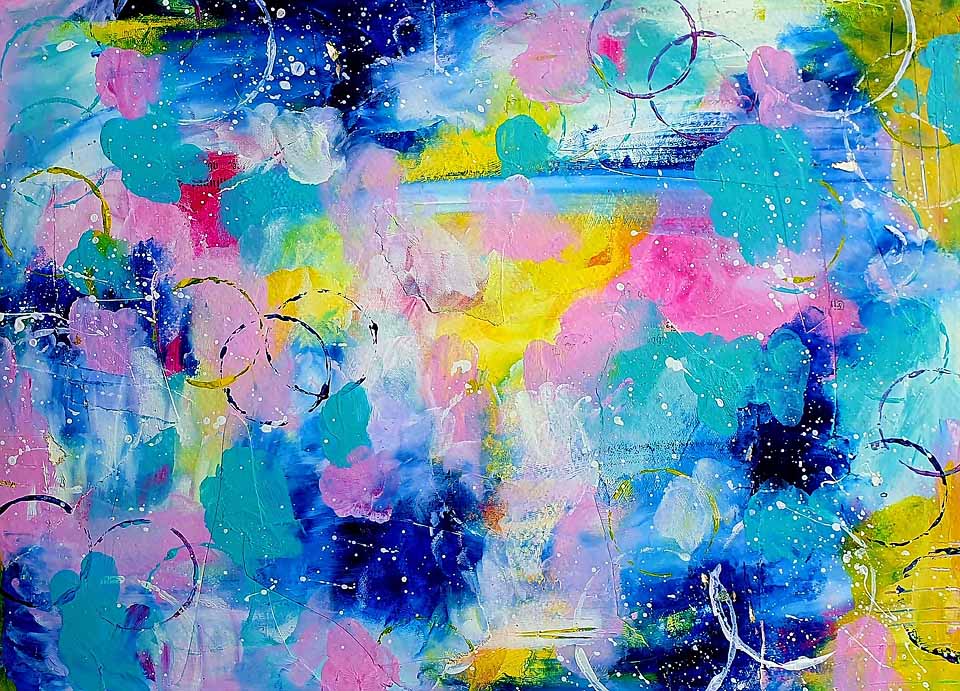
All About Acrylic Painting – A Guide For Beginners
Acrylics are a fantastic medium for beginners, offering a perfect blend of versatility, vibrancy, and ease of use.
In this beginner’s guide, I’ll guide you through everything you need to know to kickstart your acrylic painting journey. From essential supplies, acrylic paint characteristic to basic tips, making sure you’re equipped and inspired to unleash your inner artist.
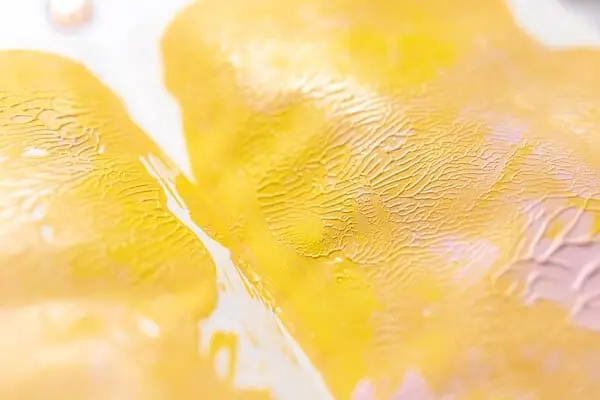
Acrylic paint is water-based (most of them), dries fast, and doesn’t react to water when it’s dry.
This means you can use water with it (or not), you won’t have to wait too long for it to dry, and once it’s dry, you have no worries about smudging it with liquid media again.
This is perfect for beginners!
Remember, you don’t need to spend a fortune to start painting in acrylic paint. At the beginning, look for affordable options that’ll help you go through the experimental and learning phases.
Here’s what you’ll need:
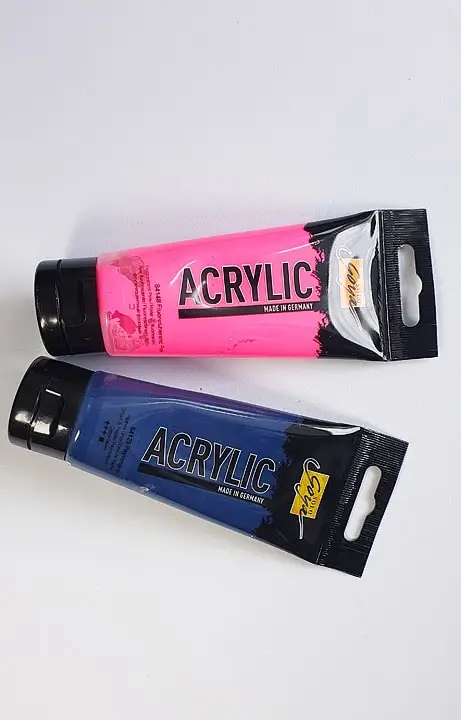
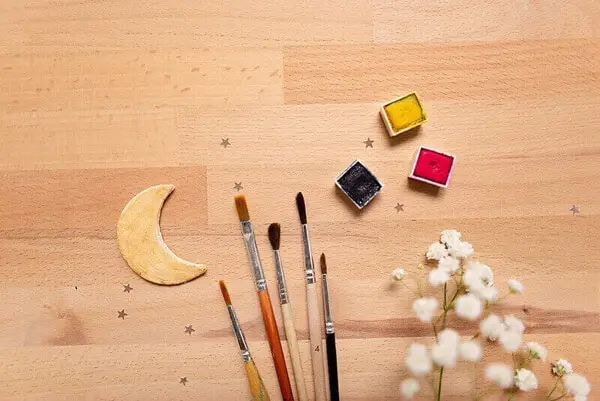
- Acrylic paints: Start with a basic set of primary colors (red, blue, yellow) along with white and black. As you progress, you can expand your collection with more colors.
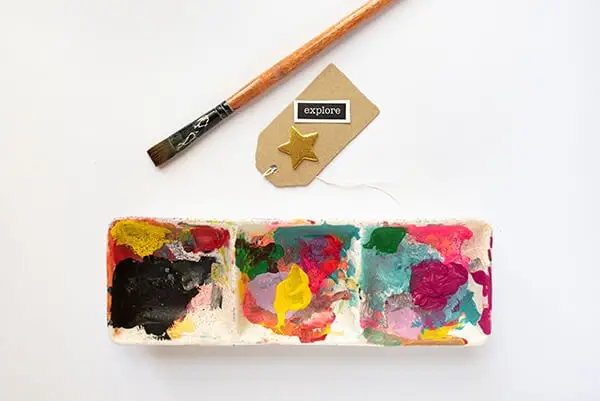
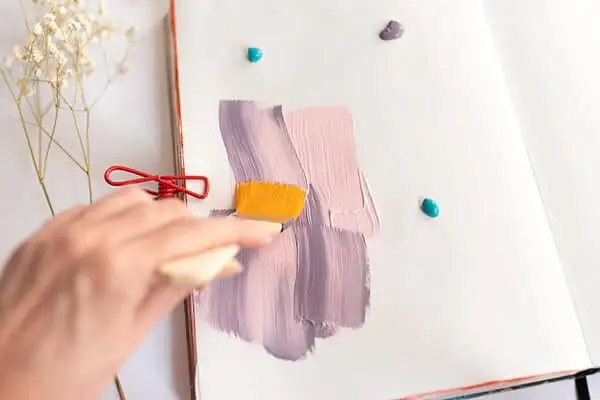
- Brushes: Invest in a variety of brushes in different sizes and shapes so you can experiment. A combination of flat, round, and filbert brushes is ideal for beginners.
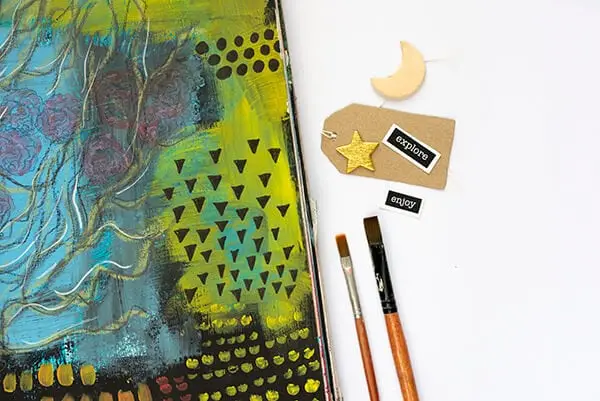
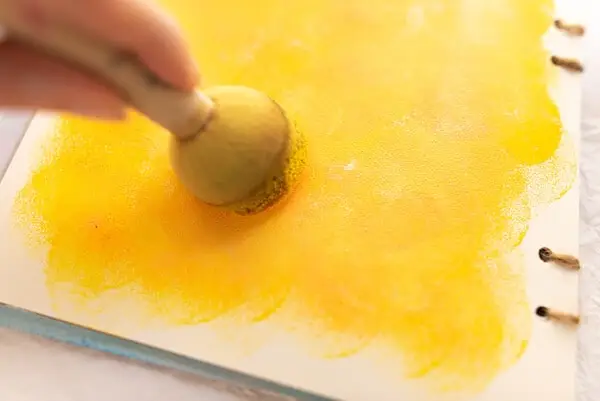
- Painting surface: My advice is that you don’t start with canvas right away. First, use paper or an art journal. And practice, learn from your mistakes and later on you can move to canvas. Be sure to select thicker paper like cardstock or mixed media paper.
- Palette: You’ll need a palette for mixing your paints. You can search for a traditional palette made of plastic, glass, or wood, or simply use a disposable palette pad or even jar lids. Anything will work.
- Water container: Keep a container of water handy for rinsing your brushes between colors and for thinning your paint if needed.
- Paper towels or rags: Have some paper towels or rags nearby for cleaning up spills, wiping brushes, and dabbing excess paint.
Set up your workspace
Creating the comfortable and inspiring painting environment is great for unleashing your creativity and enjoying the process. Here’s how to set up your workspace and make the most out of it:
- Good lighting: Natural light is ideal, but if that’s not available, invest in some bright, white lights that mimic daylight. Proper lighting ensures you can see your colors accurately and reduces eye strain.
- Comfortable seating: You’ll be spending some time in your painting space, so make sure you have a comfortable chair or stool that supports good posture.
- Protected surfaces: Lay down a drop cloth or plastic sheet to protect your desk from paint spills and splatters.
- Proper ventilation: Acrylic paints are non-toxic, but ventilation is still important, especially if you’re working in a confined space. Open a window and you’re good to go. If it’s too cold for that, ventilate every 15 minutes.
- Organized supplies: Keep your brushes, paints, palette, and other tools within easy reach. A clean and organized workspace not only makes painting more enjoyable but also saves time searching for what you need.
- Inspiring decor: Surround yourself with things that inspire you, whether it’s artwork, photos, or objects from nature. A visually stimulating environment can boost your creativity, give you plenty of ideas for composition and colors, and help you stay motivated.
What to do when something goes wrong with acrylic paint?
Even the most experienced painters encounter challenges from time to time. Here are some tips to help you overcome common “mitakes” and keep your sanity and confidence in a good place:
- Paint drying too quickly: Some acrylics dry fast, which can be both a blessing and a curse. To extend the drying time, try keeping your paints moist while you work (by spraying them with water).
- Paint not drying quick enough: This can also be a problem if you don’t have much time. However, there are some acrylic drying techniques like using a heat gun.
- Difficulty with blending or layering: If you’re struggling to blend colors smoothly or achieve layered effects, experiment with different painting techniques. Try working wet-on-wet for seamless blending or allow each layer to dry completely before adding the next for crisp, distinct layers. You’ll learn by experimenting.
- Overmixing colors: Oh, this one is a bugger. Mixing too many colors together can result in muddy or dull shades – brownish. To avoid this, start with a limited palette of primary colors and mix them gradually to achieve your desired color. Use a clean brush for each new color to prevent contamination.
- Mistakes and how to fix them: Don’t panic if you make a mistake – acrylics are forgiving. For small errors, you can often paint over them once the paint is dry. For larger mistakes, do the same or just leave it as is and start something new.
Also, you can use Gesso to paint over those mistakes. The point is not to worry about these things, you’re a beginner and you have the right to experiment aand make mistakes. That’s the beauty of beginnings, right?
Remember, every artist encounters challenges along the way. The key is to stay patient, keep experimenting, and embrace the learning process.
Different types of acrylic paint
Heavy-body vs soft-body
Heavy body acrylics are thick, have a high pigment, and are usually artist-grade. By using heavy body acrylics, you can create interesting textures, especially the well-known impasto technique. Instead of using a brush, you can use a palette knife with this thick acrylic.
Soft body acrylics are creamier, almost fluid. Painting with them leaves little brush marks, or even none, unlike heavy body acrylics.
You can use both in collages, mixed media, and other art journal techniques.
Fluid acrylic paints
Fluid acrylics are similar to the heavy body when it comes to pigment, but they have a fluid consistency. Besides using them with brushes, they work great for pouring techniques and even spraying.
Acrylic ink
Acrylic inks are extremely fluid and this makes them perfect for different kinds of effects. They’re usually brightly colored, with high pigment and vibrance. It also dries quickly and permanently.
Acrylic sprays
Acrylic sprays are very interesting because of their liquid characteristic and the tool they’re used with. This lets them paint evenly on a surface with ease but sometimes with less control.

They come in different kinds of spray bottles and spray sizes. For art journaling and mixed media, there are brands that manufacture specific sprays that are easy to work with and have the most amazing color choices.
Acrylic gouache
It’s a matte paint similar to the traditional gouache, but you don’t need to add water to it. It has great coverage.
This is the best explanation for acrylic gouache I’ve found:
“Acrylic gouache is a unique form of traditional gouache. Also called acrylic gouache, the paint is opaque to provide more coverage. But the addition of an acrylic binder turns it from water-soluble to waterproof. This is the feature that attracts artists who love to layer and use vivid colors in their artwork.”
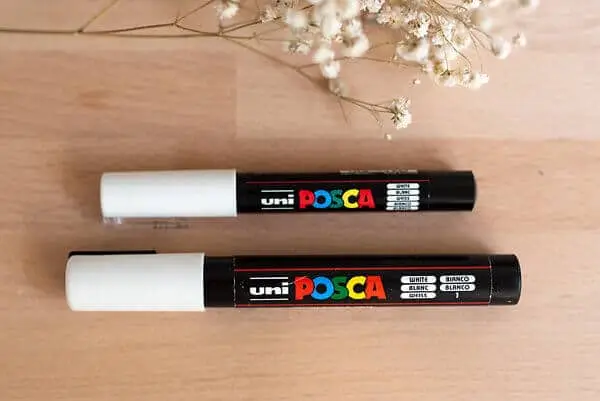
Acrylic markers
The beauty of acrylic markers is that they’re acrylic paint in a pen. They’re also water-based and dry permanent on porous surfaces like paper.
One of the best things about them is that you don’t have to use a brush, so it’s less messy. For some people, this means more control.
My favorite acrylic markers are Posca paint pens. They come in different colors and nib sizes and work wonderfully on paper, acrylic paint.
I especially love the white one for doodling, finishing touches, adding interesting marks, etc.
Different grades/quality of acrylic paint
Artist-grade
Artist-grade acrylic paint has more pigment in it which creates more vibrant results. They also come in a great variety of colors, usually in large sets, or you can buy individual colors.
Their prices are on the more expensive side, compared to student-grade paint.
Also, painting with artist-grade acrylics, you’ll get an even result color-wise, which means there’s little or no color shift.
Student-grade
Student-grade acrylic paint is more affordable than artist-grade ones. So, their characteristics are also in line with that.
With them, you’ll get less paint coverage and greater color shift. However, if you’re painting for yourself, experimenting, or art journaling, these paints are great.
You‘ll pay less for them, but you won’t be afraid to experiment and “waste” them.
I’ve worked with student-grade acrylics since forever and they work fine, especially for art journaling.
Characteristics of acrylic paint
1. Permanence (lightfastness)
If the paint is lightfast, it means it will resist any change due to the exposure to light. So, basically, you can keep your acrylic paintings for a long time and they won’t change color or fade.
When you search for acrylic paint, think about how permanent you want your painting to be. If it’s not important to you, you just skip that and focus on other characteristics.
If you want to test the level of the lightfastness of your paints, paint a piece of paper and expose it to direct light and sunlight on a window.
Keep one half of the paper exposed, and the other hidden or in shade. Then, with time, you’ll see how long it takes for the paint to fade, if at all.
Another way to have this information is to look at the paint packaging. They should be marked by the ASTM rating according to this:
ASMT I: excellent lightfastness
ASTM II: yery good lightfastness
ASTM III: not sufficiently lightfast to be used by professional artists
However, since this test is a bit old and not updated, some paints may not have these markings.
2. Color
There are numerous acrylic paint colors out there. Different brands naming their colors differently adds up to the confusion.
Seriously, nobody can remember that. So, I don’t want to overwhelm you with those. Here are some of the names: Titanium White, Lemon Yellow, Burnt Sienna, and Crismon Red, just to give you an example.
But, you don’t have to act so “professional” if you paint as a hobby or painting is your relaxation time.
To start painting with acrylics, you’ll need three basic colors: blue, red, and yellow. They’re called primary colors and you can create other colors by mixing them.
For example, red and blue create purple. Yellow and red create orange, etc.
You can add a few more to your collection like white, black, green, or purple.
My best advice is that you get a basic color set of student-grade acrylics, or even artist-grade if you can invest in such paints.
Don’t be afraid to mix colors and experiment. You’ll learn a lot by doing that, even more than reading about colors.
You can read some info, and have an Aha moment but if you don’t experiment with painting techniques, then just reading is for nothing.
Experiment with your colors. Invest some time in color theory, and the color wheel, and use that new information to practice, practice, practice. Using an art journal for that is an excellent idea.
3. Viscosity
Viscosity refers to the thickness of the paint. That’s why there are different types of acrylic paint according to their thickness:
- Heavy body – very thick, usually artist-grade acrylic paint, used for impasto techniques and textures
- Soft body – thinner paint, leaves little or no brush marks, easier to paint with
- Fluid – their consistency is like heavy cream, and their colors are very vibrant (sometimes called pouring paint)
- High-flow – they are so fluid they can run like tiny rivers over your paper. Also, their colors are super vibrant and they can even behave and look like watercolor, but with much more intense hues and saturation.
4. How long does acrylic paint take to dry
I know you’ll hate me for this, but it all depends on the following things:
- The brand
- The paint’s viscosity
- How much paint you’ve put down
- Room conditions (like warmth or humidity)
- What kind of paper you’re using
So, if the paint is heavy-body, and you’ve painted a thick layer with it, you’ll have to wait for 20 minutes minimum. And you still won’t be 100% sure it’s completely dry “underneath”.
On the contrary, if you only put a thin layer, especially if the paint is soft-body, you’ll have to wait for a shorter time.
The best way to know this is to do a few tests with the acrylic paints you have. Use your art journal and paint one side thicker and the other thinner.
Watch your clock and see how long it takes. This is the best way to get to know your own paints.
How to speed up drying time?
There is a way you can speed up acrylic paint drying time. You can use a hairdryer or a heat gun. If you use a hairdryer, be careful not to blow things from your desk, and not to hold it too close to the paint.
Using a heat gun is a super fast way to get acrylic paint dry and it won’t blow off anything.
However, it can become really hot, so don’t point it to your hands or keep it too close to the paint.
Also, move it over the paint all the time, don’t stick to one place for too long because it can get overheated and the paint can crack.
Finally, there are some manufacturers like Golden that have Open Acrylics, which means you can work with them for a long time and they’ll still stay wet.
I believe this could come in handy when painting faces and you want to blend the colors while adding layers.
TIP: If you’re using thin paper and a lot of paint, especially if you mix it with water, your paper may curl. To stop it from completely curling, use paper clips on the sides if you’re using a journal. If you’re using a paper sheet, use masking tape to glue it to the table.
5. You can use acrylic paint as an adhesive
An art teacher once told me this and I was amazed. It won’t work like actual glue and glue your papers super flat and with no wrinkles.
But it’s good to know that you can use it when you have no glue or make interesting effects with texture this way.
For example, if you have tissue paper, you can glue it down on wet acrylic paint, wrinkle it a little and once the paint is dry, you’ll have a wonderful texture.
As always, the best thing is to experiment and see how that goes for you.
6. Water-soluble
Acrylic paints are water-soluble which means you can use them with water, and use water to thin the paint. This also makes them dry fast, unlike oil paint. However, once they’re dry, they can’t be activated again.
Things to know before buying acrylic paint
What will you use it for
This is always good to know in general, for every paint or tool.
So, if acrylic painting is a hobby of yours, or you use it for art journaling, you don’t have to worry about high-quality, artist-grade paints. Just go out and buy some student-grade acrylic paint.
Color selection
You can start with basic colors like the primaries: blue, red, and yellow. However, I suggest also getting white and black.
And then, get more white. This is because you’ll really use it a lot: for accents, for mixing, for covering.
There’s never enough black and white paint for me. Their use is so wide that you won’t waste these colors at all.
Also, you can add green and purple to your stash, just to have a few options for your curiosity and creativity.
Or, just pick the colors you love from the shop’s shelf and enjoy. Forget about theory or what’s the best and just play with your favorite colors.
Packaging
This isn’t vitally important but it comes down to what you prefer, ie. what’s easy for you to use. I love using bottles because I can shake the paint, squeeze it without effort, and store it easily.
They also come in tubes (plastic or metal) and jars. The metal tubes aren’t my favorite, they just don’t feel good in the hand and you have to squeeze the tube in the right way.
However, plastic tubes are ok, they’re usually transparent so you can see how much paint you have left and are easier to squeeze.
I’m not a fan of jars either. To use them, you need a tool for taking the paint out and putting it on the paint palette, and it’s just one more step added to the process.
Consistency (heavy vs. soft)
Heavy body paints are usually more expensive and used for making textures, and for those who have a bit of experience in acrylic painting.
If you’re a beginner and your intention is to blend colors more and have fewer paintbrush strokes visible, and use acrylics with ease and no overwhelm, go with soft-body acrylics.
Drying time
Heavy body acrylics take longer to dry because they’re just thicker.
If you want to work faster, use soft-body ones with thin layers of paint.
Price
The price is one of the important factors when deciding. Most of us are on a budget when it comes to art supplies.
So, my suggestion is to get the soft-body, student-grade acrylics in your favorite colors.
If you want to try better quality paints, consider choosing the Liquitex or Golden brands. Arteza also has a good range of excellent paints.
Acrylic paint brands
Now that you figured out which things are important when buying acrylic paint, let’s see what brands are out there to choose from.
There are many brands that manufacture acrylic paint, whether student or artist-grade, but here are some of the most popular ones that can offer good quality and a range of prices.
Liquitex
Liquitex offers a range of colors in artist-grade acrylic paints, but they also have a line called Basics, which are cheaper due to less pigment in them. Their professional paints have a high pigment load, whereas Basics have a good pigment load.

Here’s a range of their acrylic paint products:
- Professional Heavy Body Acrylic Paints and Sets
- Professional Soft Body Acrylic Paint and Sets
- Basics Acrylic Paints and Sets
- Professional Acrylic Gouache and Sets
- Professional Acrylic Inks and Sets
- Professional Paint Markers and Sets
- Professional Spray Paint
Golden
Golden also offers a wide range of acrylic paints like:
- Heavy Body Artist Acrylic Paint
- Open slow-drying
- High flow acrylics
- Fluid colors
- Fluorescent Acrylic Colors
Winsor & Newton
They offer two kinds of acrylic paint: Professional and Galeria.
- Their professional paint is more expensive, has no color shift, has a wide range of colors (79) and you can work with the paint for a longer time.
- The Galeria paints are cheaper but with dependable quality (as Winsor & Newton say themselves), have 60 different colors to chose from, with satin finish and excellent depth of color.
Arteza
Arteza also has professional-grade acrylic paint.
They also offer metallic acrylic paints and shimmering paints.
Blick studio
Blick studio has a wide range of 60 colors of student-grade acrylic paint. They are permanent and lightfast.
Tools for acrylic painting
There are a bunch of tools you can use for painting with acrylics, but here are some I often use.
Brush
When it comes to brushes in general, you’ll want a brush that’s sturdy, doesn’t break, and whose bristles don’t fall off.
For the best painting experience, the brush should feel good in your hands. Otherwise, you’ll just be uncomfortable.
There are too many paintbrushes on the market but here are some basic guidelines for you:
- Round brushes
- Flat brushes
- Filbert brushes
- Detail brushes
These are the brushes I use for painting with acrylics. Although, I rarely use the round ones with acrylics.
Apart from their shapes, you can choose the size of a brush that suits your needs. The brush sizes are usually marked with numbers. So, the higher the number, the bigger and thicker the brush.
I mostly use a 12-flat brush for backgrounds and larger areas in my art journal. The smallest one I use is the detailed brush and it’s pretty tiny. I use it for details when painting faces, for example, irises.
Sponge
You can use any kind of sponge. I’ve been mostly using ordinary kitchen sponges and they’re excellent for creating texture, blending the paint, stenciling, and other acrylic painting techniques.
There are also natural sea sponges for artists and they are great for creating texture effects.
Brayer
Brayer is also an excellent painting tool for covering larger surfaces and also for creating texture. Basically, it’s a roller that you use to spread the paint onto paper or a Gelli plate. For Gelli plates, it’s a must.
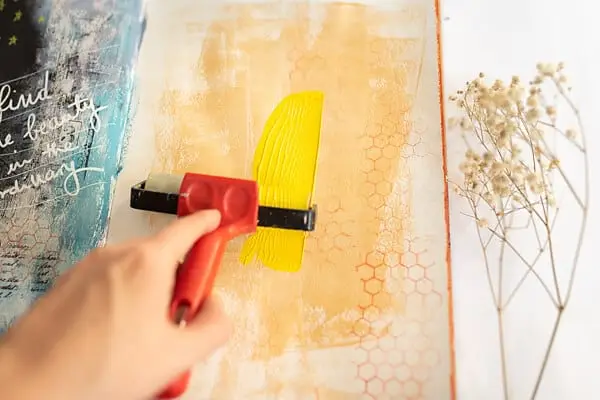
TIP: Clean the brayer immediately after use. The acrylic paint leftovers dry on the roller and then you won’t have an even roller surface for spreading the paint and it may leave marks that you don’t like.
Gelli plate
This is an awesome and fun tool to use with acrylic paint. You use it in combination with the brayer, stamps, stencils, and almost any other flat material for making marks.
You can print interesting images with the Gelli plate and there are numerous techniques and ideas on this topic.
But it’s too much info for this post. So, you can check out their official site with many tutorials.
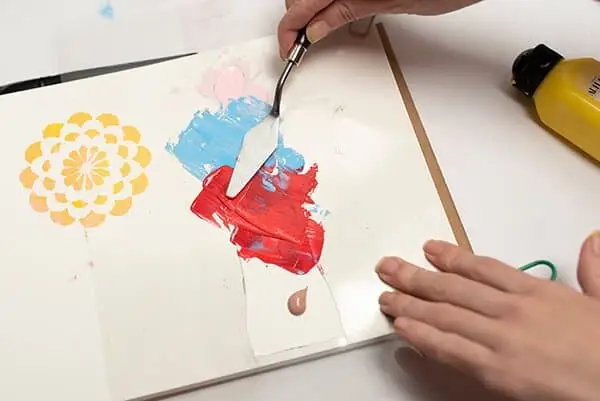
Palette knife
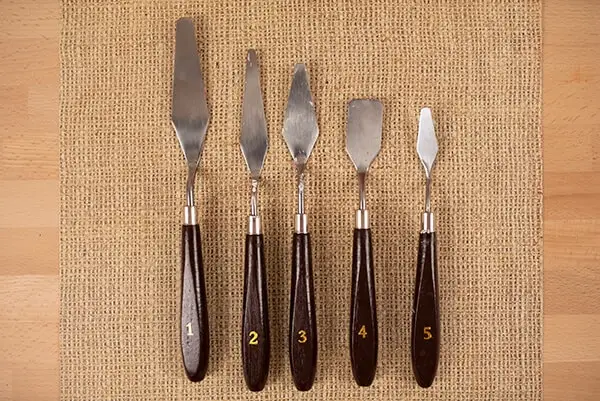
The palette knife, or a painting knife, is a tool for mixing the paint but also for applying it to canvas or paper. Usually, with this tool, you create texture and apply thicker layers of paint.
That’s why these tools work best with heavy-body acrylics.
Stamps
Besides ink, you can use your stamps with acrylic paint. The only downside is that you have to really clean the stamp after using it because you don’t want acrylic paint to get dry on it. It can ruin the stamp.
However, if you make your own stamps, or have some that won’t feel sorry for clogging with paint, go for it. Apply a thin coat of paint on the stamp and make the mark.
Just remember not to press too strongly because the paint will smear under the pressure of the stamp.
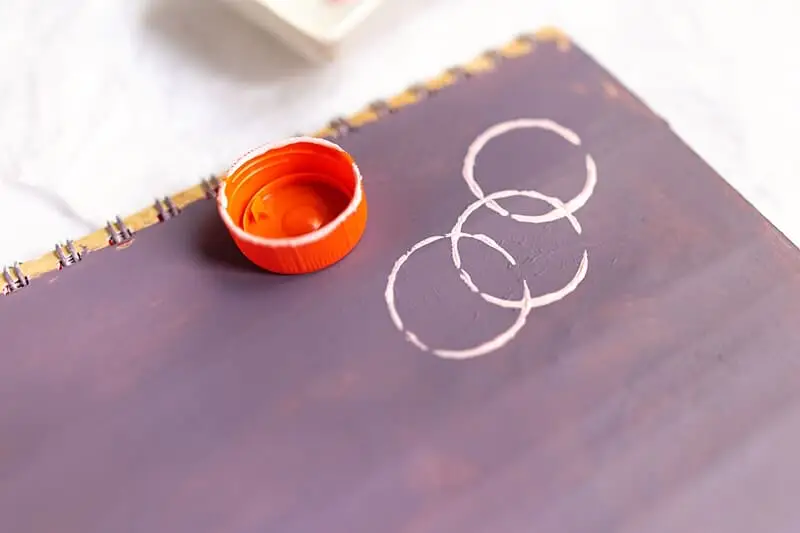
Diy tools
Here are some of the ideas for a neat DIY tool: bubble wrap, bottle caps, sticks, q-tips, toothbrushes, etc.
These tools are one of my favorites. I can have them anytime by recycling the stuff I’d usually just throw away. But they make such good marks with the paint.
You can use bottle caps for tiny circles, bubble wrap for an interesting stamp design, etc.
A toothbrush is widely used in art for a splattering effect. Dip it into paint and splatter the paint with your fingers over the paper. It gets messy sometimes, but it’s so worth it.
What do you use acrylic paint for?
You can use acrylic paint for many purposes. If you’re developing as an artist now, you might want to know that you can use it:
- For painting on paper. It works on any kind of paper and that’s why acrylic paint is awesome and versatile.
- For painting on a canvas. This can be scary for beginners. That’s why I use an art journal to practice painting with acrylics. There’s no stress in this process so you can really relax and experiment.
- For decorating other materials such as plastic, clay, wood, and even textile. This way, you can decorate plenty of things in your home. Long ago, I even painted the back of my shelves.
- This may come as a surprise, but you can sometimes use it as an adhesive. Let’s say you’re making a simple collage and you’re out of glue. You can use acrylic paint and put the image over it and let it dry.
What surfaces does acrylic paint work on?
As I already mentioned above, acrylic paint is versatile and you can use it on many different surfaces:
- Paper
- Canvas
- Textile
- Clay
- Plastic
- Wood
- Glass
But using it on different surfaces also means you’ll have different drying times and different effects. It’ll take longer to dry on plastic than on paper. The paper absorbs it better while plastic cannot absorb it at all.
Is acrylic paint permanent?
Acrylic paint is permanent.
However, since it has plastic characteristics when it’s dry, it can be peeled off of some surfaces.
But once it’s on paper, it’s permanent and you can’t activate it with water anymore. What’s good about this fact is that you can cover up your mistakes with it and it will hide the underneath layers
Does acrylic paint need water?
Acrylic paint is water-based which means it reacts to water so you can dilute it, mix it, blend it, etc.
However, you don’t need to use water to paint with it. I rarely do. You can paint with acrylic paint without water and it’ll be thicker so you can even make texture with it.
If you use water, you need to mix it well so you get an equally saturated paint.
Also, you can use water to make acrylics thinner and lighter, more translucent so they look like watercolors.
Are acrylic paints safe?
They’re perfectly safe. Acrylic paint has no fumes, odors, or chemicals that can harm you. This is because they’re water-based.
That’s why it’s safe for childer to play with them.
If you do have acrylic paint that has a strong smell so you can’t work with it, I’d check if it’s too old and get rid of it.
Is acrylic paint waterproof?
Acrylic paint is waterproof. This means that, once it’s dry, you can’t activate it with water again, unlike watercolors.
Does acrylic paint dry fast?
Acrylic paint drying time depends on the surface you’re painting, the brand, its thickness, etc.
But generally, they are fast-drying paints, especially if you put a thin layer of paint.
If you’re still impatient, you can use a heat gun to dry it more quickly.
RELATED ACRYLIC PAINT ARTICLES
13 Simple Acrylic Painting Tips For Beginners That Will Transform Your Art
Acrylic vs Oil Paint Differences (Which Is More Beginner Friendly?)
Easy Acrylic Painting Ideas for Your Art Journal Using Stencils
100+ Painting Terms You’ll Ever Need – for Art Journal Beginners