How to Start Your First Art Journal Page (Even If You Feel Stuck)
So, you’ve got your art journal ready, a pile of fun supplies at your fingertips, and maybe even a Pinterest board full of inspiration… but that first page? Still totally blank.
If that sounds like you, you’re not alone. Starting your very first art journal page can feel weirdly intimidating—like you don’t want to “mess it up” or you’re waiting for the perfect idea to strike. The good news? There’s no right or wrong way to begin. And honestly, the only way to figure it out is to just start—messy, unsure, and all.
In this post, I’m going to walk you through simple steps to finally get past that blank-page hesitation and begin your first art journal spread with confidence (or at least curiosity). I’ll give you photos for examples so you know what I mean.
1. Gather your supplies
You’ve probably already gathered your supplies, you’ve bought an art journal, or made your own. Maybe you have some old acrylic paint you can use now or even an old painbrush. Whatever you have, will work.
So, for your first art journal page, use these simple supplies:
- art journal (if you still don’t have one, use a scrap piece of paper)
- paint in two colors, acrylic or watercolor
- one magazine image or your own photo
- glue stick
- paintbrush (if you don’t have one, use your fingers or a dish sponge)
- a pen or marker
Quick tip: avoid using thin, copy paper. The thicker the paper, the better, because of the paint.
2. Make a simple background

Now use that paint you prepared, two colors are enough. Use a brush, sponge or your fingers (for acrylic paint), and randomly paint some areas on the paper.
Don’t cover the whole page. Just bits here and there, like you’re making a big blob of paint. Then wait for it to dry.
After that, use the other color and paint another layer in the same way, without covering the first color completely.
Quick tip: use one of these color combinations (others may create muddy color together if they mix):
- red and yellow
- blue and green
- blue and yellow
- blue and pink
Leave everything to dry while you cut out an image from a magazine or prepare your photo.
3. Glue down your image

Now that your background is dry and ready, you can glue that image down. I usually use a glue stick and it works really well.
Nicely iron the image out with your fingers or an old credit card. This way, you’ll avoid creating bubbles. Also, a good tip is not to use too much glue because it’s moist and can wrinkle your image.
But if that happens, no biggie. It’s not a mistake. You’ll get better at it the more you experiment and create.
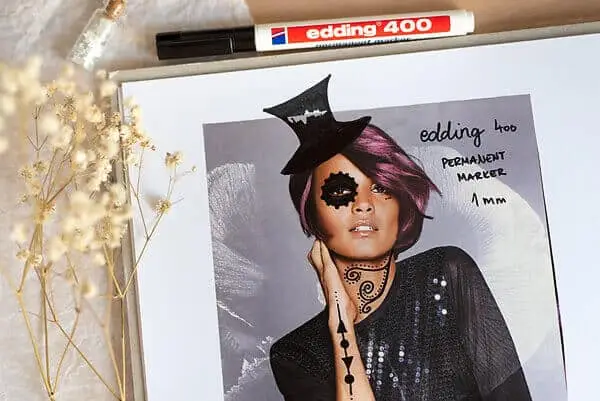
4. Add doodles
Now, you can take your time and add some doodles on your pages. There are no rules and you can do anything.
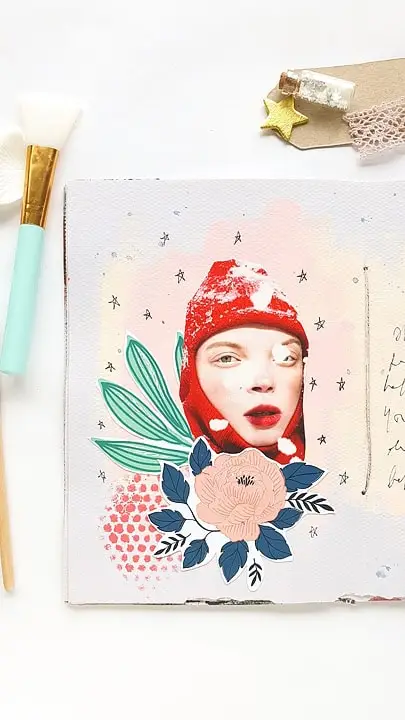
For example, you can outline your image, especially if it’s fussy cut. You can draw circles, lines, clouds, hearts, geometrical shapes, really…anything.
In the photo below you can see an example of doodles and marks I did on this image with a black marker.
5. Add journaling
Journaling is optional, and you can add it if you feel like it, but you don’t have to. Sometimes I journal on my pags, other times, I just make art.
If it feels too much to journal in your own words, you can use quotes. That’s a great and a safe idea for beginners. Write down a quote you like and find inspiring. Or use a sentence from a book or a movie, a positive affirmation. Anything goes.
If you don’t like your handwriting, you can use letter stamps, cut out words and letters from magazines, print out words, etc.
Quick tip: don’t use fine liner pens on acrylic paint because acrylic paint has a rough texture and could damage the pen’s nib. Markers work better on acrylic paint, and on watercolor, you can use any pen.
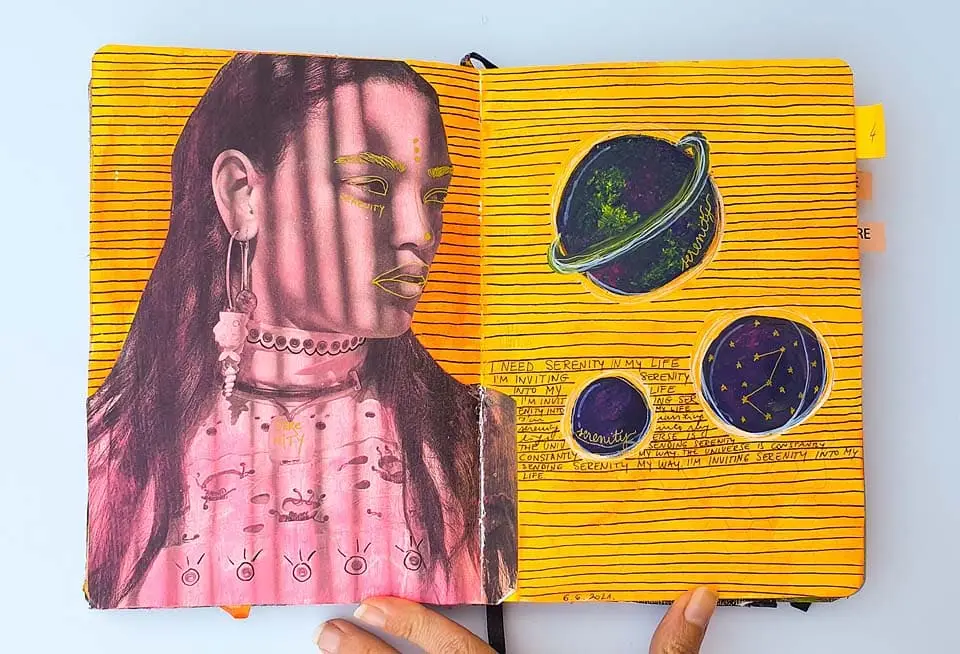
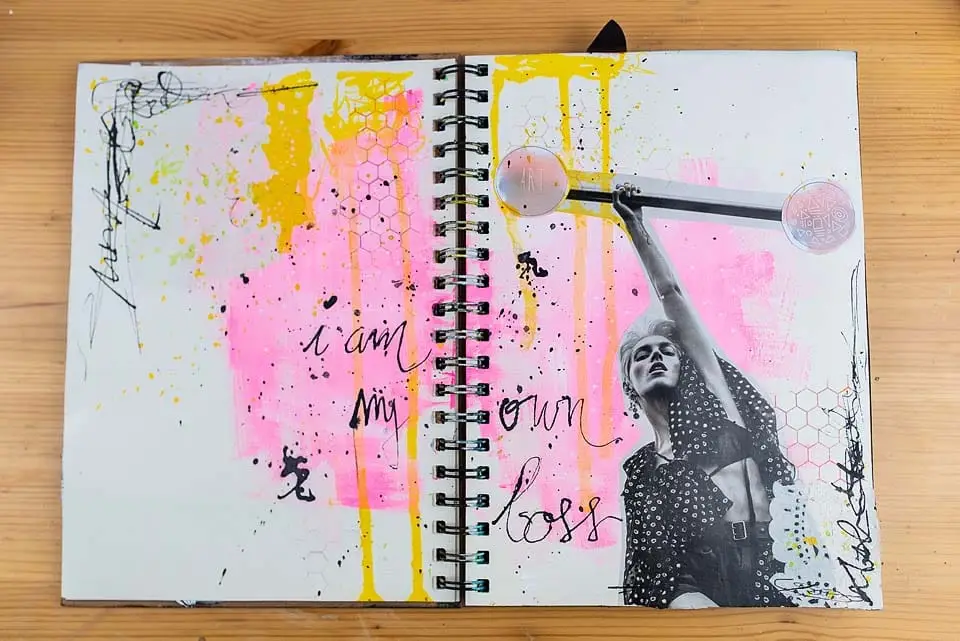
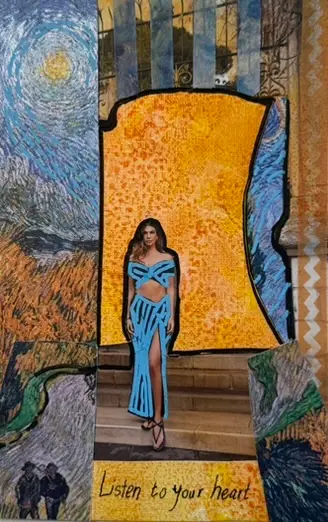
So, here are some of my pages done with these 5 steps. I hope you’ll find the inspiring:
Final tips for your first art journal page
Starting your first art journal page doesn’t have to be perfect—or even pretty. It just has to begin. The hardest part is usually that first step, and once you’ve made it, everything gets a little easier (and a lot more fun).
And with these 5 steps above, you’ve already started!
Remember, this is your creative space. There are no rules, no grades, and no one watching. Just you, your supplies, and a chance to play, explore, and express whatever’s on your mind or in your heart.
So go ahead—smudge the paint, scribble the words, glue down that random scrap that makes you smile. Your first page is the start of something uniquely yours. You’ve got this.
Since you’re a beginner, these can also help you get over the blank page:
How to start an art journal: a complete beginner’s guide
7 Easy ideas for your first art journal pages
The easiest art journal page done in under 15 minutes
Top 5 art supplies to start art journaling without overwhelm