One-Color Art Journal Collage: A Red Monochromatic Page
One color, a pile of scraps, and one little star of the show. Here’s how I made a red monochromatic art journal page, and how you can make yours in any color you love.
By Salwa
Estimated reading time: 8 minutes
Okay, friend, let’s play with one color
You know that moment when you open your journal, stare at the blank page, and your
brain just… goes quiet? Yep. Me too.
New to art journaling? check Art Journaling for Beginners

Here’s my favorite little trick for that: I give myself one rule. Just one. For this page, the
rule was red. If it was red, it got to come to the party. If it wasn’t, it sat this one out.
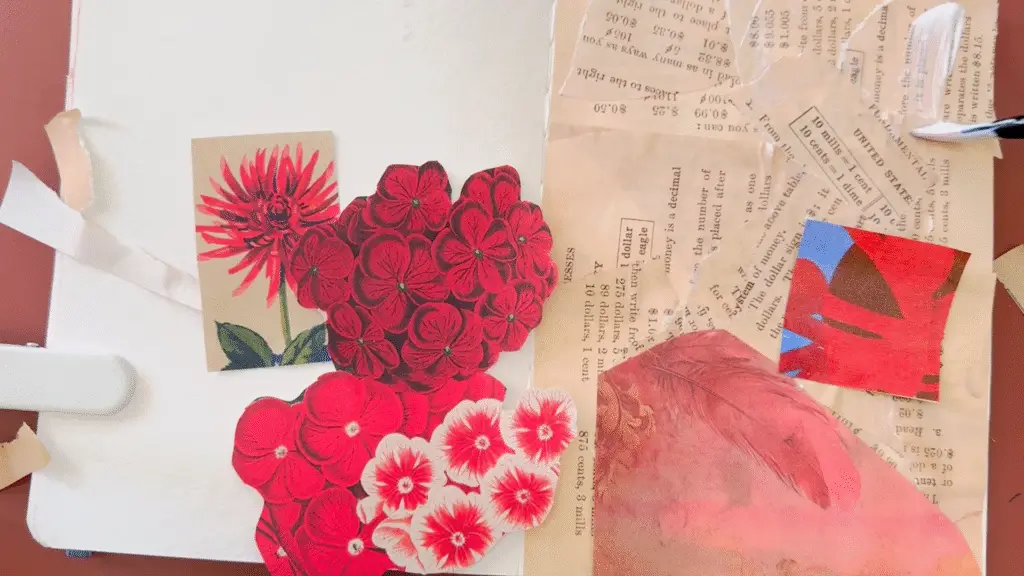
So I gathered red flowers, red patterns, red painted scraps, and little bits of red-ish paper,
and layered them all onto one page. And here’s the fun part: even though there’s a lot
going on, it all feels like it belongs together. The color does the heavy lifting for you.
But every great page needs a star, right? On mine, it’s a black-and-white image of two
figures.
Watch the tutorial
Why one color works like magic
A monochromatic collage just means you stay inside one color family. That does not mean
every piece has to be the exact same red. (Where’s the fun in that?)
One-Color Art Journal Collage: A Red Monochromatic Page
Red, deep crimson, berry, pink, coral, and pale red all hang out together. Those
shifts from light to dark give the page depth, and repeating the color keeps everything
feeling cozy and connected.
And honestly? This is my go-to when a blank page feels scary. Instead of asking “What on
earth should I make?” you get to ask a much friendlier question:
“What red stuff can I find?” Once you start digging, the page starts telling you where it wants to go.
Curious about other ways to mix colors? Peek at my Color Theory for Beginners guide or how to choose colors like a pro.

It’s a fancy word for a super simple idea: you pick one color and play with all its versions. Add white and you get lighter tints (think soft blush pink). Add black and you get deeper shades (hello, burgundy). Add a little gray and you get softer, dustier tones. Same color family, lots of personality.
And here’s why I love it: because everything comes from the same color, your page automatically feels calm and pulled together. Nothing is fighting for attention. That leaves room for your star, the one thing you want people to notice, to really shine.
Your ingredients (psst… you probably have most of these)
No fancy supplies needed here. Start with what’s already in your stash and let your
collected papers do most of the work.
An art journal or any sturdy paper (here are my favorite mixed media sketchbooks)
Glue and scissors, your trusty sidekicks
A pen or marker for lines and dots
A small brush and very watery red or pink paint or ink, if you want a soft wash (totally optional)
Red-ish images and scraps from collage books, magazines, old books, printed photos, napkins, packaging, patterns, or found papers.
Check
One black-and-white image to be your star, if you like.
Want color choices to feel easy every time?
Grab my free easy color Combination cheat Sheet. It’s one little page you can keep next to your art journal.
The recipe: 5 easy steps
1. Pick a color that makes you happy today, then go treasure hunting.
I went with red, but blue, green, yellow, purple, orange, or even a soft neutral would be gorgeous.
Your color becomes your collecting rule, so saying yes or no to each scrap gets super easy.
For red, grab anything from the palest blush pink to deep burgundy. Sneak in a little cream, white, or text paper too. Those quiet bits give your eyes a rest and make the brighter reds pop even more.
Mix big pieces with tiny ones, and don’t hunt for “perfect” Wonky edges, half-images, and imperfect scraps often make the most interesting layers.
Psst… sorting your scraps by color ahead of time makes this step so much faster. Here are my easy collage organization ideas.
Gather your images
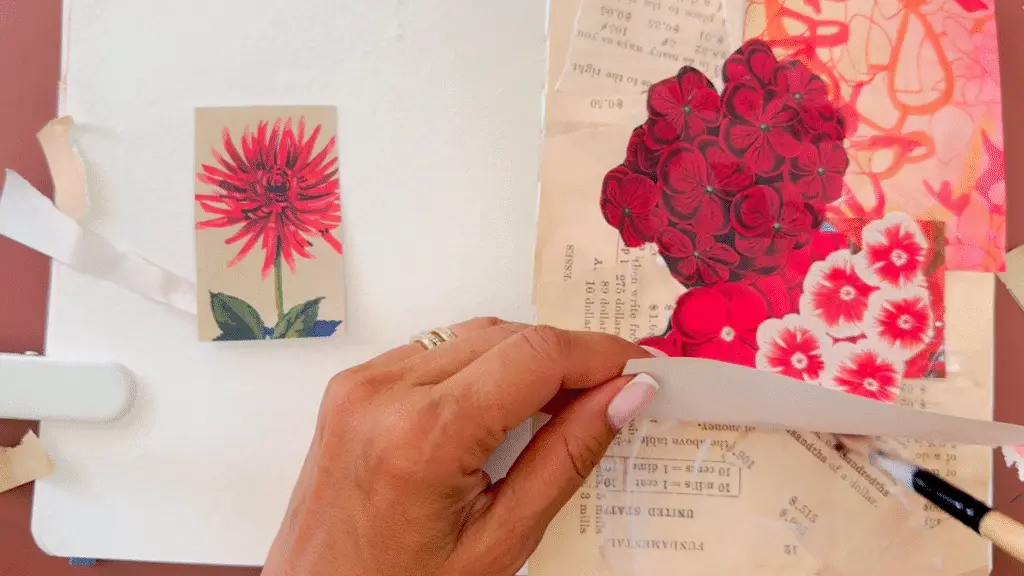
2. Play before you glue.
Plop your biggest pieces down first, then shuffle the smaller ones around them. Overlap things, flip them upside down, tuck one edge behind another, and leave a little breathing room if it starts feeling crowded.
There’s no one right way.
Want more backdrop ideas? Try one of these 7 easy art journal backgrounds.
Keep moving things until your eye wanders around the page happily.
When it feels close, snap a quick phone photo so you remember where everything goes.
Play before you Glue.
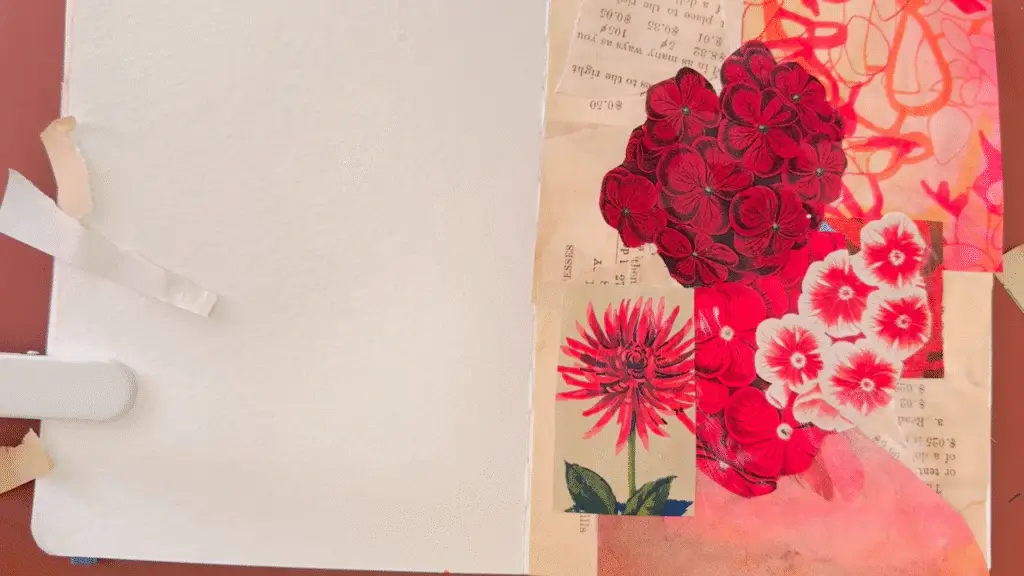
3. Build your red backdrop.
Glue down the background pieces and let the reds start mingling into one connected field. On my page, that’s clusters of red flowers, a loose red pattern, pale painted paper, and tiny text fragments.
Think of these layers as the stage, not the star. They can be bold and beautiful, but their job is to create movement and give your focal point a home.
Build your red backdrop.
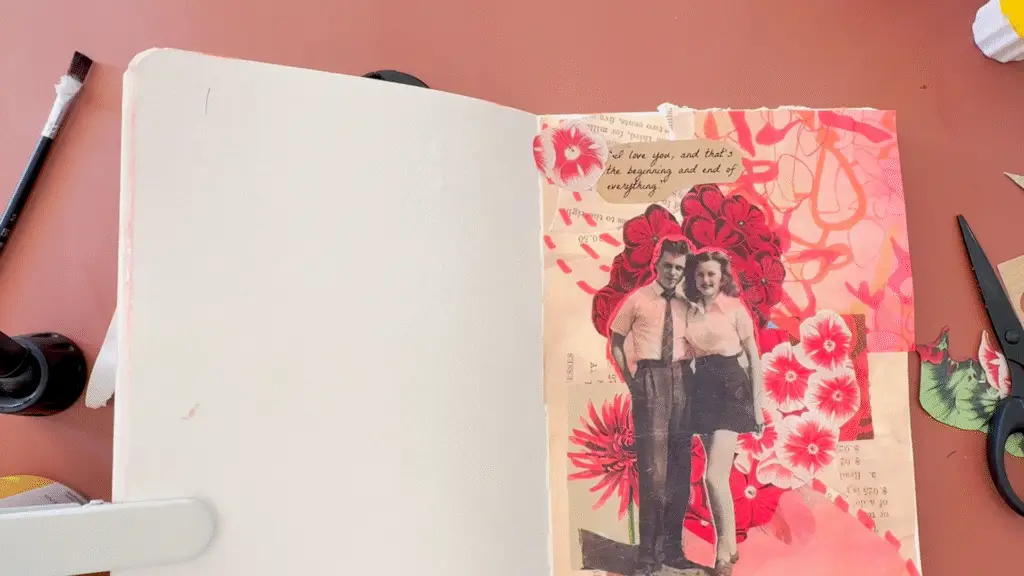
4. Crown your star.
Now pick the one thing you want people to notice first. Mine is that black-and-white image of two figures. Because it’s so different from all that red, your eye just wants to land there. Yours could be a vintage photo, a cut-out figure, a face, a favorite word, a tiny drawing, or a magazine image.
The subject doesn’t matter as much as making it feel like the most important thing on the page. Then swipe a very light, watery wash of red over part of it. Keep it soft and see-through so the image still shows clearly. It ties your star to the rest of the page without making it disappear.
Not sure how to get your image onto the page? I’ve rounded up easy ways to add images to mixed-media art. And if you love red as much as I do, here’s another red collage page where I mixed in warm oranges and peaches and used a magazine model as the star.
Crown your star.
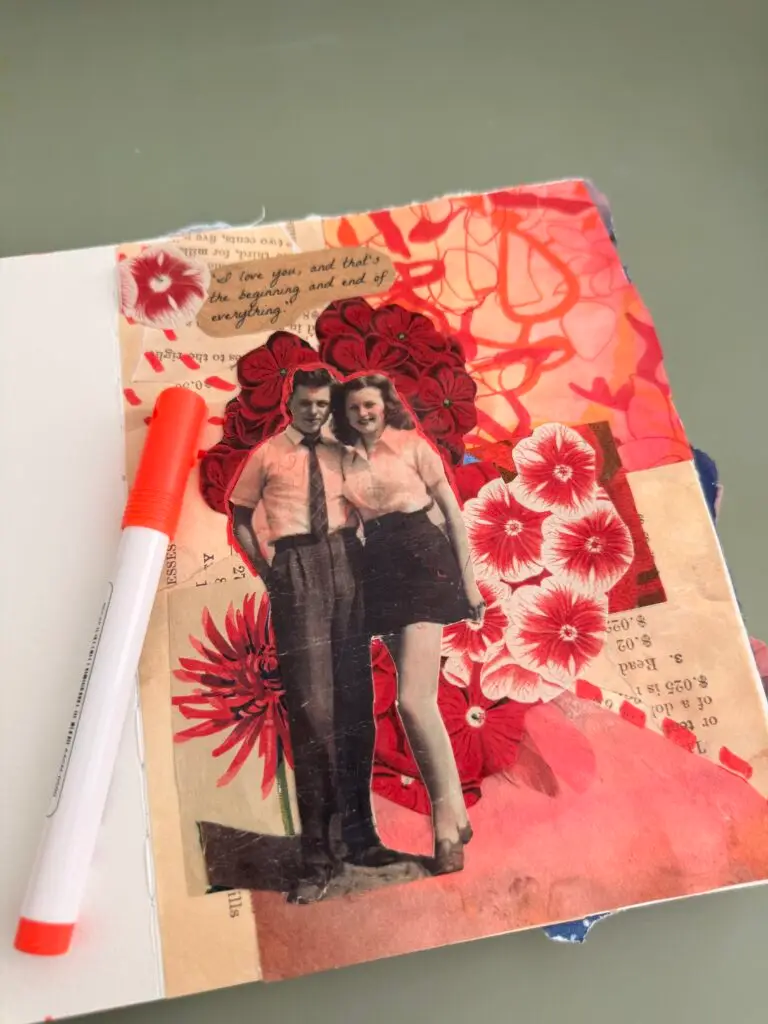
5. Draw little arrows with red marks.
Grab your red pen and add a few lines, dashes, dots, or loose marks that point toward your star.
On my page, they act like tiny signs saying “Look here!” Keep them playful, not perfect: radiating lines, a dotted trail that curves in, a few repeated marks nearby.
Step back every so often and stop when the star feels strong enough.
Want to add words? A short quote, a handwritten thought, or a scrap of text can be a sweet final layer, as long as it supports your star instead of competing with it. Or skip words entirely. Your colors and marks are already telling a story.
Quick star check before you call it done
Hold your page at arm’s length and ask yourself:
What do I notice first?
Does my eye keep coming back to it after wandering around?
Would one tiny wash, line, dot, or contrasting edge make it even clearer?
If it feels right, you’re done. Yay! If not, make one small tweak and look again.
If it feels right, you’re done. Yay! If not, make one small tweak and look again. And if a page just won’t cooperate, no stress. Here are 11 creative ways to rescue a page. Remember, art journaling is a chat with your page, not a test you have to pass. The most important thing is to enjoy your time, explore, and have fun.
Okay, your turn! (And then do it again in blue)
Here’s the sneaky bonus: this one little prompt can turn into a whole series.
Try a blue page with sky scraps and ocean pictures.
A green one full of botanical papers.
A sunny yellow page made from packaging, paint swatches, and magazine flowers.
Every color brings its own mood. Red feels bold and warm, blue feels calm and dreamy. If you want to dig into that, here’s my post on the emotional language of color. And for even more inspiration, check out these 13 mixed media collage ideas.
The Whole recipe in one breath
So here’s the whole recipe in one breath: pick one color, gather what you love, arrange it your way, and give your page one place to shine.
Your collage doesn’t need to look anything like mine. Let the color guide you, and let your own eye and your own story do the rest.
Which color are you grabbing first? I’d love to see what you make!
Happy creating, friend!
Salwa