
Arrtx Acrylic Paint Markers 60 Review: Is It Worth It
Can Acrylic markers really do it all? Let’s find out!
By Salwa
Estimated reading time: 13 minutes
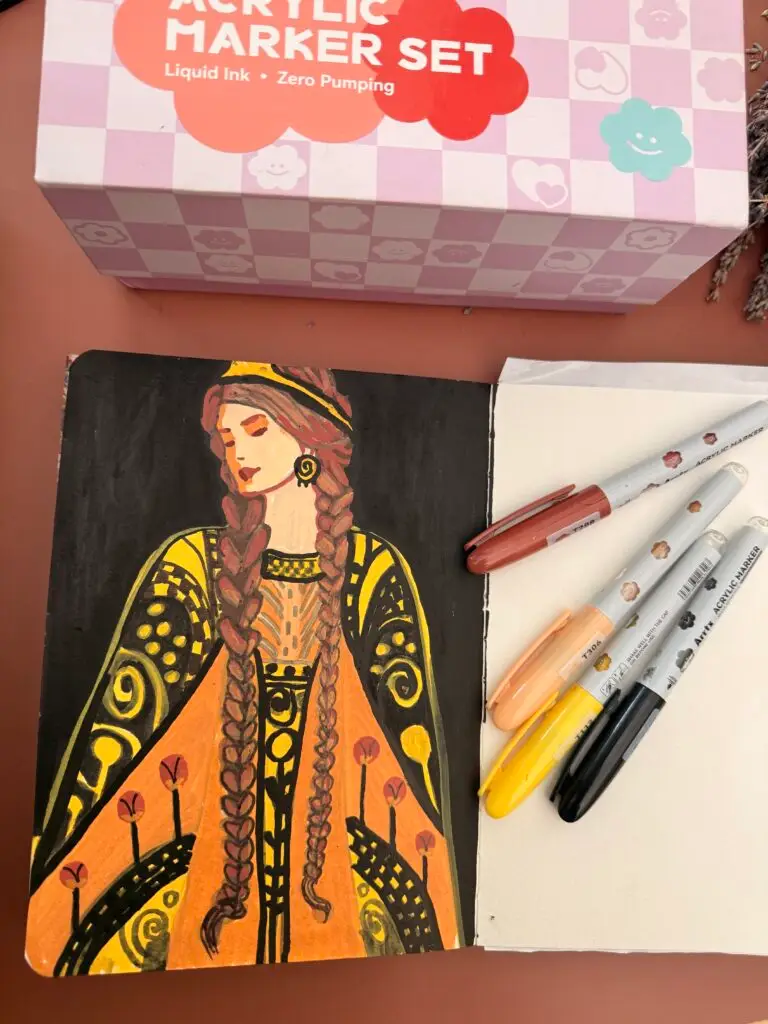
Okay, friend, grab a cup of something warm. We’re about to play with markers.
If you’ve been hanging around Artful Haven for a while, you already know I can’t resist a new art supply. And acrylic markers? They’ve snuck their way onto my list of absolute favorites for colorful, playful journal pages.
So when Arrtx sent me a set of their acrylic markers to try, I did a happy little dance and got straight to work.
Quick disclosure: Arrtx kindly gifted me these markers in exchange for my honest feedback. This isn’t a paid review, and every opinion here is 100% my own.
Now here’s the funny part. I already own a much bigger set of Arrtx acrylic markers. I’ve used them over and over in my artwork, and I already knew I liked them.
So this time, I gave myself a little challenge.
Instead of diving into my big rainbow of colors, I wanted to see how much I could do with just the new box that I got which was plenty of colors already.
And no, I didn’t just make a few pretty swatches and call it a day! (Tempting, I know.) I tested everything I could think of: the colors, the coverage, the brush tip, blending, layering, and the big scary question… do they bleed through thin paper?
Let’s dig in!
Table of contents
- First impressions: 60 colors of pure possibility
- White paper vs. black paper
- Layering light and dark colors
- Do they bleed through paper?
- The brush tip (my favorite part!)
- Can you blend them with water?
- Blending colors into each other
- But can you make Actual art with them?
- What I Loved
- Are they good for beginners?
- So… would I recommend them?
First impressions: 60 colors of pure possibility
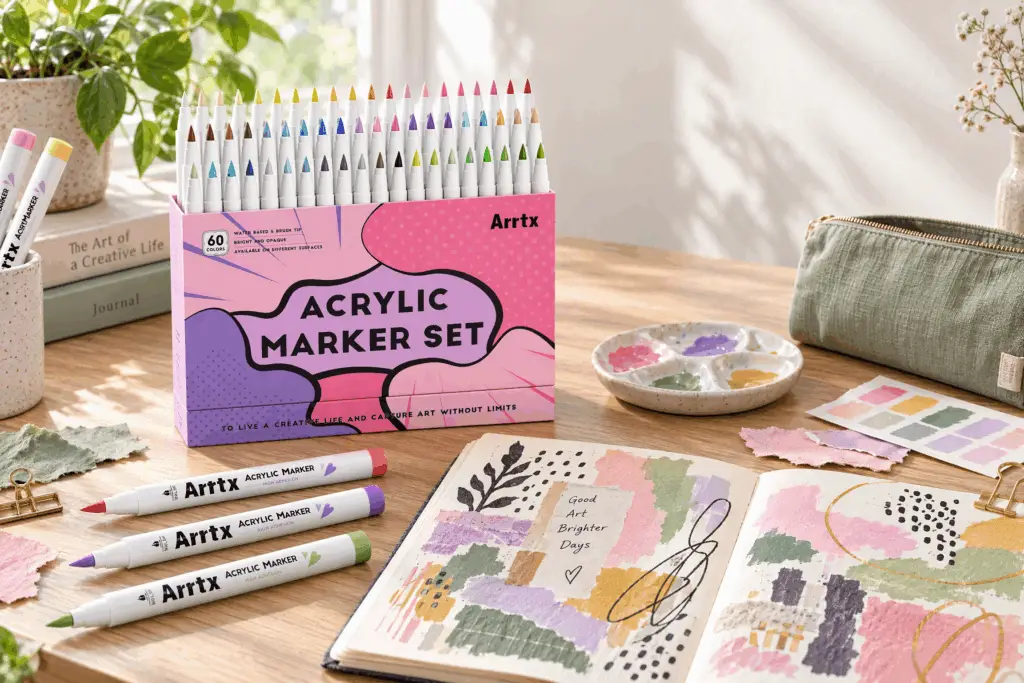
Okay, can we just talk about opening this box for a second? Sixty colors. Lined up like a little rainbow, all waiting to be played with. I may have just sat there admiring them for a minute. (Or five.)
There are so many colors in this set that you never get stuck. Need a soft blush for a cheek? It’s there. A deep moody green for a background? Yep. I kept spotting combos I’d never normally reach for, and that’s exactly the kind of happy surprise I live for.
But here’s a little secret, friend: you don’t have to use all 60 at once. Some of my favorite pages started with just three or four colors pulled from the set.
The brush tip is lovely too (more on that in a minute, because I have feelings about it). But pretty colors in the box are one thing. What really matters is how they behave once they hit your page.
So, on to the tests!
White paper vs. black paper
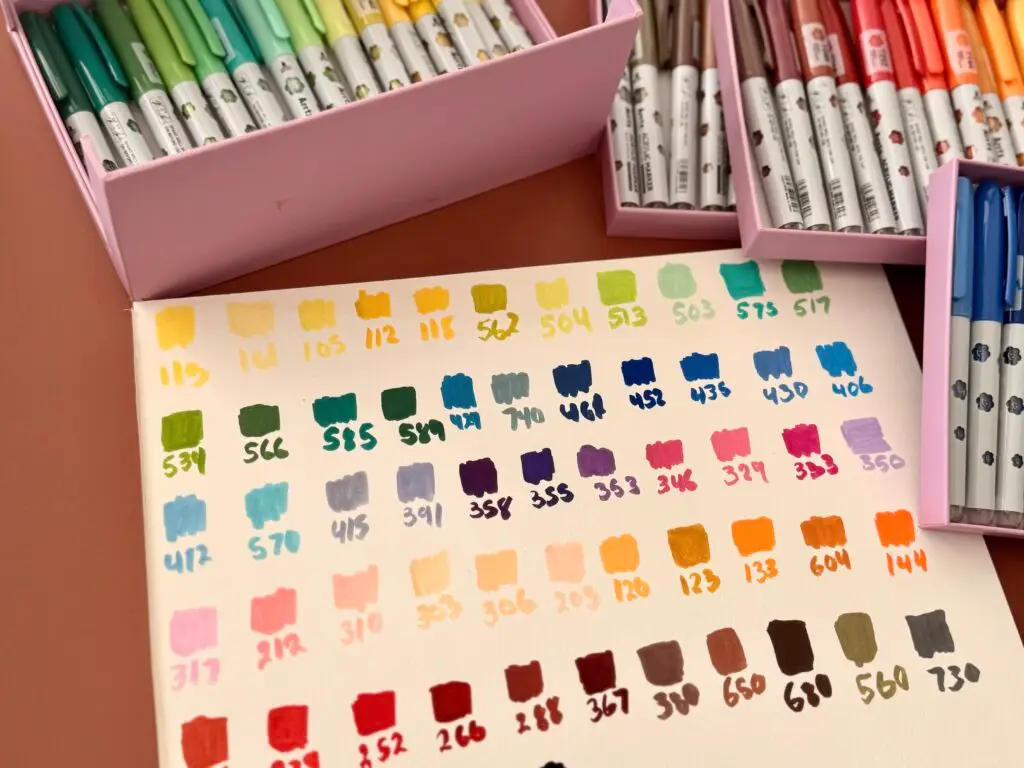
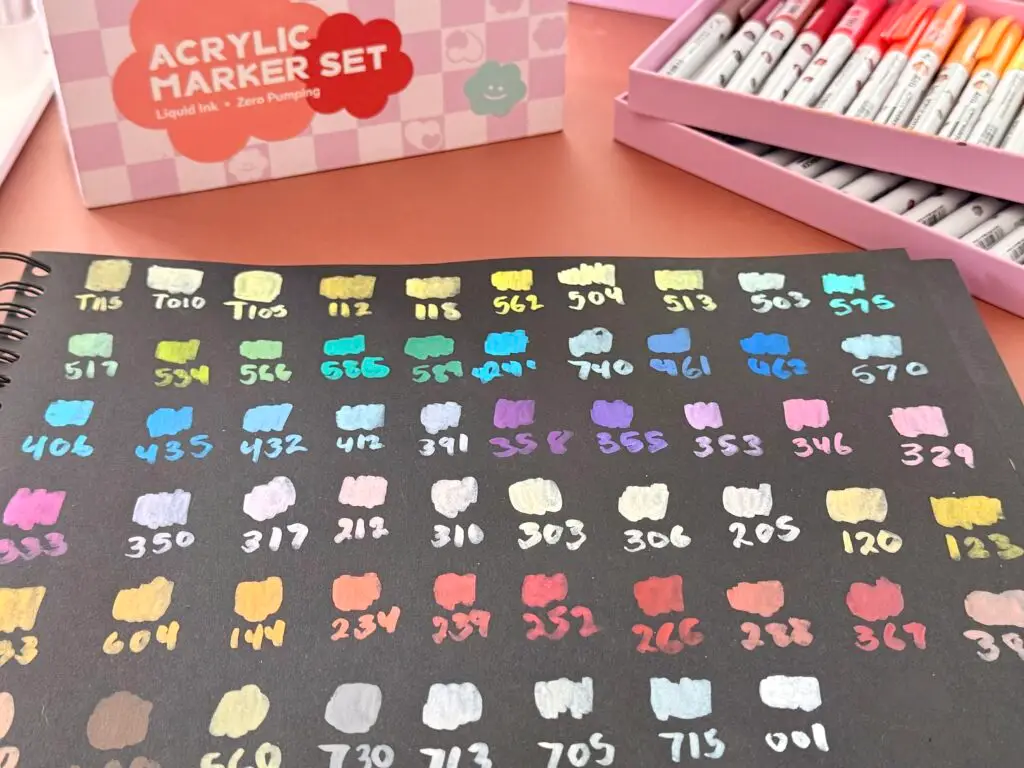
This was the first thing I was curious about. I tried:
- Light colors on white paper and black paper
- Dark colors on white paper and black paper
On white paper, the colors were bright and happy. The darker shades were deliciously rich, and the lighter ones had a lovely softness.
On black paper, things got interesting. The lighter colors still showed up, but they changed personality depending on the background. Some looked a little more muted, while others really popped.
Here’s the takeaway: a color that looks dreamy on white can look completely different on black!
My tip: before you start a project on dark paper, make a few tiny test swatches. It takes a minute, and it saves you from surprises later.
Layering light and dark colors
Ooh, this one was fun.
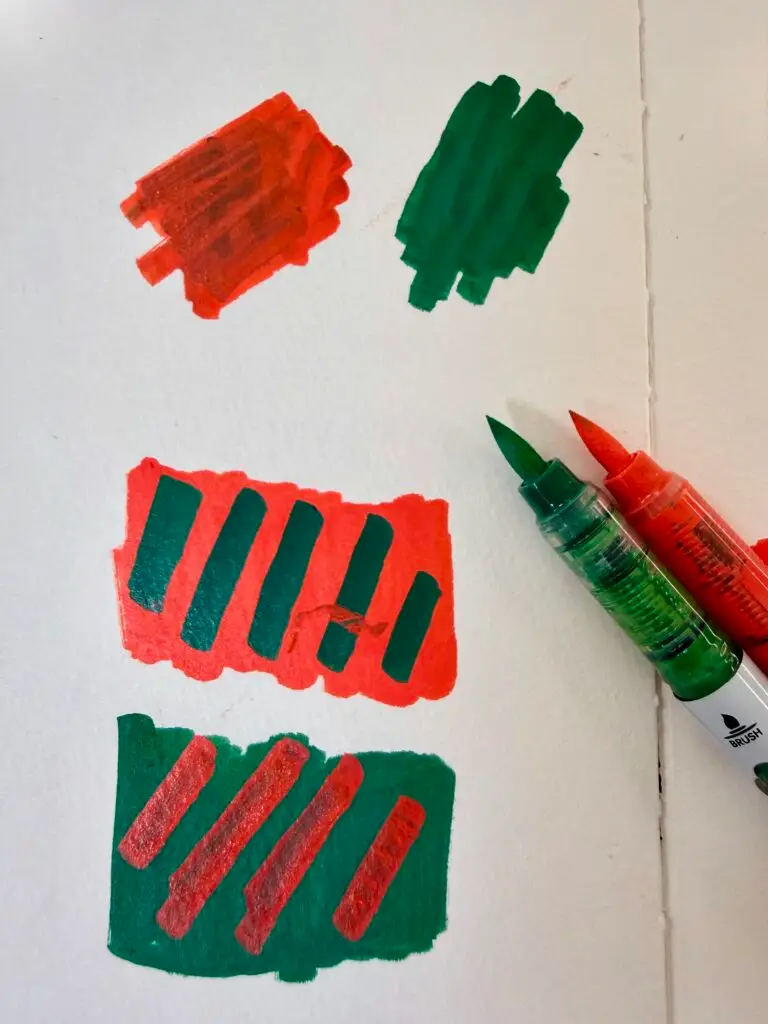
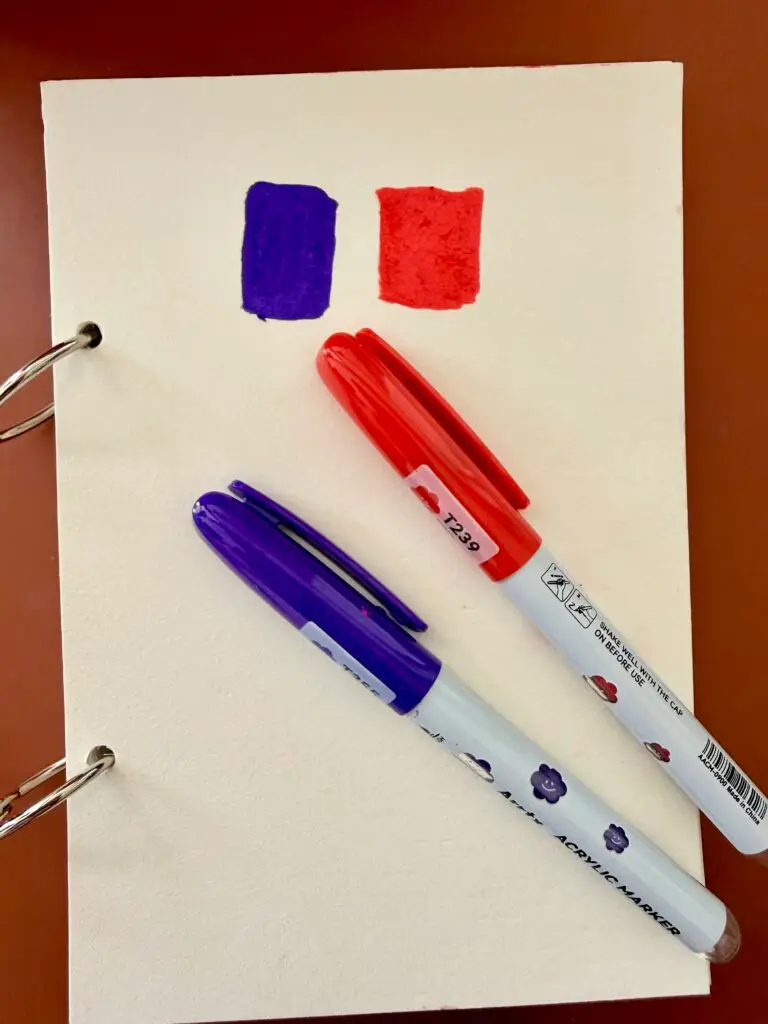
I started with a bright red background and added dark green marks on top. Then I flipped it: a dark green background with red marks over it.
The dark green sat beautifully on top of the red. But when I put red over green, the green underneath peeked through and gave the red a darker, moodier look.
And honestly? I love that.
These markers aren’t always fully opaque on the first stroke, which means you can build color up slowly, layer by layer. To me, that’s way more interesting than every mark looking flat. For mixed media journaling, it opens up so many possibilities: patterns, little details, playing with contrast, or just watching colors chat with each other on the page.
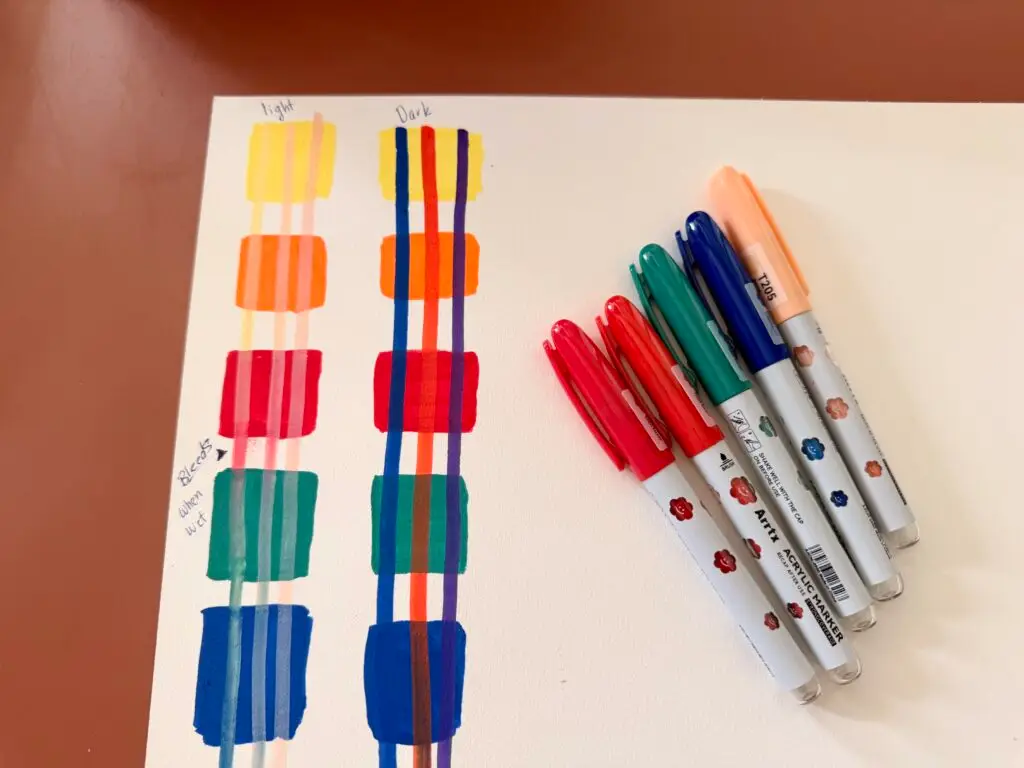
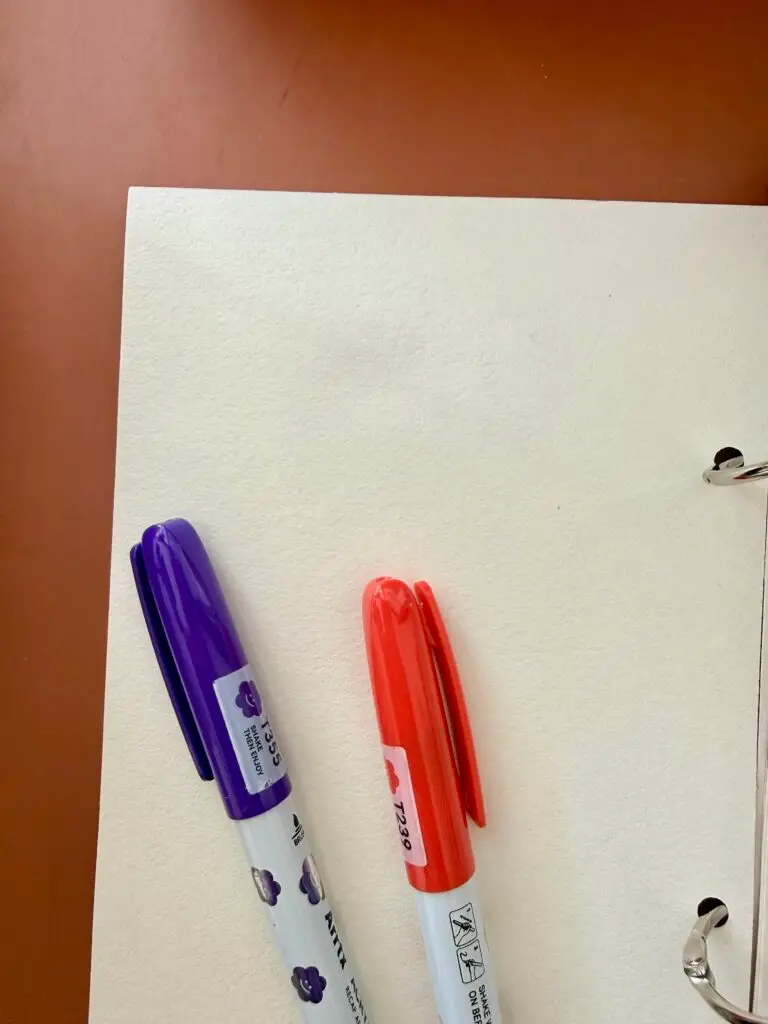
Do they bleed through paper?
This was a BIG one for me.
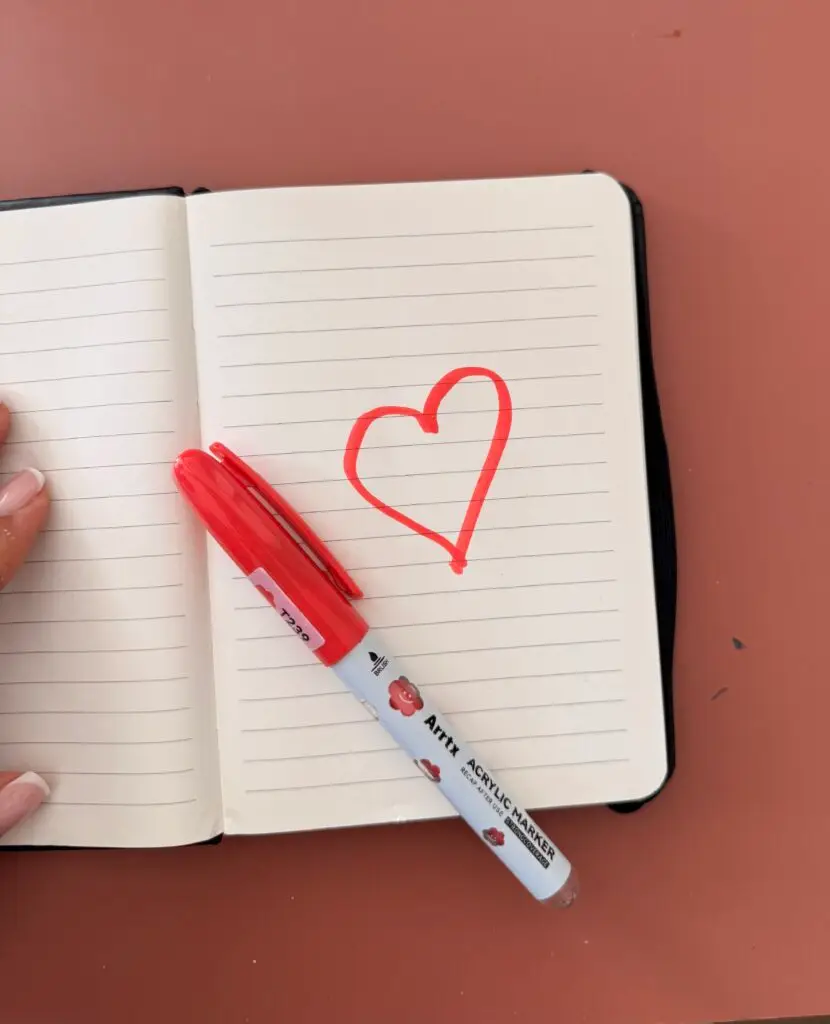
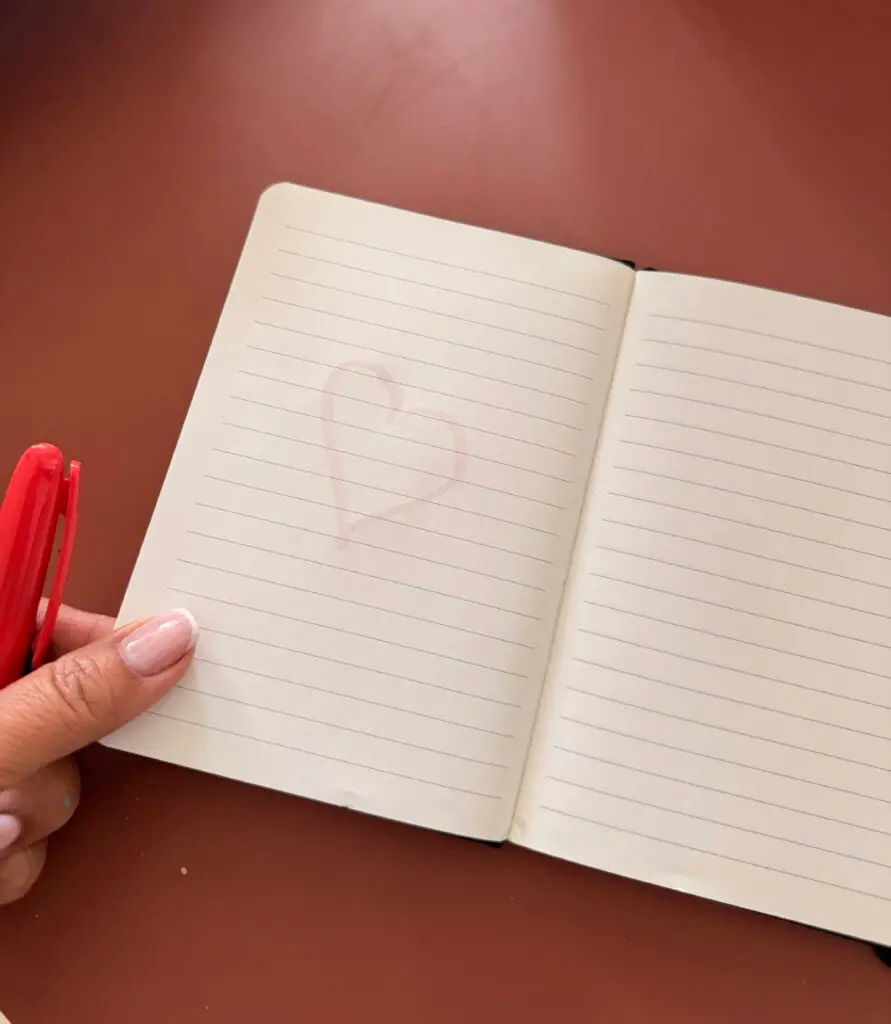
You know that sinking feeling when you finish a page you love, flip it over, and… oh no. Color ghosts all over the back. Yep. Been there.
So I tested these markers on thin paper. And I mean really thin paper. I built up some color, held my breath, and checked the back.
The result genuinely impressed me. Even on very thin paper, the markers either didn’t bleed through at all or showed only the tiniest bit.
That’s a big win in my book!
Of course, your results may vary depending on your paper, how many layers you add, and how much water you use. But in my own experiments, I was a very happy artist.
Note: I only used the markers here without adding water.
The brush tip (my favorite part!)
Okay, this is my soft spot.
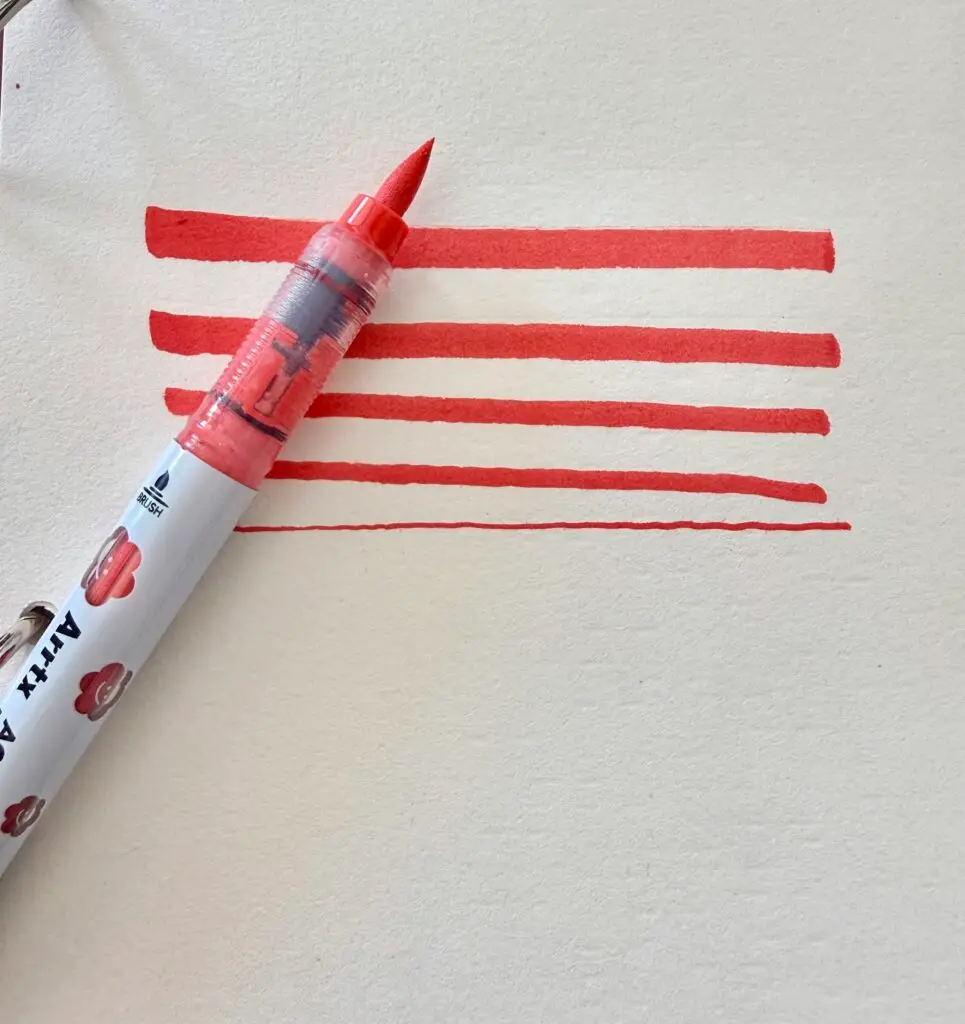
The brush tip comes to a super fine point, and that makes it wonderfully versatile. You can make completely different marks just by changing how you hold the marker.
Use the side of the tip with a bit of pressure, and you get broad, expressive strokes. Use just the very end, and you get delicate, whisper-thin lines. I made one thick stroke and slowly eased off the pressure until it turned into a teeny line, and I loved how much control I had.
Think flowing hair, little details on a whimsical face, delicate branches, expressive lettering, or tiny patterns tucked into the corner of a page.
Instead of juggling a pile of brushes and pens, you can do so much with just one marker. Yes please.
Can you blend them with water?
Of course I had to try this! I’m a sucker for soft color transitions, especially in backgrounds.
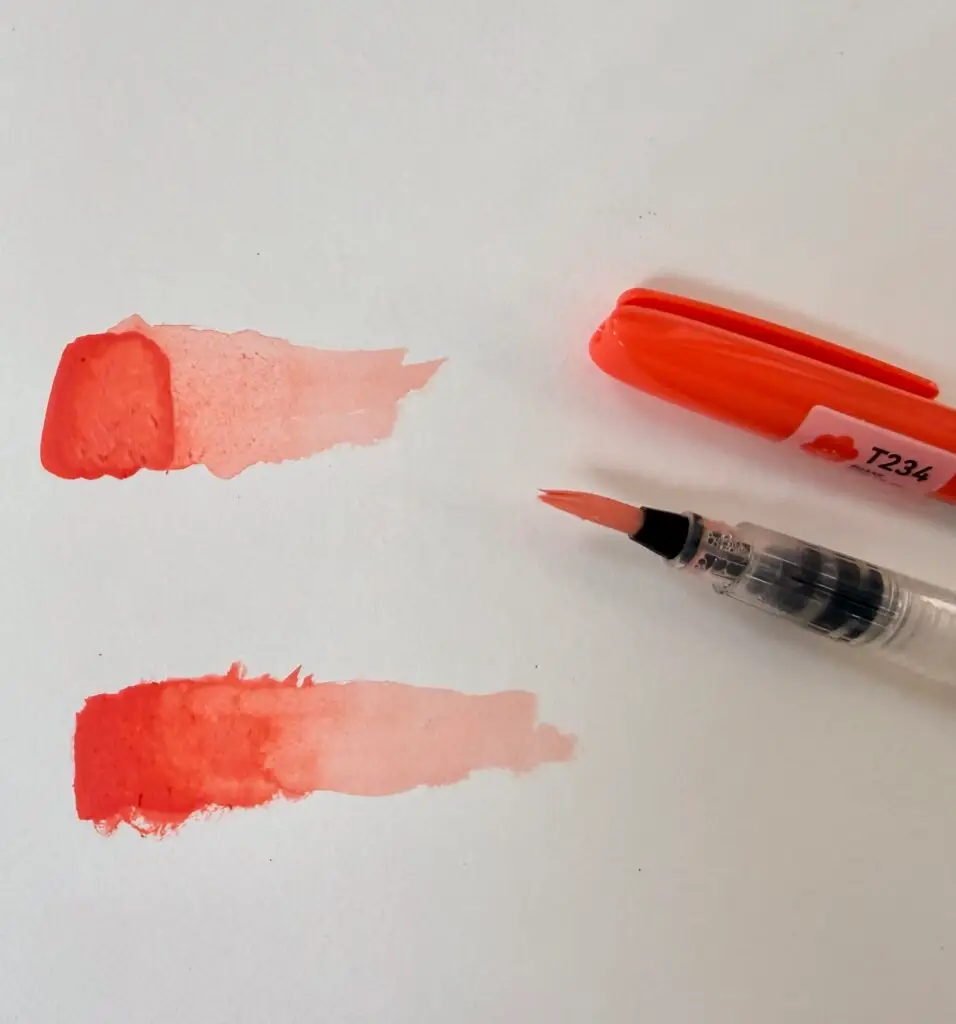
And the answer is… yes, you can! But there’s one important secret: you have to work while the color is still wet.
Here’s my little recipe:
- Swipe some color onto your page. Just a small section.
- Grab a slightly damp brush. Not soaking, just damp.
- Gently pull the pigment across the paper. Watch it soften into a dreamy wash.
I got a gorgeous fade from bold, vibrant color to a light, watercolor-y wash. It’s such a fun way to use markers beyond just coloring and drawing.
But here’s what I discovered: once the color dries, it’s much harder to blend or reactivate with water.
So don’t color a whole page and then come back expecting to soften everything. (Ask me how I know.) Work in small sections and blend right away. And since water can change how your paper behaves, test on a spare sheet first.
Blending colors into each other
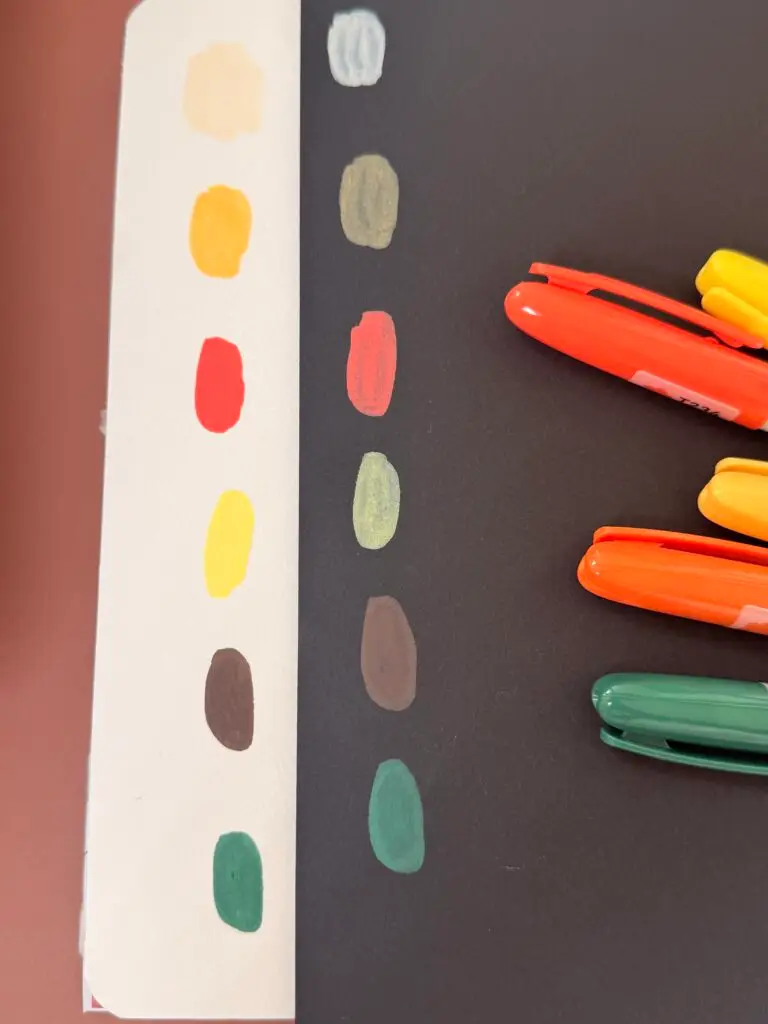
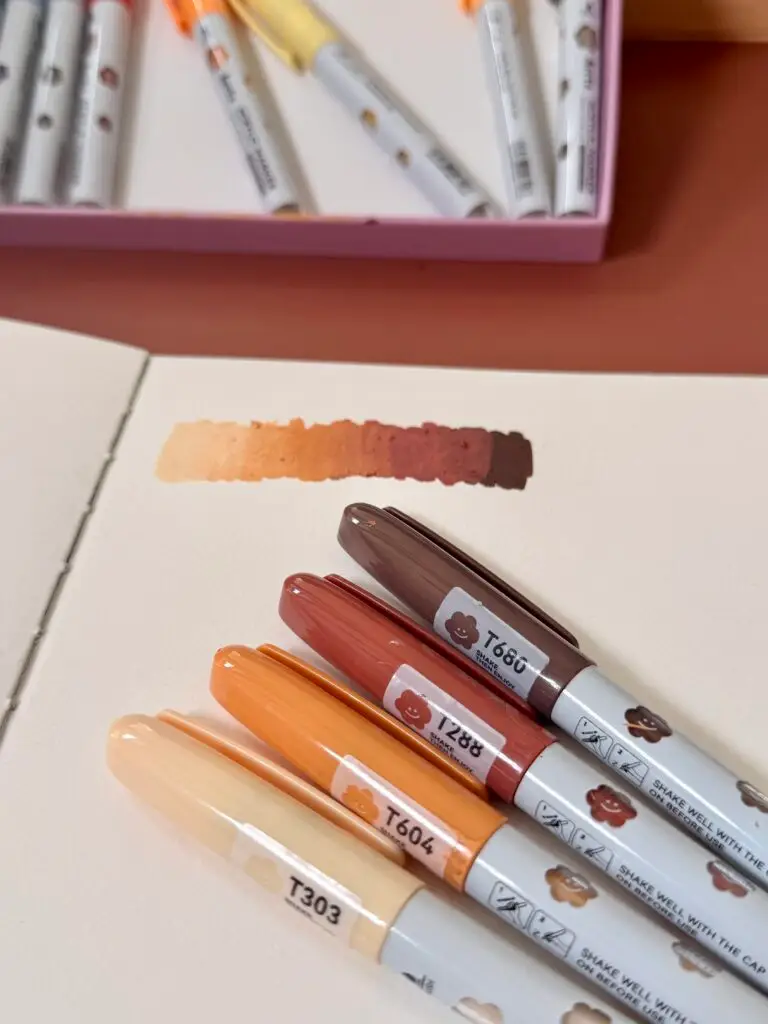
Next, I picked a few warm “ingredients”: cream, orange, terracotta, and brown. Then I made a little gradient, blending each shade into the next while they were still wet.
The result was so warm and earthy! Perfect for autumn journal pages, landscapes, abstract backgrounds, and even portraits.
What I loved most was being able to play with both soft transitions and visible brush marks.
But can you make Actual art with them?
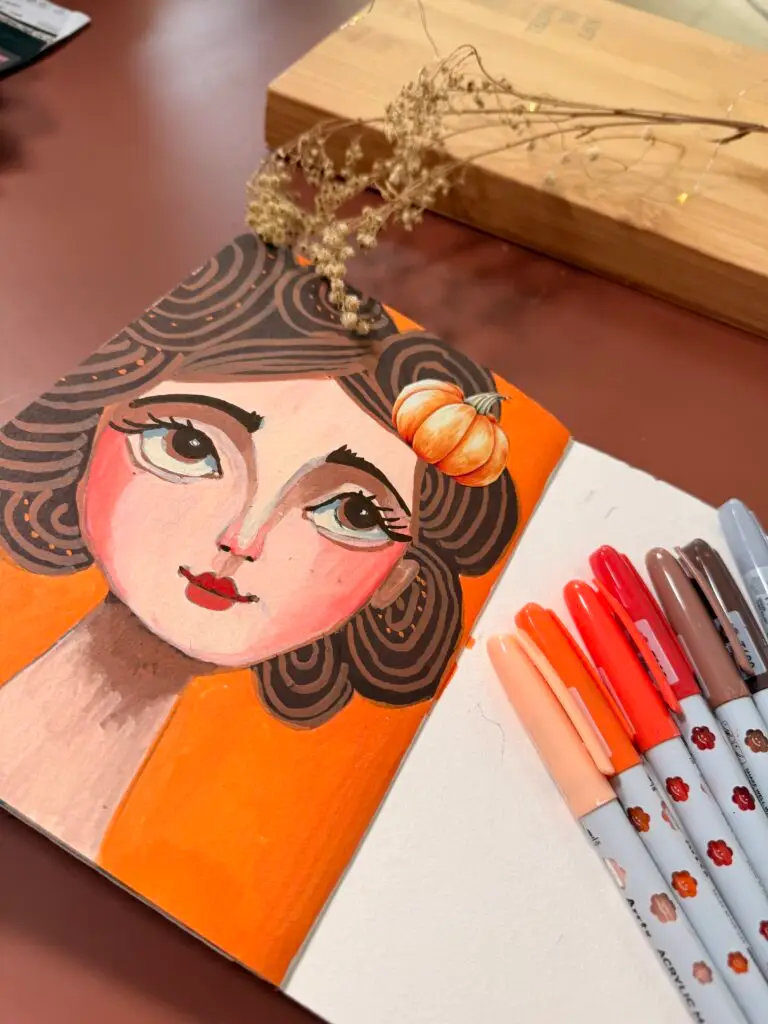
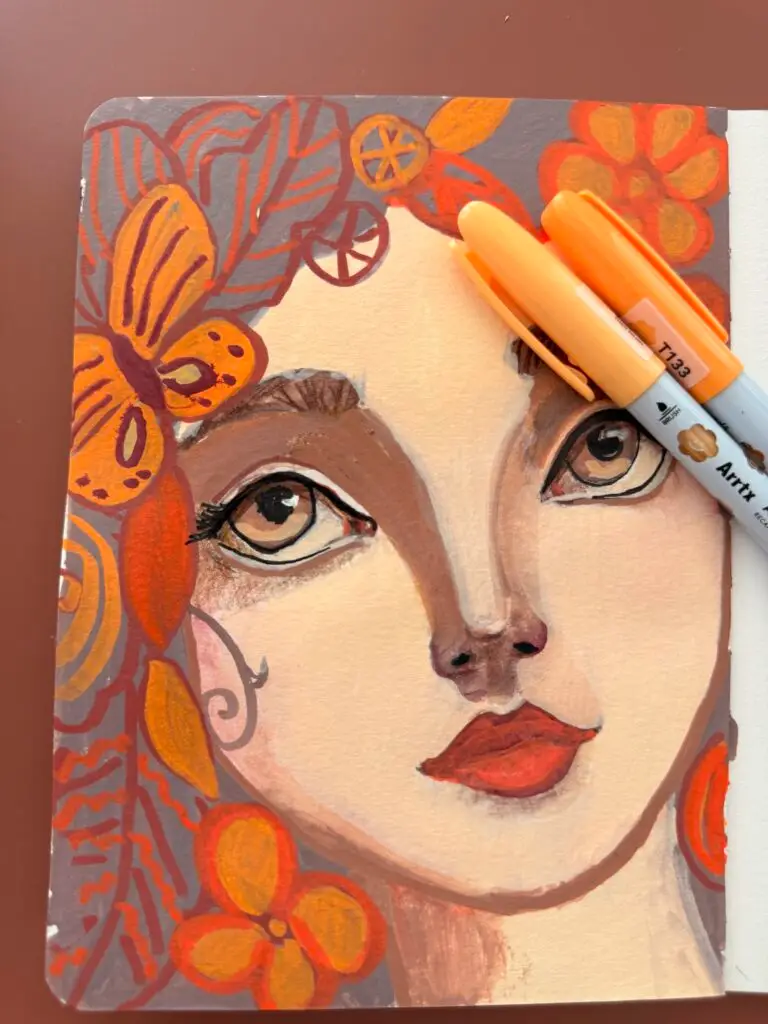
Testing is fun, but there’s the real question. Can you make something beautiful?
Because I don’t want supplies that only look good in a swatch book. I want tool that make me excited to sit down and create. So after all my little experiments, I made real artwork with the Arrtx makers. And I had SO much fun.
I played with color combos, different marks and all sorts of layering. and the more I worked the more possibilities I spotted.
This is what I love about art supplies, you don’t need hundreds of colors or studio overflowing with materials. You just need a few good tools and a willingness to play.

What I Loved
- The brush tip : going from big, expressive strokes to tiny delicate lines without switching tools.
- The layering: watching colors interact, especially light over dark and dark over light.
- Barely any bleed: a lovely surprise, especially on very thin paper.
- Water blending: softening fresh color with a damp brush gave me so many more options.
- The colors: discovering how many combos I could make from a small palette.
And most importantly, they were genuinely a joy to use!
Anything I didn’t love?
No art supply is perfect for every technique.
Blending time is short. These markers blend beautifully while wet, but once dry, they’re much harder to soften. If you like taking your sweet time blending big areas, just work in smaller sections, keep a damp brush nearby, and blend as you go.
Light over dark may need a second coat. Light colors don’t always cover dark backgrounds completely in one layer. I actually enjoy building up color, but if you want full, opaque coverage in one stroke, it’s good to know.
Neither of these stopped me from having a blast. They’re just handy things to know before you start.
Are they good for beginners?
Yes! I think they’re a lovely option, especially if you enjoy art journaling, illustration, or mixed media.
You don’t need to be an experienced artist to start. Simple swatches, little patterns, abstract shapes, or easy doodles are all perfect first steps. And because the brush tip is so versatile, you can explore lots of different marks without buying a bunch of extra tools.
Don’t worry about making anything beautiful. Just play! You might be surprised by what you discover.
So… would I recommend them?
Yes, I would!
And not just because Arrtx sent me this set. Remember, I owned a much bigger set and was using these markers in my art long before this review.
What I loved about this experiment was really getting to know what they can do. White paper, black paper, super thin paper. Light and dark colors, layering, blending, water, and all kinds of brushstrokes. Plus actual artwork, too!
The fine brush tip stole my heart, and I was seriously impressed by how little they bled through in my tests.
I love that some colors aren’t fully opaque, because I adore layering and the depth it gives a painting. The brush tip goes from big, bold marks to delicate thin lines. And they last! It’s fall, so I’ve been using orange like crazy and was sure I’d run out. To my surprise, it just kept going.
You can also paint with these markers on lots of different surfaces. That’s an adventure I’m saving for another day.
Perfect for every technique? Of course not. Versatile, joyful and full of possibilities? Absolutely!
And that’s exactly what I look for: tools that get me excited to create, nudge me to experiment, and help me find new possibilities. These markers did all three.
Okay, your turn!
Have you tried Arrtx acrylic markers? I’d love to hear what you think!
Have you played with blending them? Are you team white paper or team black paper? And what’s your favorite way to use acrylic markers in your art journal?
Happy creating, friend!
Salwa Artful Haven
Disclosure: Arrtx gifted me the markers featured in this review so I could test them and share my honest experience. All opinions are my own. This post may contain affiliate links, which means I may earn a small commission if you purchase through my links, at no additional cost to you.