Easy Collage Organization Ideas And Tips For Art Journaling
Collage organization is a real struggle we creatives have. We love the papers, colors, and textures, and we just pile these things up, but how to efficiently organize collage materials?
In this post, I’ll share some ideas on collage organization, as well as some storage solutions, plus tips you should have in mind when gathering and organizing your collage supplies.
Disclaimer: Some links in this post may be affiliate links. This means that if you purchase something through that link, I get a small commission, at no extra cost to you.
What to have in mind before you start organizing?
I just wanted to remind you that there’s no one-fits-all way of organizing collage materials. This mainly depends on how you see things and what system works for you.
- For example, do you get inspiration just by looking at an image, or do you like having organized themes you can choose from, like color or size?
- Are you a messy artist who creates at the spur of the moment or do you need a system in order to find creativity?
Think about these things for a moment because they’ll help you decide on the organizational system for your collage materials.
How to organize collage materials
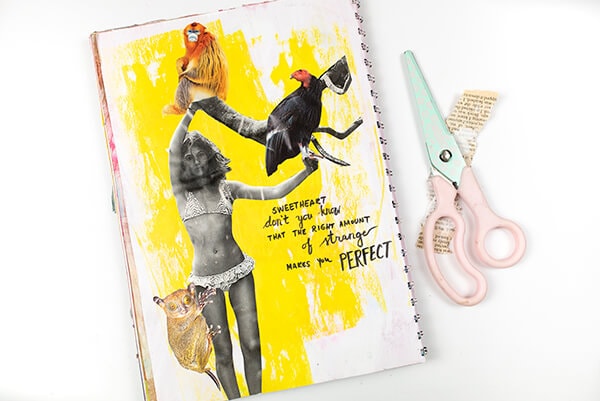
There are many ways you can do this and the Internet is packed with advice, some might work for you, and others not.
I’d like to share basic collage organization systems I’ve tried, together with their positive and negative sides.
You won’t be able to use all of the systems, but this could help you to try one and see if it works. Maybe you’ll create your own unique organizing system, which I’ve seen many artists end up doing.
Collage organization by color
This works if you have collage material that comes in one main color. If your paper clipping has multiple colors, it’s hard to decide how to stash it according to color. And it’s harder for you to find the perfect paper later when you create.
I’ve heard that the color organizing system doesn’t work for many people. For me, it sometimes does, if (as I already said) the paper clipping has a prominent color, one main color.
So, what you can try is to organize your paper ephemera by color groups.
For example, you can organize them in warm and cool colors. This could be easier to organize and find something you like.
If you’re making a page with a warm background, maybe you want to add more warm colors or add the opposite, cold colors. You can play with these and see how this system works for you.
Or, you can organize them by grouping colors that go well together according to the color wheel (complementary colors, for instance).
For example, you could group together greens and reds, purples and yellows, etc.
Another thing I’d suggest is keeping your black and white images separate. It’s so much easier to find what you need. I sometimes organize my black and white paper clips further into categories like people and objects.
Collage organization by style
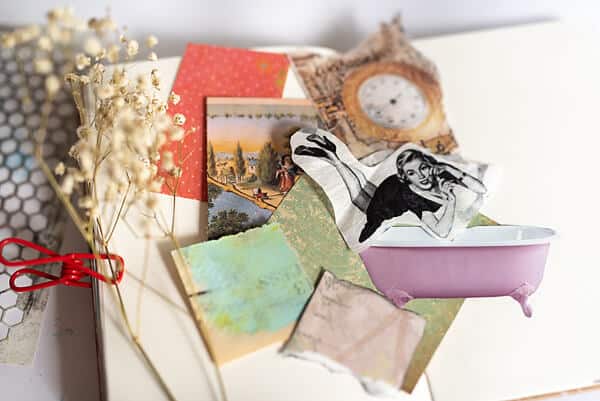
If organizing by color doesn’t suit you, you can try grouping your papers by style. This can come in handy if you’re a person who likes to create a certain style and then have collage materials follow that, too.
For example, if you want to try out different styles of art journal pages, like vintage or modern, keeping your collage materials according to style will help you a lot and save time.
Here are some categories for the organization based on style:
- Vintage – pinks, browns, and golds, black and white, lace, old images, vintage images, vintage text, handwriting
- Modern – bold colors, geometrical designs, modern text, magazine images of women
- Retro – patterns, warm colors, old images of furniture or appliances, cameras, cars
- Dark – black and white, textured images, black letters
- Colorful – flowers or nature images, butterflies, colorful clothes
Collage organization by size
This kind of organization can come in handy if you like to switch between small and large journals.
Also, large images take up a lot of space and it’s a good thing to keep them separately. When they’re mixed with smaller pieces, you can’t really find them easily.
When I cut out my collage ephemera, I put the big ones on the side and then fussy-cut the smaller pieces. Larger ones are easier to cut out, so I leave them and cut them out later.
So, when I tried to organize my collage papers by size, it all came down to 3 main sizes:
- Tiny
- Large
- Medium
And I rarely end up using the tiny ones. It takes much time to go through them and pick the one I like. So, they mostly just pile up.
But I also must say that I’m pretty impatient when it comes to creating art journal pages, so this doesn’t have to be the case with you.
That’s why this kind of organization hasn’t always worked for me. The good thing about it is that I separate the really big pieces so they don’t stand in the way.
Collage organization by theme
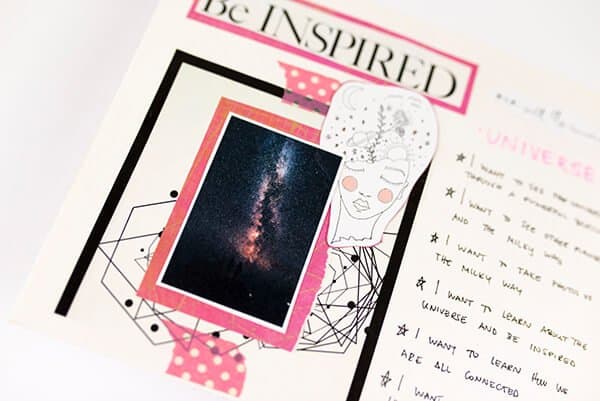
I believe this is my favorite so far. When I’m creating a page, and have my background done, I start thinking about what image I could use and if I have anything that could fit.
So, I go through my collage clippings that are organized in a few categories:
- nature
- animals
- people
- food
- objects
- backgrounds
- patterns
- text
- miscellaneous
Then, what I do is, pick one image from the people category, one from nature, and one from the object category. That’s my starting point.
While I look for these images, I’m also mindful of the colors I want to choose. I either choose the same colors or complementary ones, or I make a color contrast with the images and the background.
Collage material storage supplies
I’ve never been much of an organized person, to be honest. Most of my collage papers are everywhere: big boxes, small folders, small boxes, etc.
If you don’t have many collage materials, you can use DIY boxes, reuse shoe boxes, or similar.
I also organize (when I’m in the mood) the papers by putting them into transparent folders. Sometimes it’s a nuisance to pick an image from there, but at least I keep them separate according to the theme.
Then I put these folders into a big box or in a binder. In the binder, they can become heavy and spill out, so I mostly keep them in a box.
If you’re really into organizing, unlike me, you can make pretty labels for your folders or boxes.
There are also a few neat things I’ve come across that could be a great option for organizing collage materials.
- You can use trays with dividers for smaller or medium-sized pieces or mini boxes
- For larger collage pieces, some kind of shallow trays would work fine.
- Also, you could use file folder organizers, these seem like a great idea.
Collage organization tips
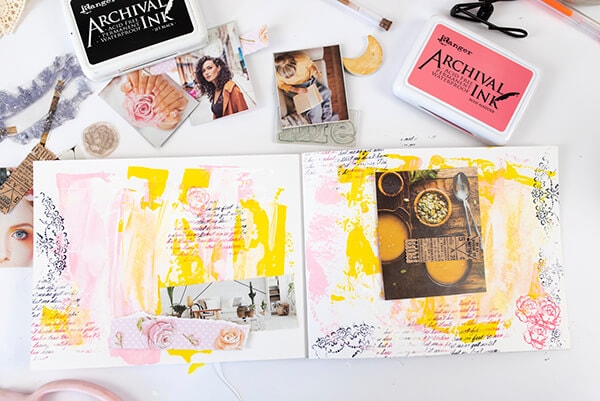
Here are some final tips for collage organization that might take the overwhelm out of the entire process.
Don’t save what doesn’t inspire you
I’ve learned that keeping all the images or papers just makes a mess and doesn’t even inspire me to create. So, when you’re ready to cut out some images, take the ones that really got to you.
If you gasped or kept your eyes on an image for long, take that one. But the ones you just overlooked…leave them.
You don’t have to discard them forever, maybe during another cutting session, you’ll want to include them as well. But for now, just keep the ones that make you say: woow.
Don’t use too many categories
If you try to organize your collage materials in too many categories, you’ll spend so much time figuring out where to put each clipping.
So, start with only a few categories and if you see there’s a need for a new one, add it. Also, don’t overthink this, it’s supposed to be fun and relaxing.
Use your materials
I’ve long been guilty of not using my supplies or materials. But when you think about it, if you don’t use them, why try cut them out at all?
Keeping it for that perfect page? I know the feeling. But eventually, I get tired of looking at the same images I was saving and then end up not using them at all.
Please don’t be like me. Use your collage ephemera because the new one is always coming.
Schedule time just for cutting and categorizing
Let this be a process that you enjoy, just like making art. Save some time, gather up all the things you want to cut, and go slowly. Enjoy the images, and think about how they can inspire you.
I usually do this while listening to music, and it can be truly relaxing.
If fussy cutting gives you headaches, just cut around an image and leave it imperfect. Later, you can decide whether to use it with a line around it or fussy-cut it after all.
Limit your collage materials
What often happens to me is that I search for an image for my page, but I get lost in all of the clippings I have (especially if I mixed up the categories and can’t find anything – this happens).
It would be a fun experiment to limit your collage materials, for example, use only one or two categories from your stash. It’s a challenge, but I believe challenges boost our creativity.
You might be also interested in:
Easy Mixed Media Art Journal Tutorial With A Magazine Collage
Composition In Art: Create Interest In Your Art Even If You’re A Beginner
8 Essential Art Journal Supplies Every Beginner Should Start With

