How to Paint a Portrait with Only Acrylic Markers and a Water brush
Quick Answer:
To paint a portrait with acrylic markers and a water brush: sketch your portrait, divide the face into light/mid-tone/shadow areas, block in the shadows with the darker color first, fill light areas with the lighter color, bridge them with mid-tones, then soften with a water brush. This tutorial uses only Ohuhu acrylic markers and one water brush — no palette or paint required.
A beginner-friendly art journaling fun challenge using creative constraints to spark fresh ideas.
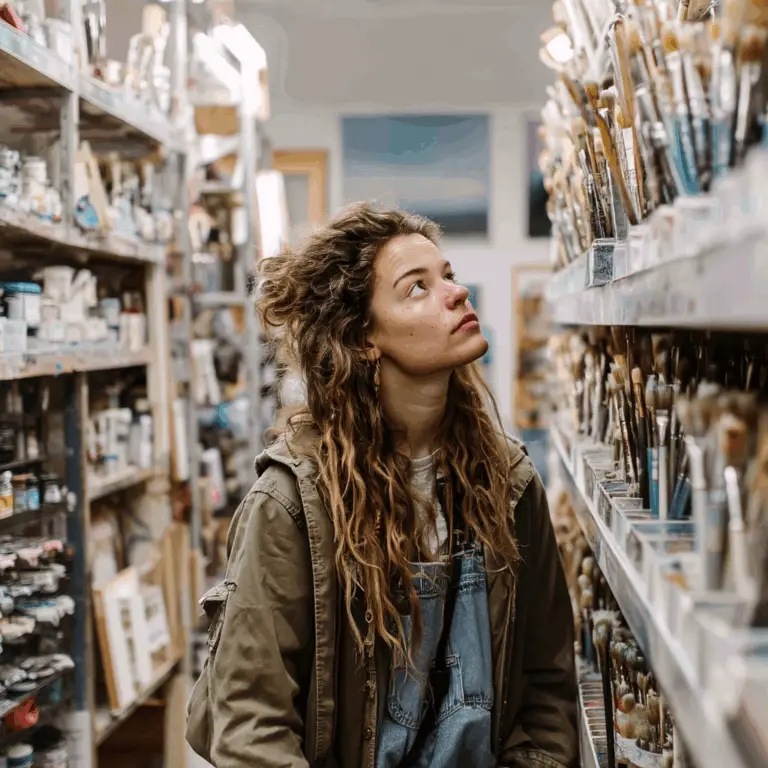
By Salwa D
Estimated reading time: 13 minutes
You know that feeling? You sit down to create, surrounded by every color and tool you could need. And still, you have no idea where to begin. I have. More times than I’d like to admit. And here’s the funny little secret I keep relearning: the more options I have, the harder it is to start.
That’s why I love giving myself creative constraints or as I would like to call them creative challenges.
When you limit your color choices, your tools, or even your subject matter, your brain stops shopping and starts creating. So for this little fun experiment, I challenged myself to paint three portraits using only Ohuhu acrylic markers and one water brush and to add to the fun I only used different complementary color scheme on each one.
Here’s how my acrylic markers and water brush portrait went, what I learned, and how you can try this beginner-friendly acrylic marker portrait painting challenge in your own art journal.
Key Takeaways
- Creative constraints, like limiting colors and tools, help reduce overwhelm and spark creativity in portrait painting.
- Salwa undertook a challenge to create three portraits using only Ohuhu acrylic markers and a water brush, applying complementary color schemes for each.
- She found Ohuhu markers are opaque, blend well with water, and remain vibrant, making them ideal for beginners.
- The article provides a step-by-step guide to painting portraits, emphasizing the importance of dividing the face into light, mid-tone, and shadow zones.
- Finally, the author encourages readers to try the challenge and share their creations on social media.
Why Creative constraints Are a Beginner Artist’s Secret Weapon?
Before we get into the markers and the messy bits, I want to talk about why this matters.
When you’re learning how to paint portraits as a beginner, the biggest enemy isn’t a lack of skill, it’s overwhelm. You sit down with 120 markers, three sketchbooks, four brushes, and your phone open to Pinterest, and suddenly you can’t make a single mark. Sound familiar?
That’s why constraints solve the problem.. They take decisions off your plate so you can spend your energy on the actual making.
For this fun challenge, my two rules were:
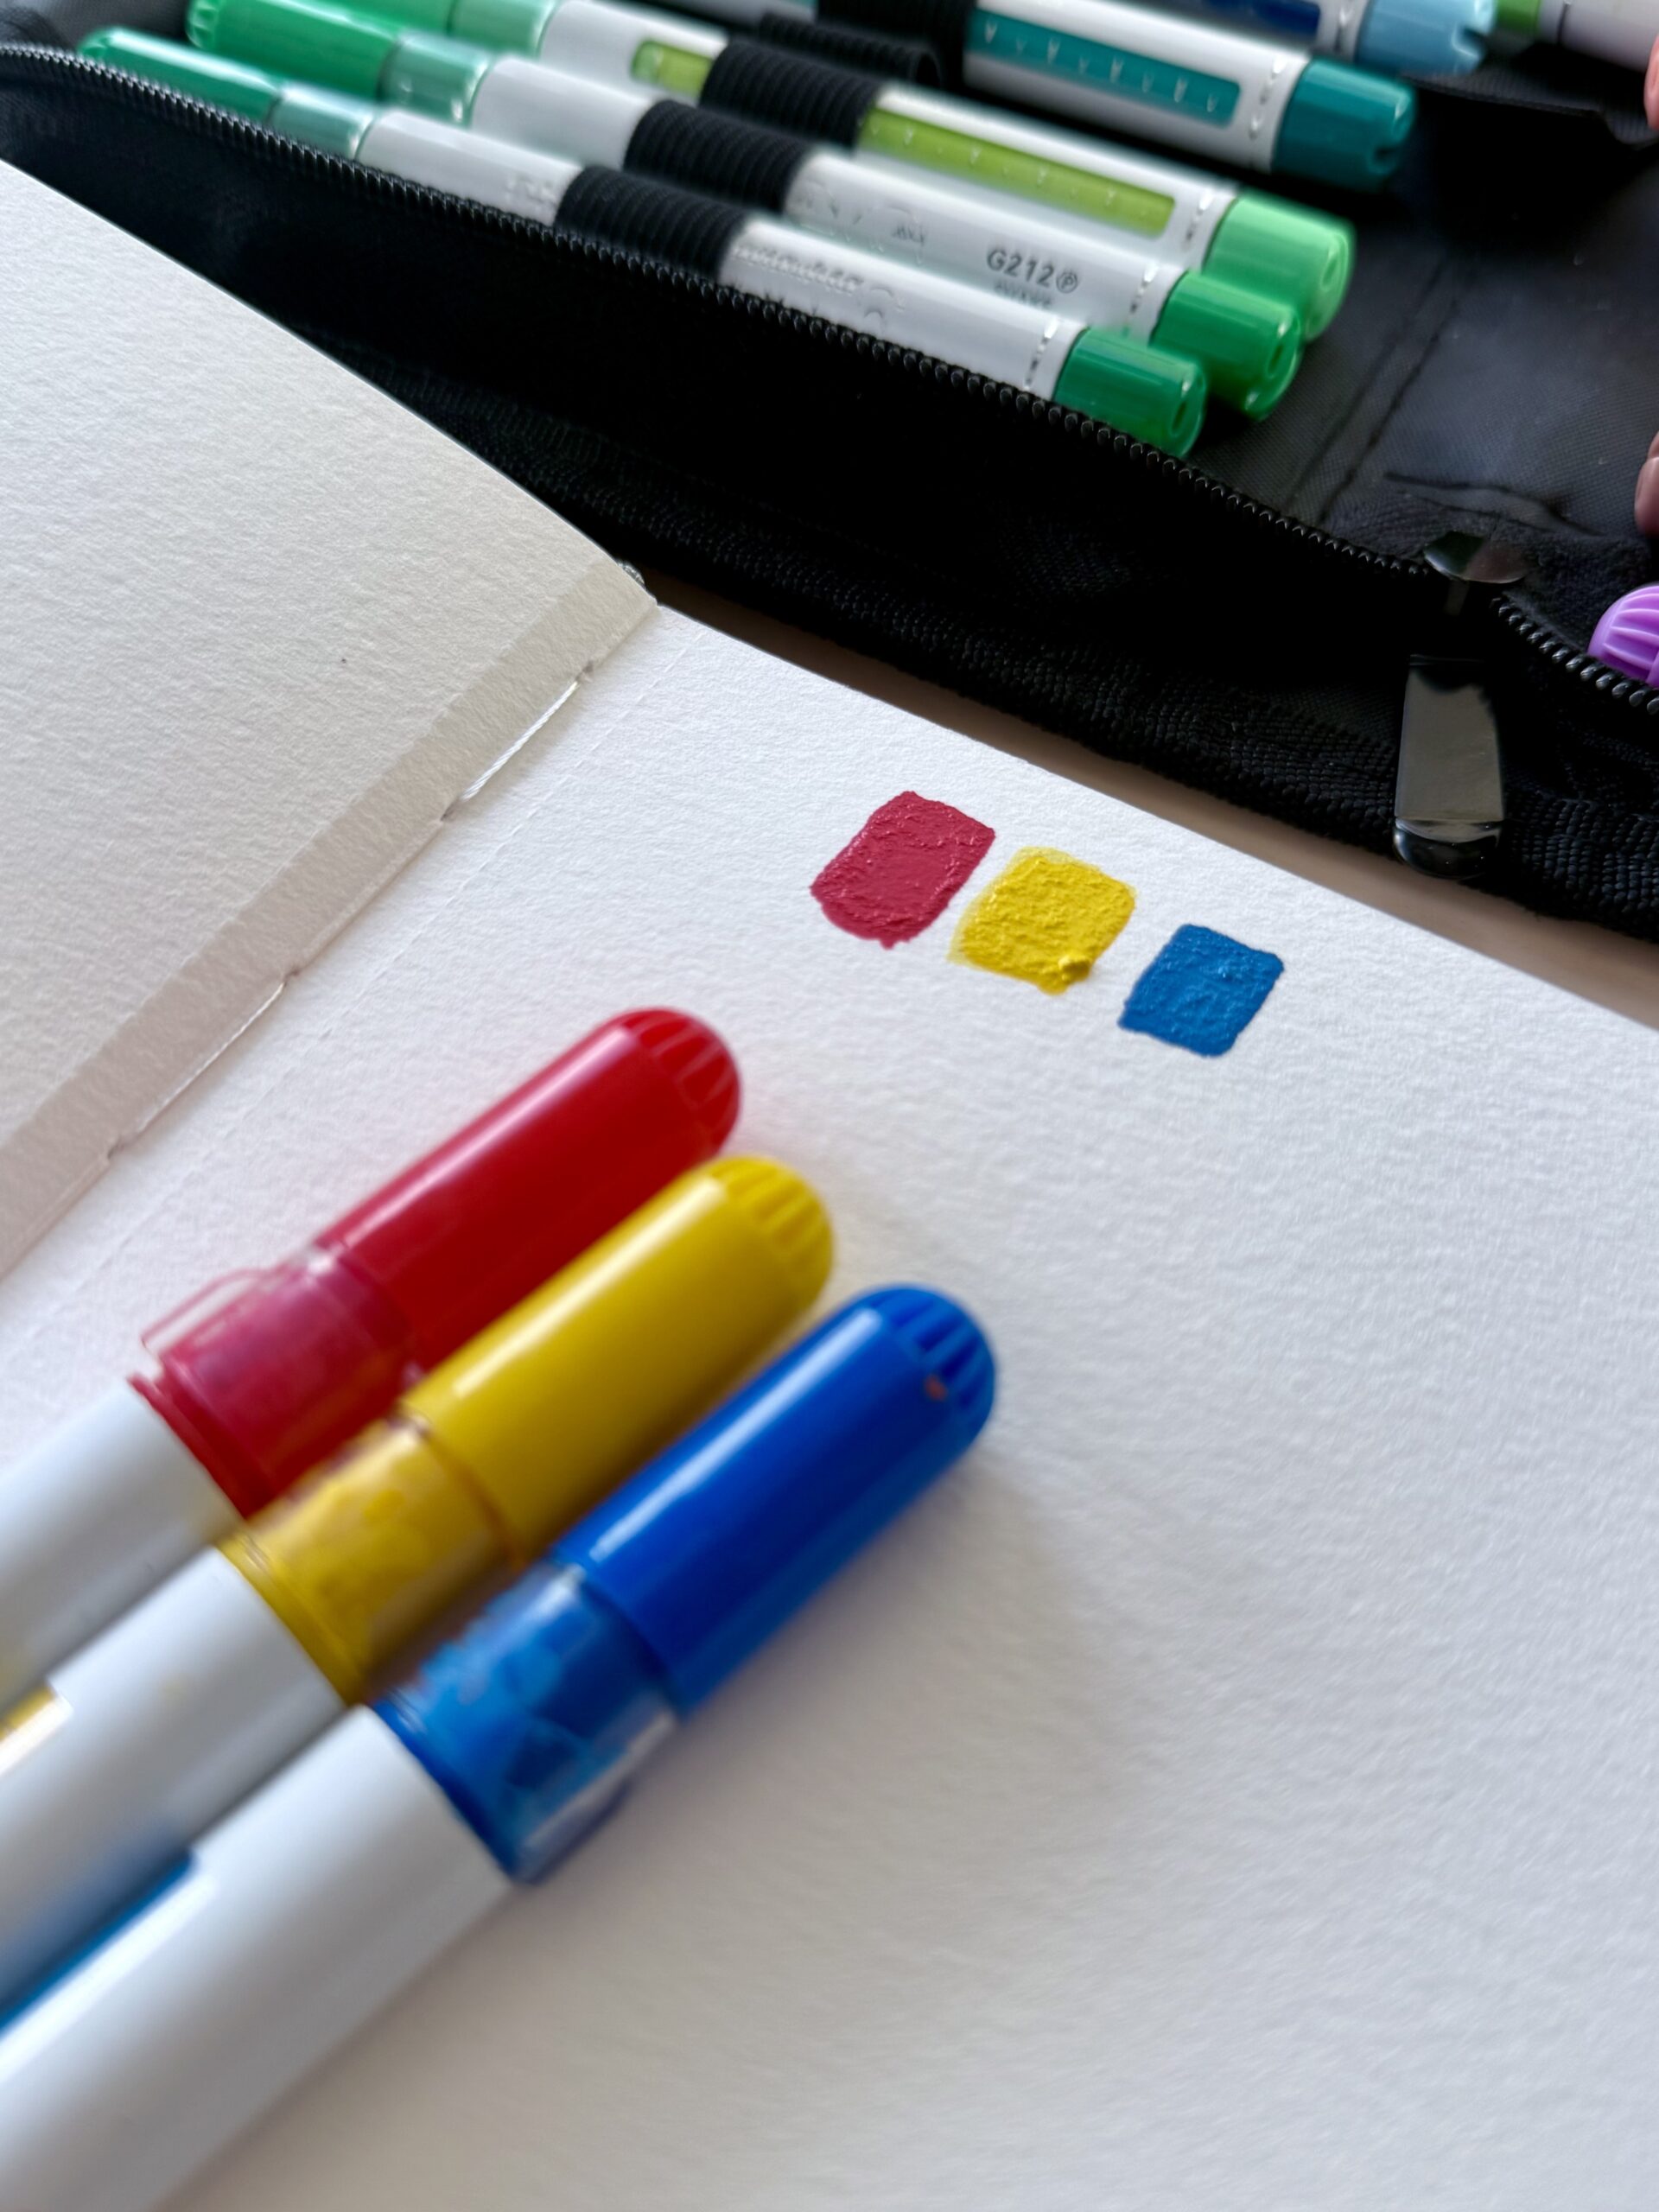
Tool constraint: Only Ohuhu acrylic markers and one water brush. That’s it.
Color constraint: With all the colors available sometimes it gets overwhelming so I decided to choose two color families for Each portrait. So I choose complementary color scheme.
That’s it! Two rules and three portraits
Limits are possibilities. Karl Lagerfeld
Why I Chose Ohuhu Acrylic Markers for Portrait Painting
If you’ve been around Artful Haven for a while, you know I’m always testing art supplies that are beginner-friendly. I try to choose supplies that are good quality, affordable, forgiving, and genuinely fun to use. And I always give you my honest opinion about every supply I recommend.
Ohuhu acrylic markers checked every single box.
A few reasons they worked beautifully for this portrait experiment:
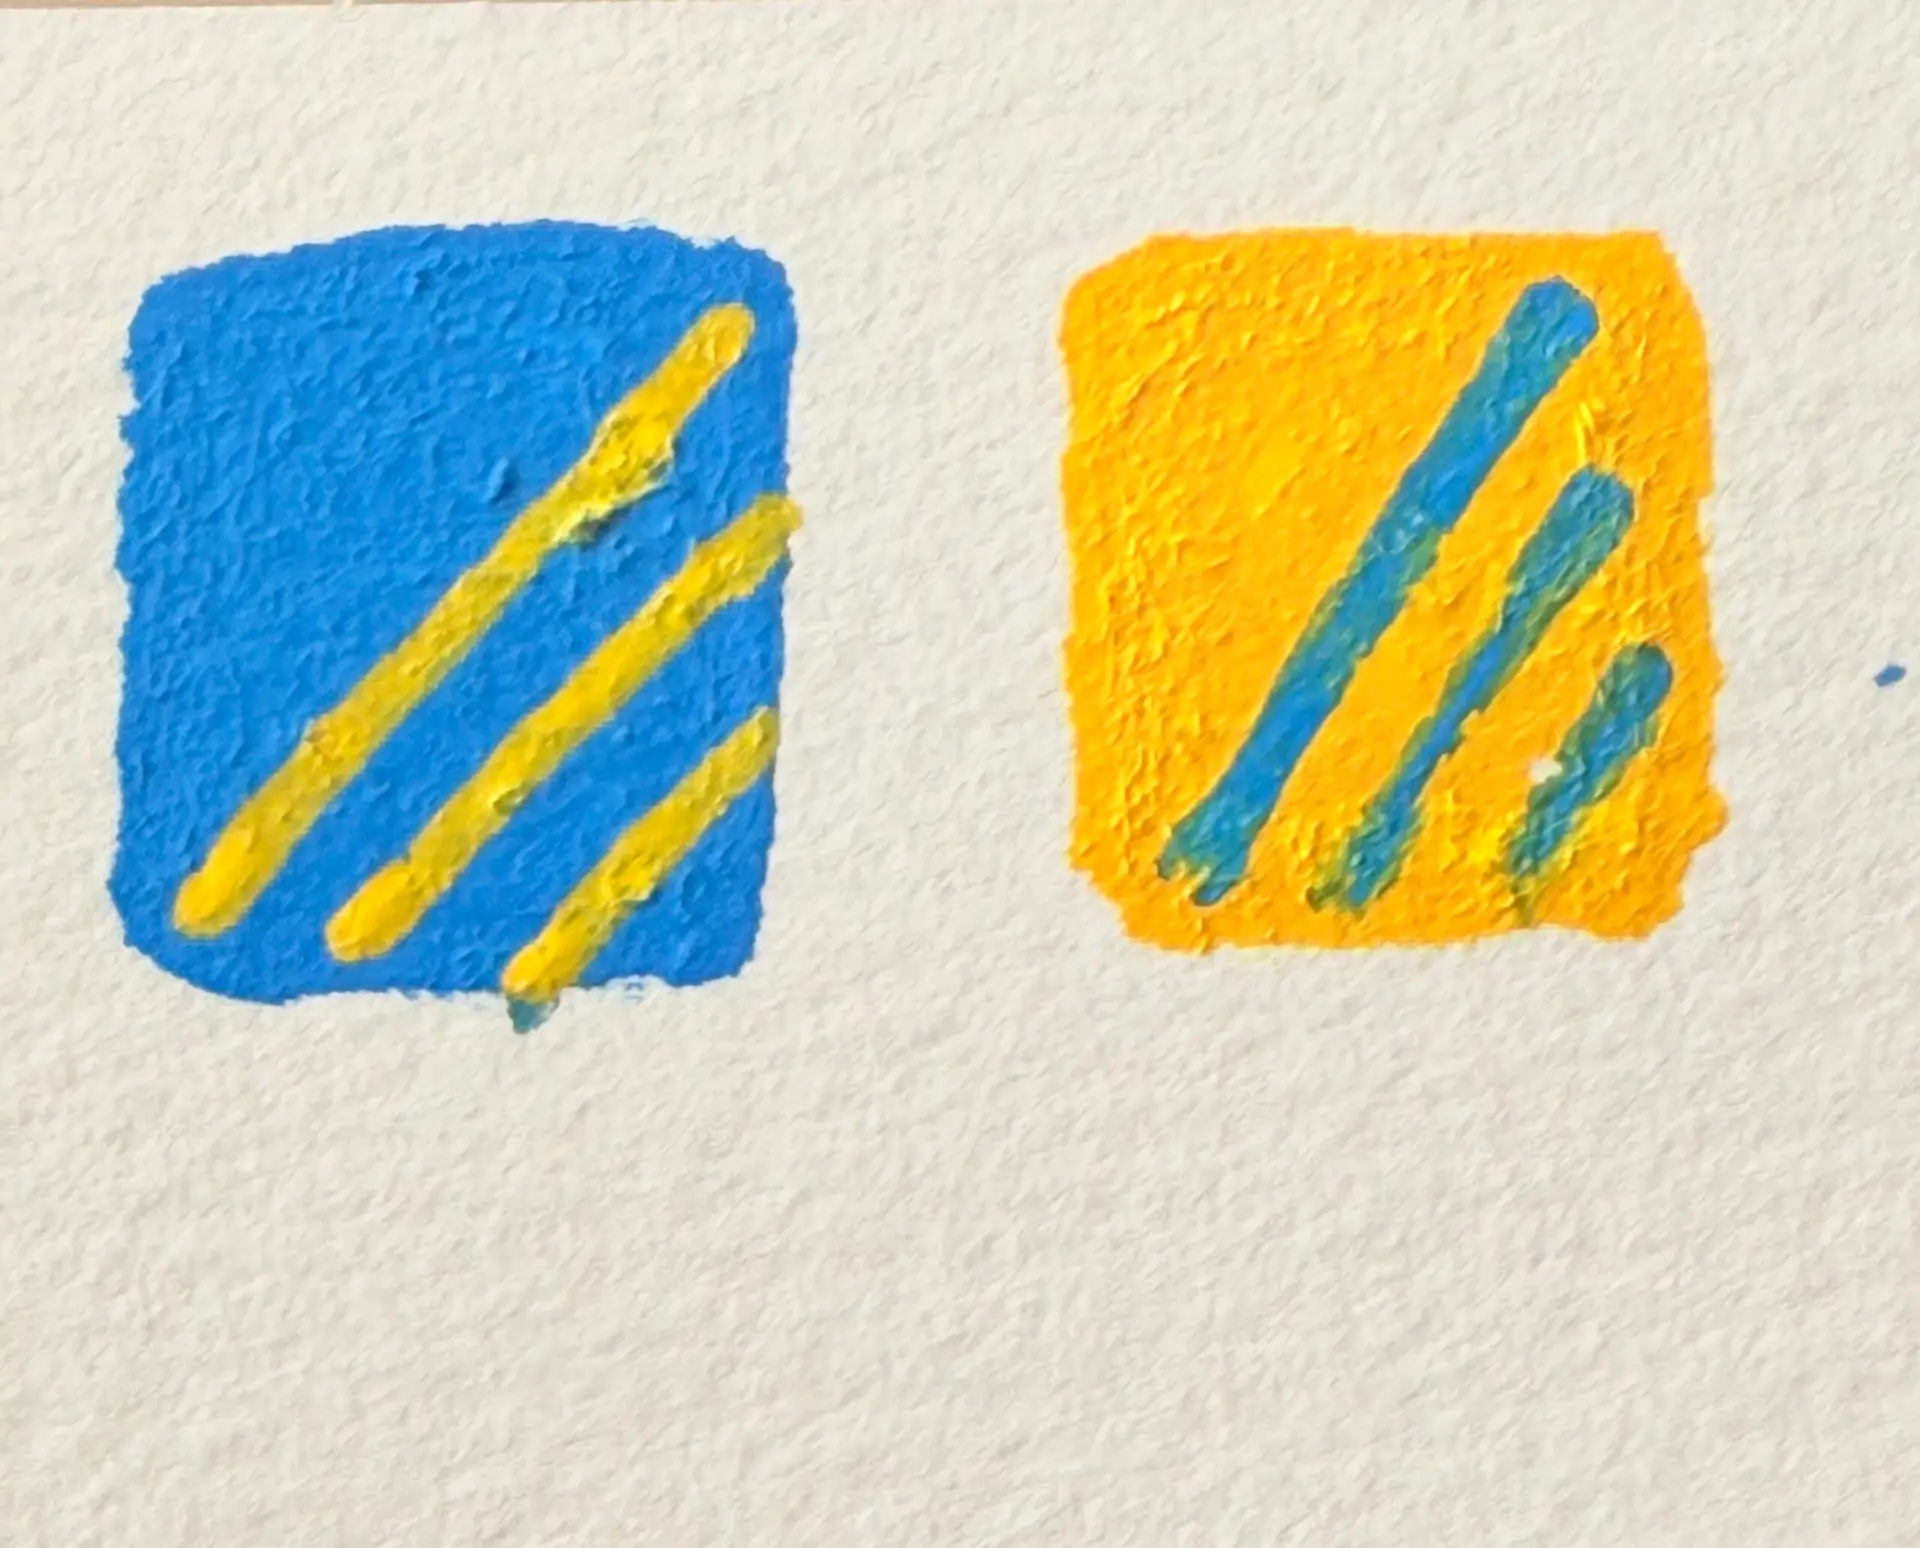
They’re Opaque
Lighter colors like yellow and light pink layered beautifully right over the darker colors. A lifesaver for fixing those little “oops” moments. You can use these colors on any surface such as wood, glass and leather.
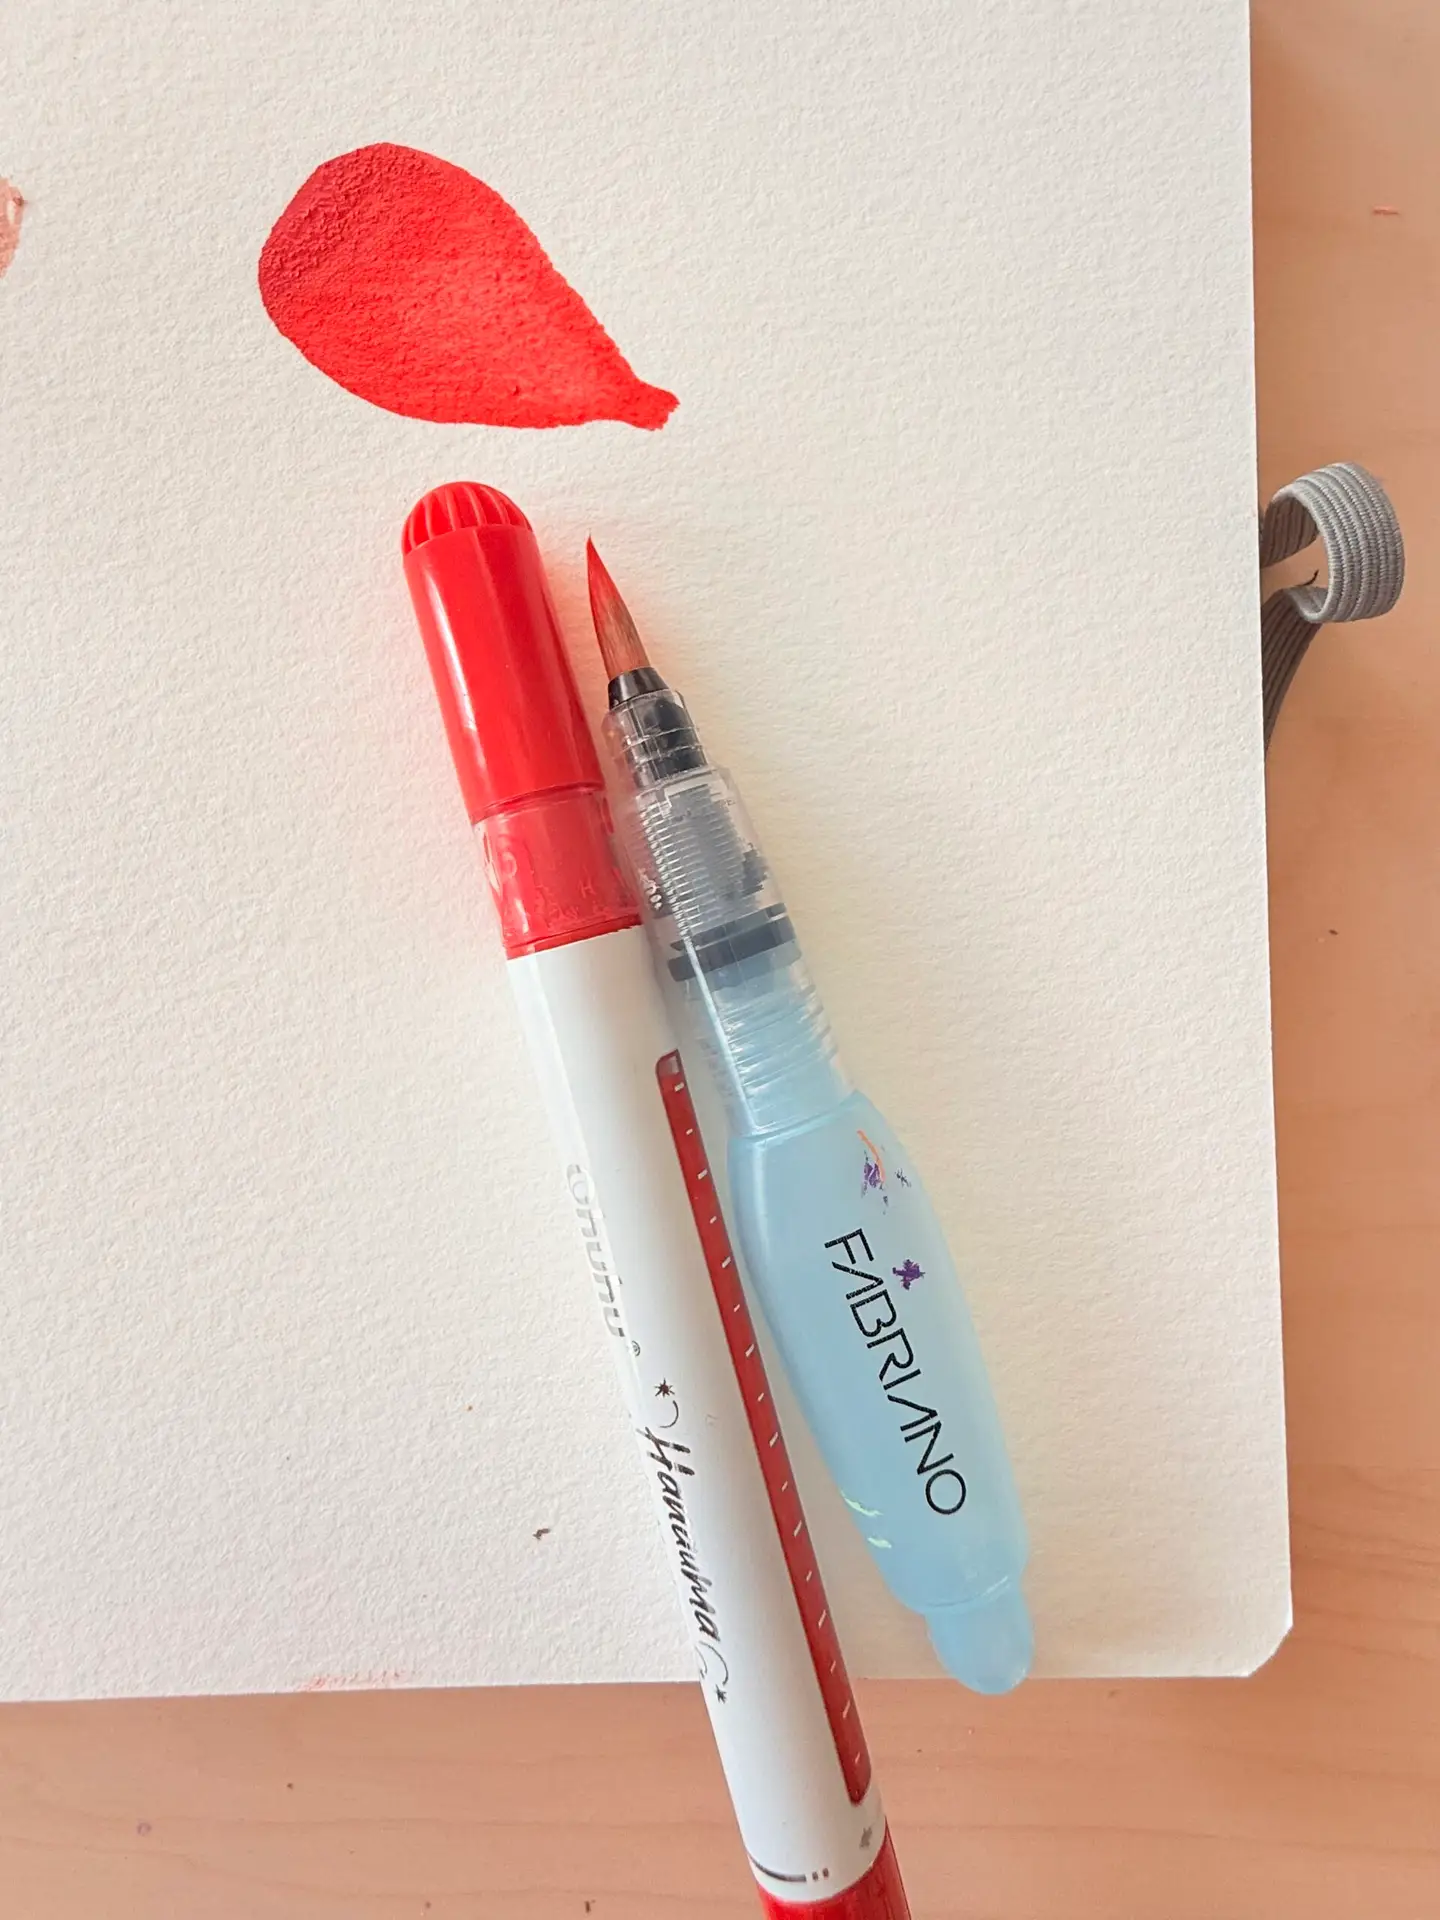
Water Blends Them Beautifully
When you go over the markers with a watercolor brush filled with water, they blend beautifully and create a soft, painterly portrait look without needing actual paint.
Vibrant Colors That Last
Even after blending, the colors stayed bold and vibrant. This really matters when you’re working with strong complementary color schemes.
Beginner-Friendly
No palettes. No paint mixing. No water cup chaos. You simply uncap and start creating.
Ohuhu Hanauma Refillable Markers
The first truly sustainable acrylic marker solution. Refillable design means less plastic waste, lower costs over time, and unlimited creative freedom.
A Few Helpful Tips
* Be careful when opening the markers for the first time because sometimes a little extra paint can overflow from the tip. I recommend covering your work area with a protective cover to eliminate problems and to have a kitchen Roll handy.
* I also recommend testing the marker first on a scrap piece of paper before applying it to your artwork.
* If you accidentally get paint on your desk or hands, it usually cleans up easily with water or hand sanitizer spray.
* Blend with the water brush right away — don’t wait for the paint to dry.
* The markers take a little time to dry so wait for the paint to dry before you put your hand on the page or before closing the art journal.
The Complementary Color Scheme Plan
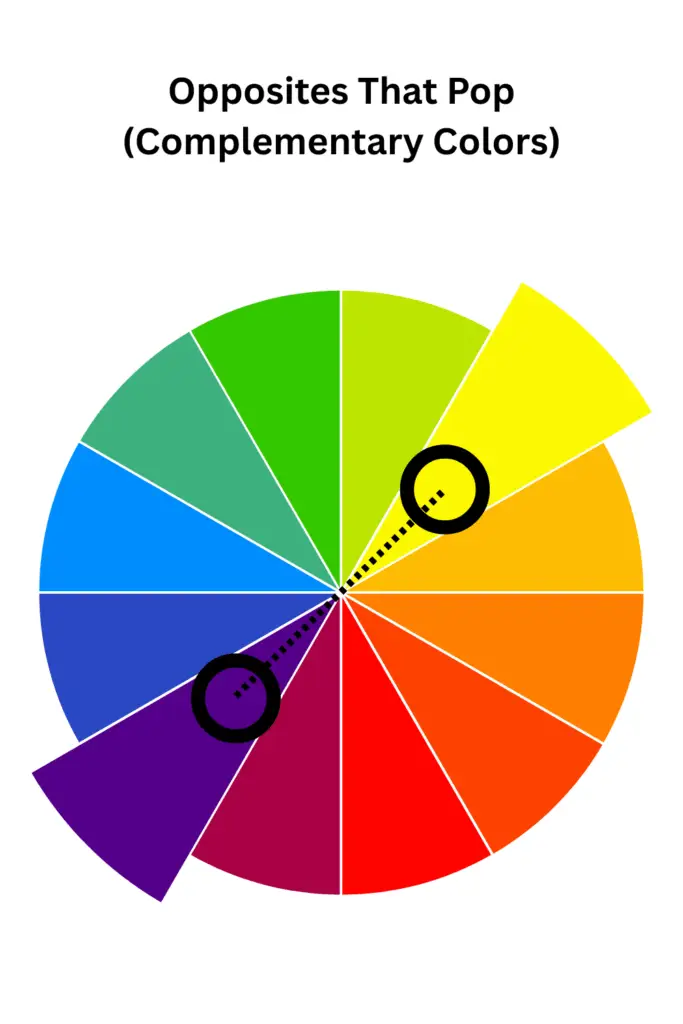
Complementary colors sit directly across from each other on the color wheel.
When you place them next to each other, they make each other vibrate. This is exactly what you want in a portrait that needs to feel alive.
For this challenge, I assigned each portrait a different complementary pair:
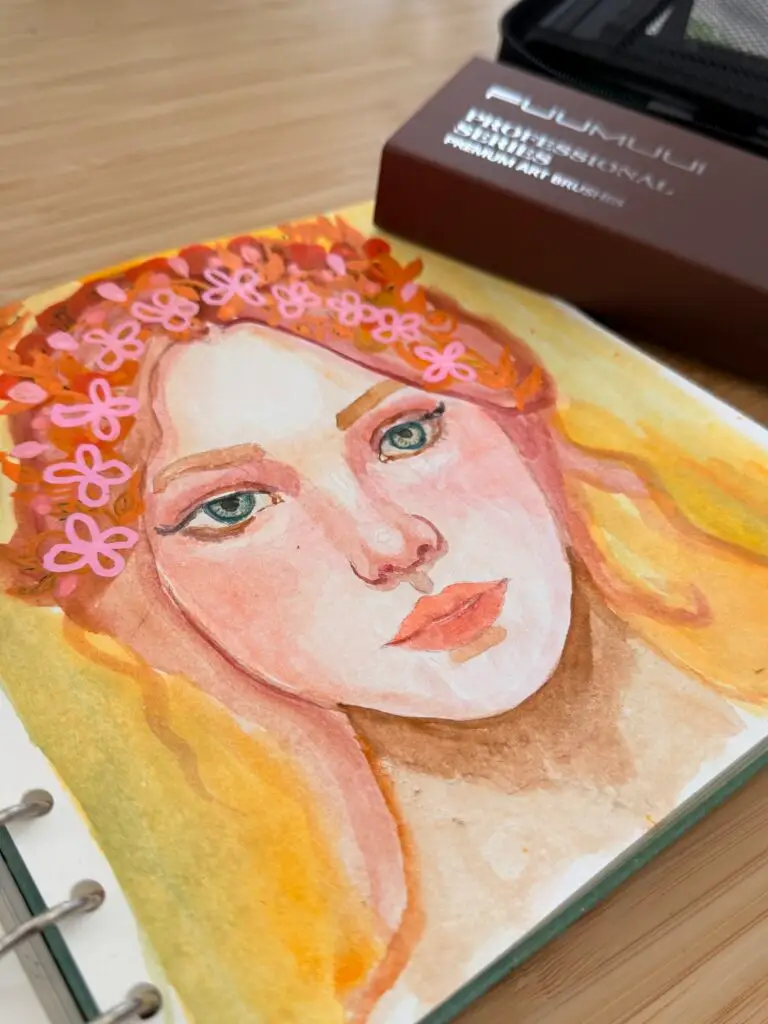
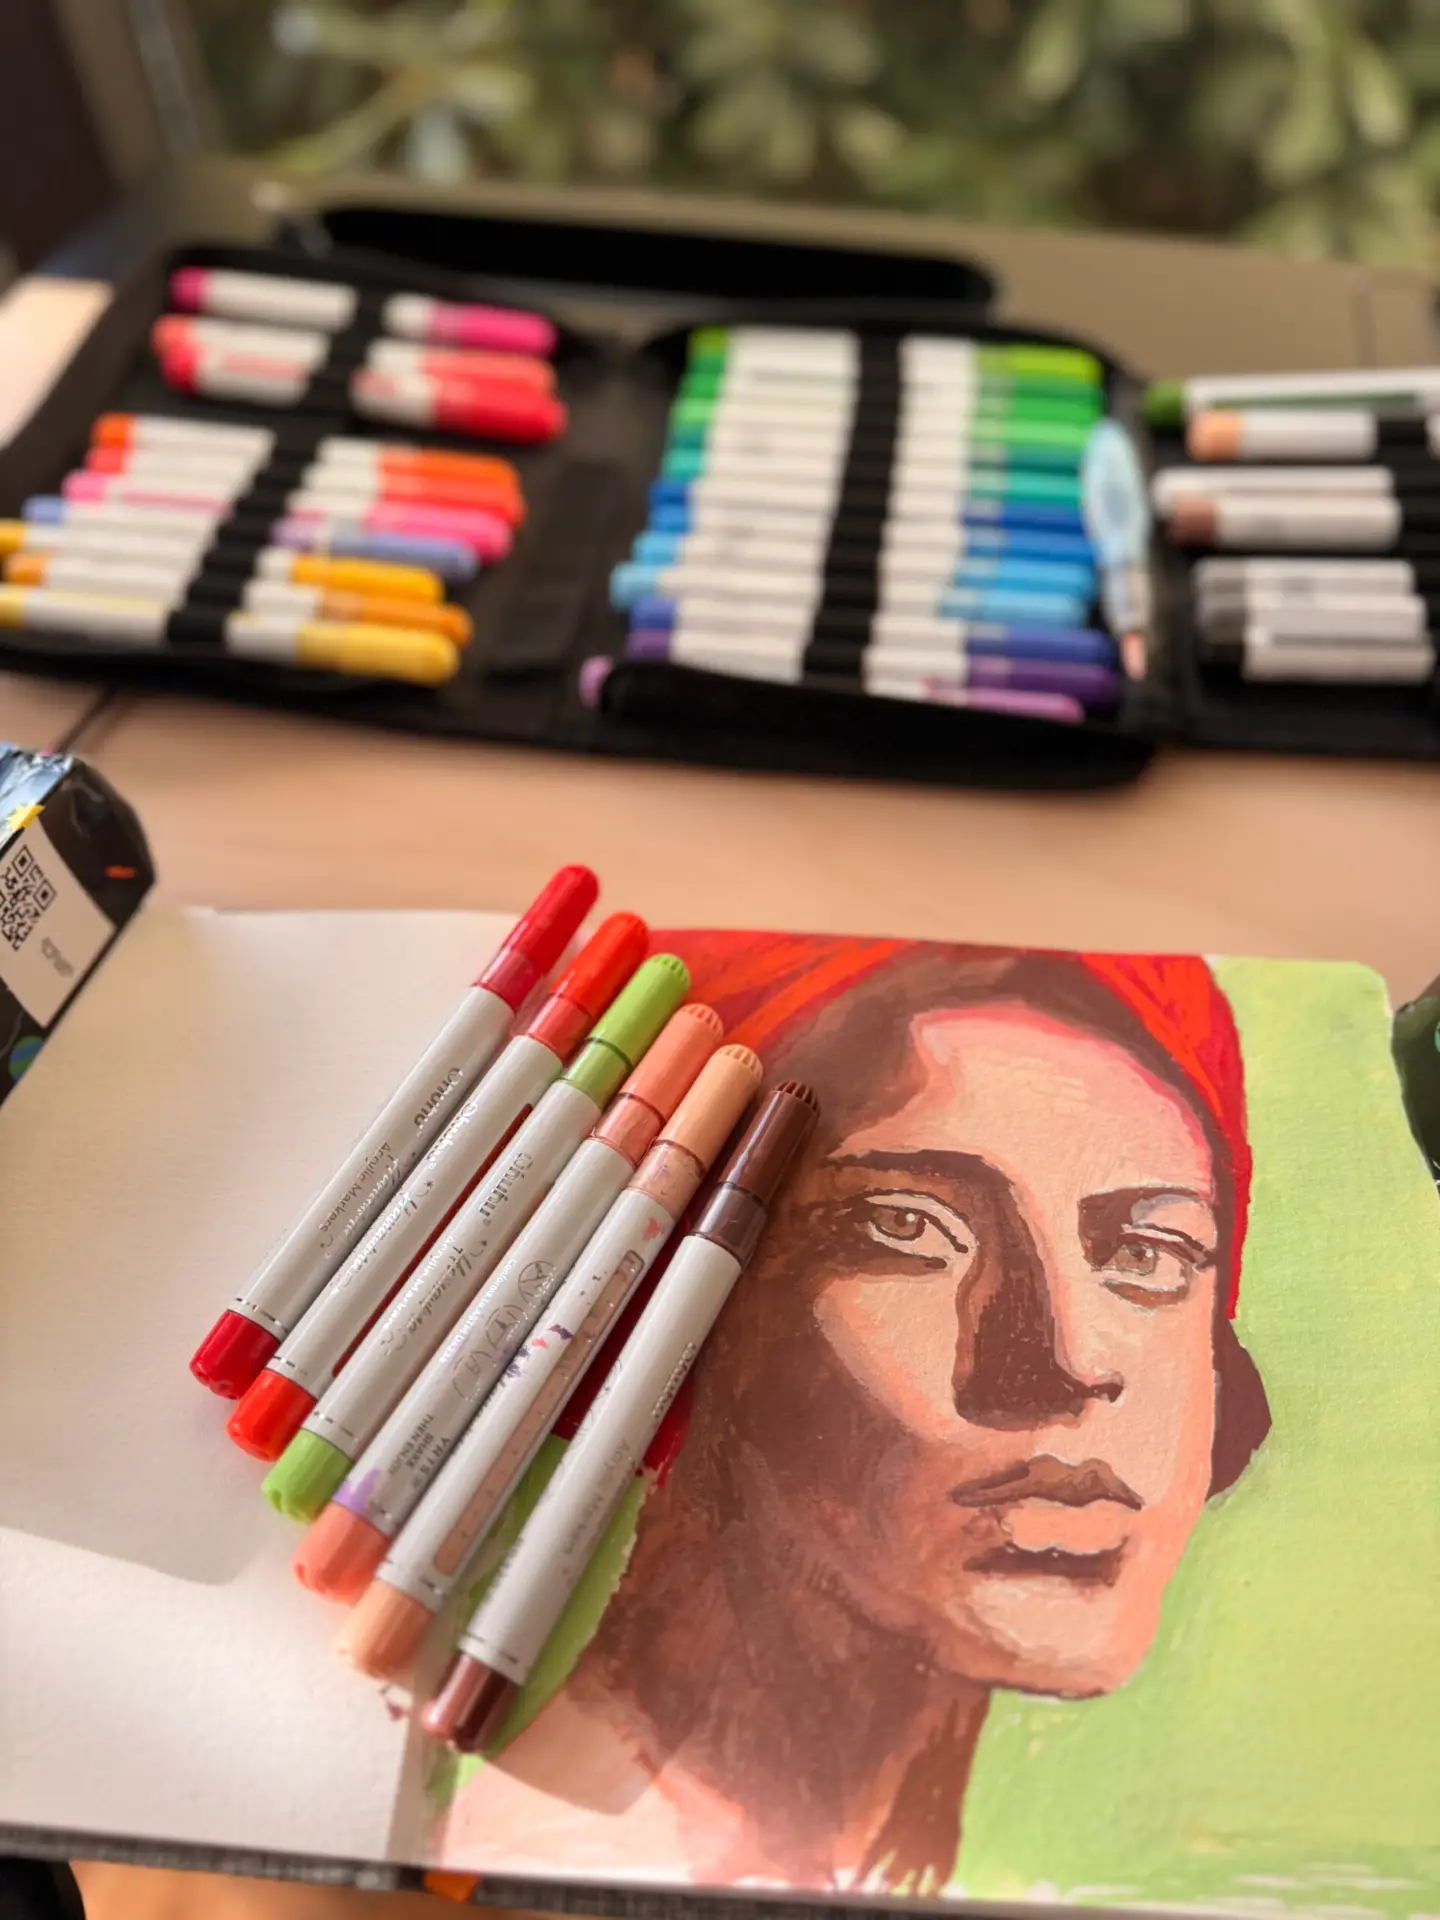
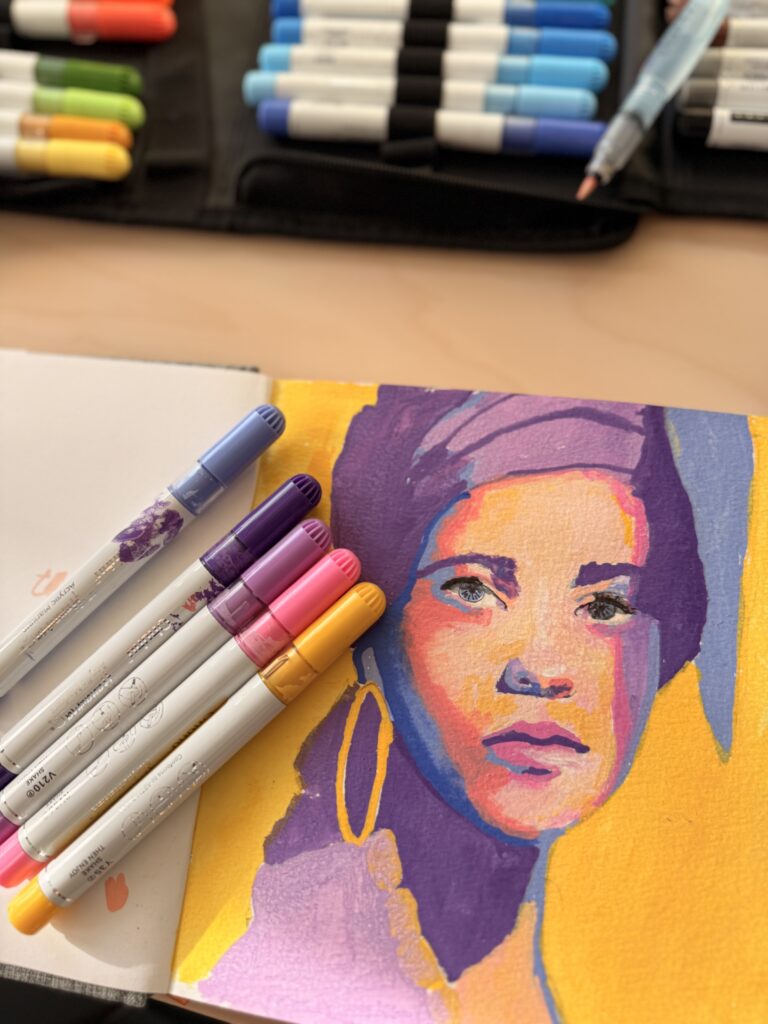
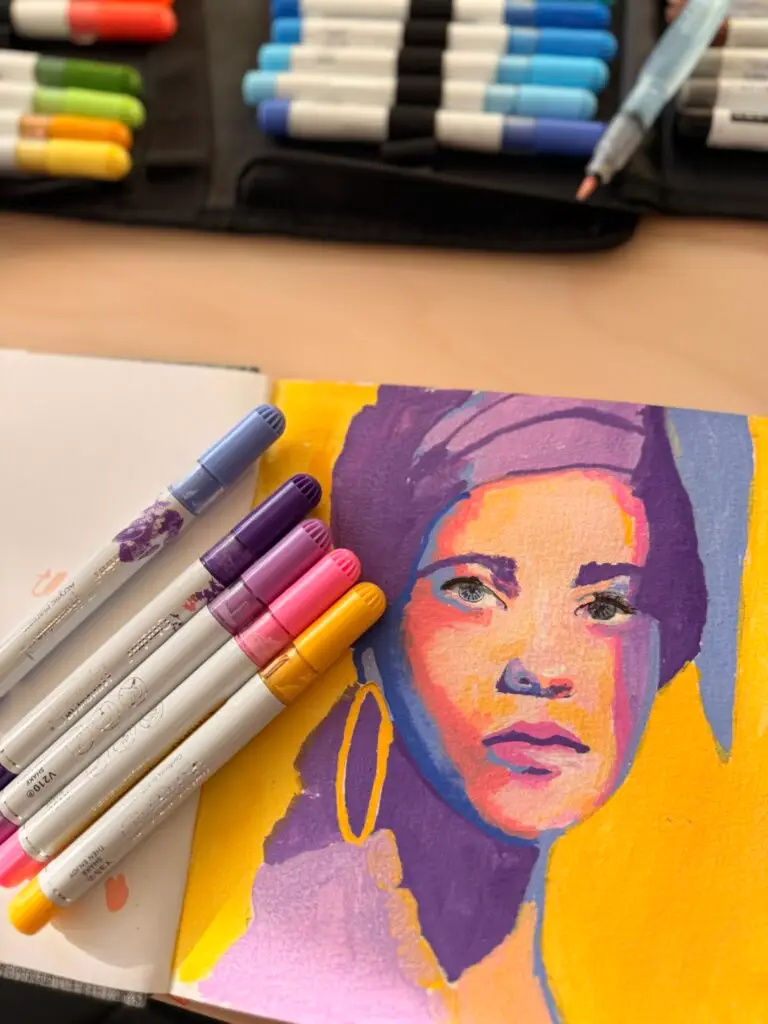
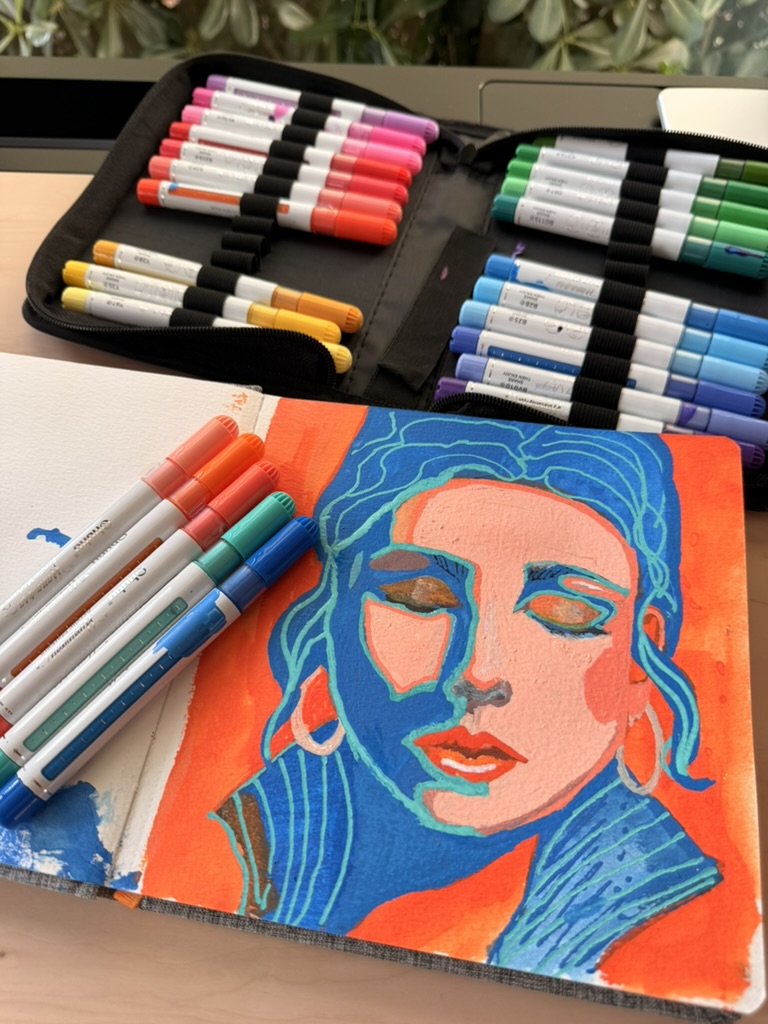
Portrait 1: Yellow + Purple
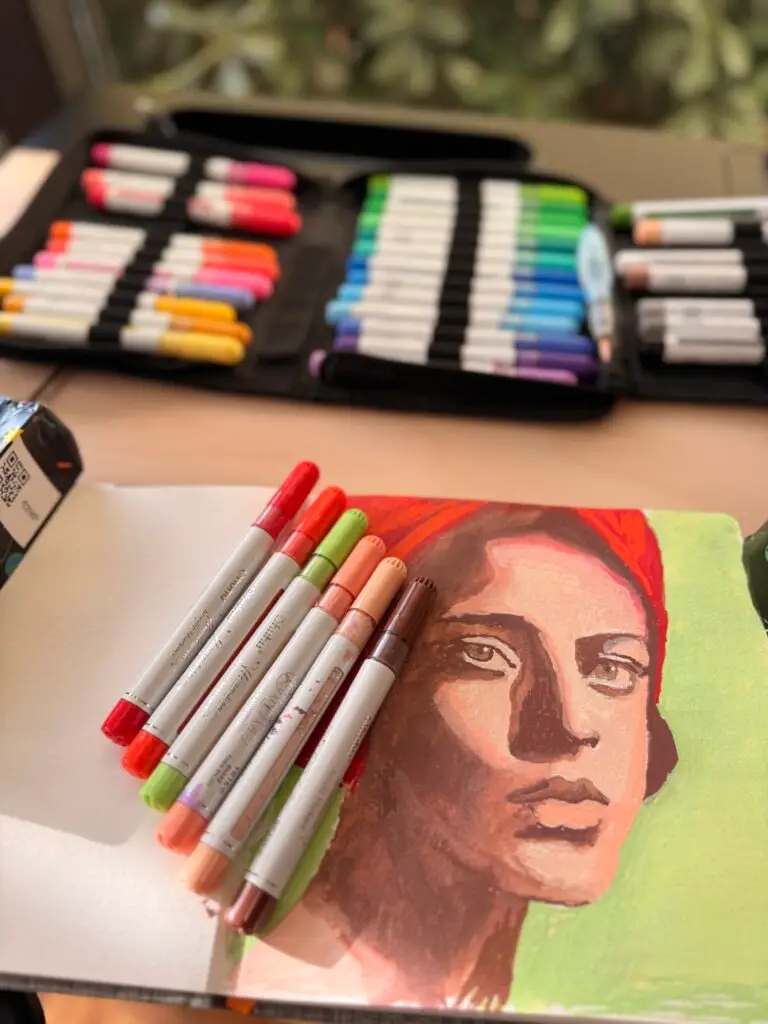
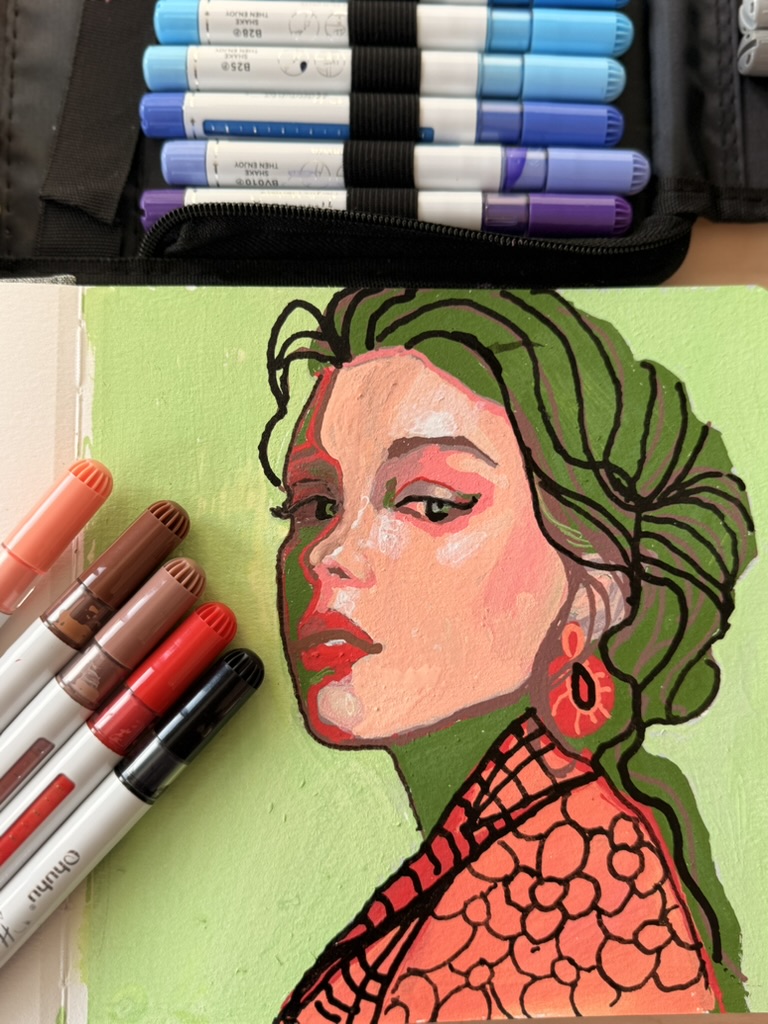
Portrait 2: Red + Green
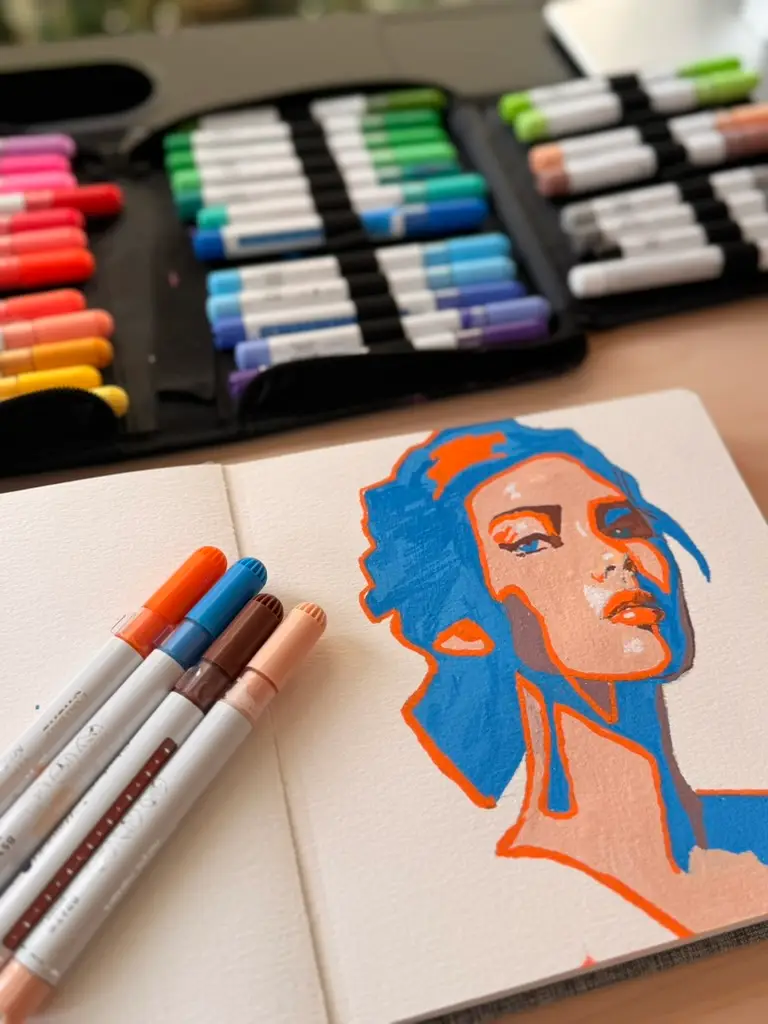
Portrait 3: Orange + Blue
My Simple Method for Painting Portraits With Markers
Once I had my colors picked, I used the same approach for all three portraits. If you’re brand new to portrait painting, this is the easiest way I know to keep things from getting muddy or confusing.
- Step 1: Sketch or Transfer the Portrait
You can sketch the face freehand if you’re comfortable, or you can transfer a reference image — both work beautifully for this kind of marker portrait. (If you’ve never transferred an image before, I have a full blog post walking you through several easy ways to transfer images into your art journal, including methods that don’t need any special tools.)
- Step 2: Divide the Face Into Three Value Sections
Before any color touches the page, I mentally divide the portrait into three zones:
Light areas — where the light hits the face (forehead, cheekbones, bridge of the nose)
Mid-tones — the soft in-between areas
Shadow areas — under the chin, around the eye sockets, beside the nose
This is the single most important habit I can pass along for beginner portrait artists. Once you start seeing faces as three values instead of a million details, everything gets easier. - Step 3: Start With the Shadows Using the Darker Complementary Color
I always start with my darkest color in the shadow areas. For the yellow-and-purple portrait, that meant blocking in all the shadow shapes with purple first.
In addition, starting with shadow does two things:
It immediately gives the portrait depth and structure.
It tells your eye where the lights need to go, so you don’t accidentally lose them. - Step 4: Fill the Light Areas With the Lighter Complementary Color
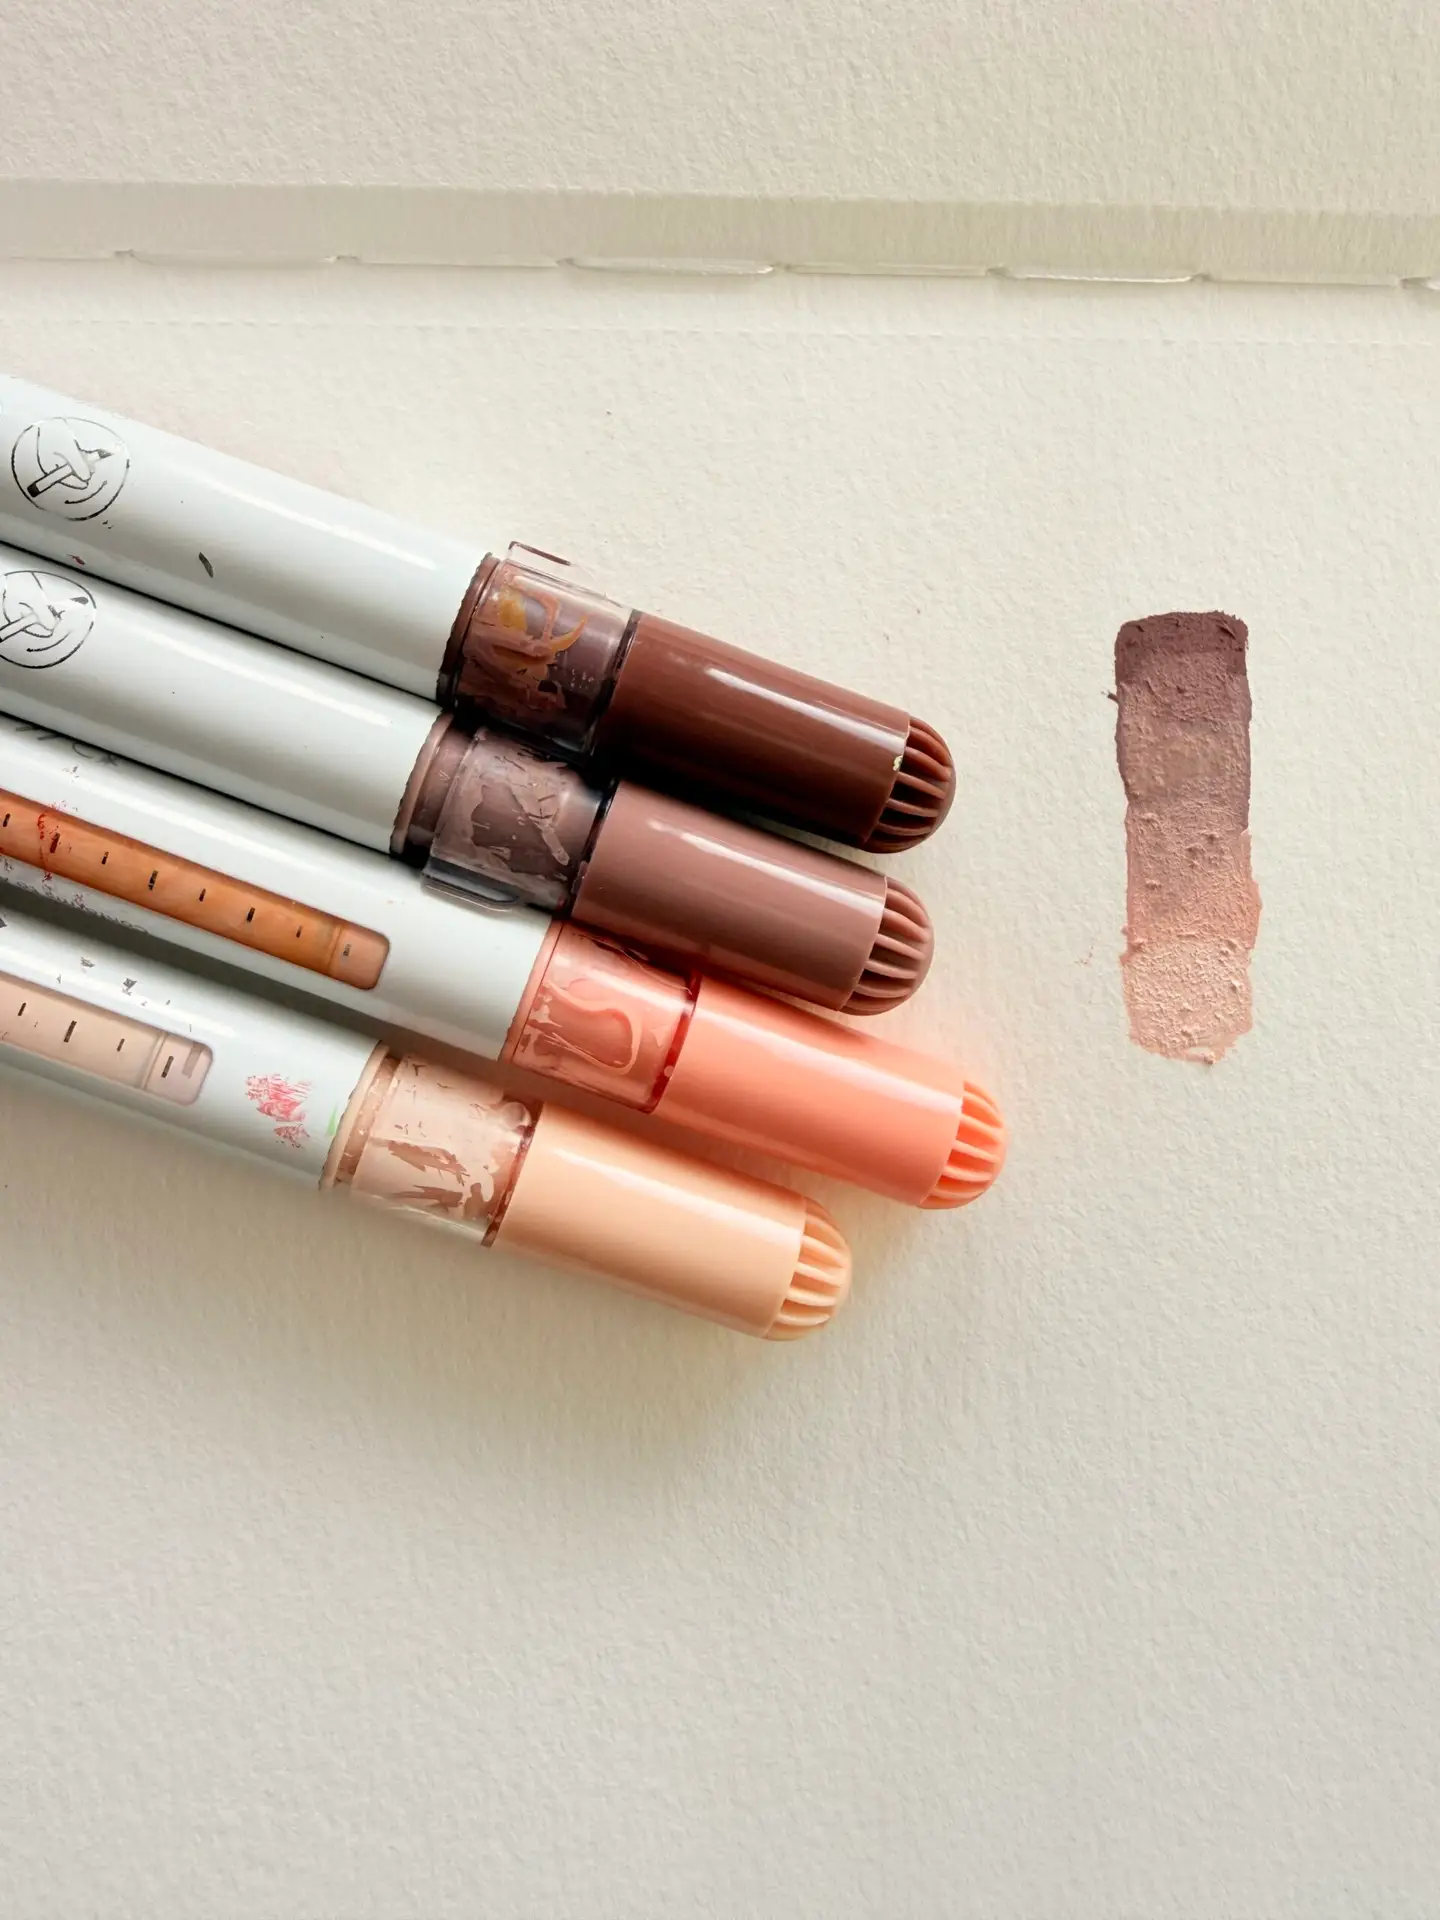
Next, I filled in the light zones using the lighter color of the pair, a light yellow for portrait one, light pinks for portrait two, light orange for portrait three. I used the lighter color plus its close neighbors (warm yellows, soft creams, peachy tones) to keep the lit side of the face feeling glowy and natural.
- Step 5: Bridge the Gap With Mid-Tones
Finally, this is the step that pulls everything together. To create the mid-tones, I picked a color that lived between my two complementaries.
For the yellow-and-purple portrait, that meant a dusty mauve or muted plum to soften the transition between the bright purple shadows and the sunny yellow highlights. It’s the bridge that makes the face read as a face instead of two separate color blocks. - Step 6: Soften and Blend With the Watercolor brush ( you can use or skip this step if you like your portrait to feel textured)
Once I started adding the middle colors, I went over the edges with my watercolor brush to soften the edges. This gives the portrait a painterly, watercolor-style finish.
A few watercolor brush tips for beginners:
Work in small areas at a time so the marker doesn’t dry before you blend.
Keep a paper towel nearby to wipe the brush between colors.
Don’t over-blend. A little texture is what makes marker portraits feel like art instead of a printed image.


What I Learned From This Limited-Palette Portrait Challenge
By the time I finished the third portrait, I noticed a few things that genuinely surprised me:
- The constraints made me braver, not smaller. I committed to every mark because I didn’t have a backup color to rescue me.
- Complementary colors do the shading work for you. I never reached for black or gray and never missed them.
- Ohuhu acrylic markers and a watercolor brush is a complete portrait setup. No paints, no palette, no fuss.
- Three portraits in one sitting felt completely doable because the rules made the decisions for me.
Want to Try This Beginner-Friendly Portrait Challenge?
This is what I used for these portraits:
- A small set of acrylic markers. I used Ohuhu (you only need a handful of colors per portrait)
- One water brush with clean water
- Your art journal or mixed-media paper
- A portrait reference (or a sketch you already love)
- Two complementary colors of your choice pick a pair from the color wheel and commit to it


This post contains affiliate links. As an Amazon Associate I earn from qualifying purchases at no extra cost to you. I only recommend supplies I have personally used and love.
Absolutely. Ohuhu acrylic markers are one of the most beginner-friendly portrait painting supplies because they’re opaque (so mistakes layer over), they blend with just water, and they don’t require any palette or setup.
A mixed-media art journal or any sturdy 90+ lb paper works well. Thinner paper can buckle when you blend with a waterbrush.
A complementary color scheme uses two colors that sit opposite each other on the color wheel like yellow and purple, red and green, or orange and blue. They create natural contrast and built-in shadow and light relationships.
Yes, Ohuhu acrylic markers stay workable but not for long so I recommend you blend with water brush right away to soften edges and create a painterly, watercolor-like finish.
Use the darker color of your complementary pair as your shadow color. Purple shades for a more yellowish face. The result feels alive and colorful instead of flat and dull.
Absolutely, Ohuhu markers work well on glass, leather and wood.
Final Thoughts
Creating these three portraits with only Ohuhu markers and one water brush was such a fun experience.
Most of all, this challenge reminded me that constraints can get your creative juices flowing. When you give yourself a few clear rules, you often discover new ideas that you might not have found if every option were available.
So the next time you feel stuck, try giving yourself a small creative challenge. Limit your colors. Limit your tools. Limit your subject. You may be surprised by how much freedom you can find inside a few simple restrictions.
I’d genuinely love to see what you create. If you try this challenge, tag me @artfulhaven on Instagram or send me a photo at [email protected]. There are few things that make my whole week like seeing one of you painting along.
Happy creating, friend. Remember a little restraint can set your creativity completely free.
— Salwa
-
56 Summer Art Journal Prompts
Some days the blank page is exciting. Other days it just sits there, daring you. That’s what a prompt is for. It is not a rule to follow, just a little nudge that says, start here. Here are 56 summer prompts that turn fleeting moments into pages worth keeping. How to use these summer prompts Nature…
-
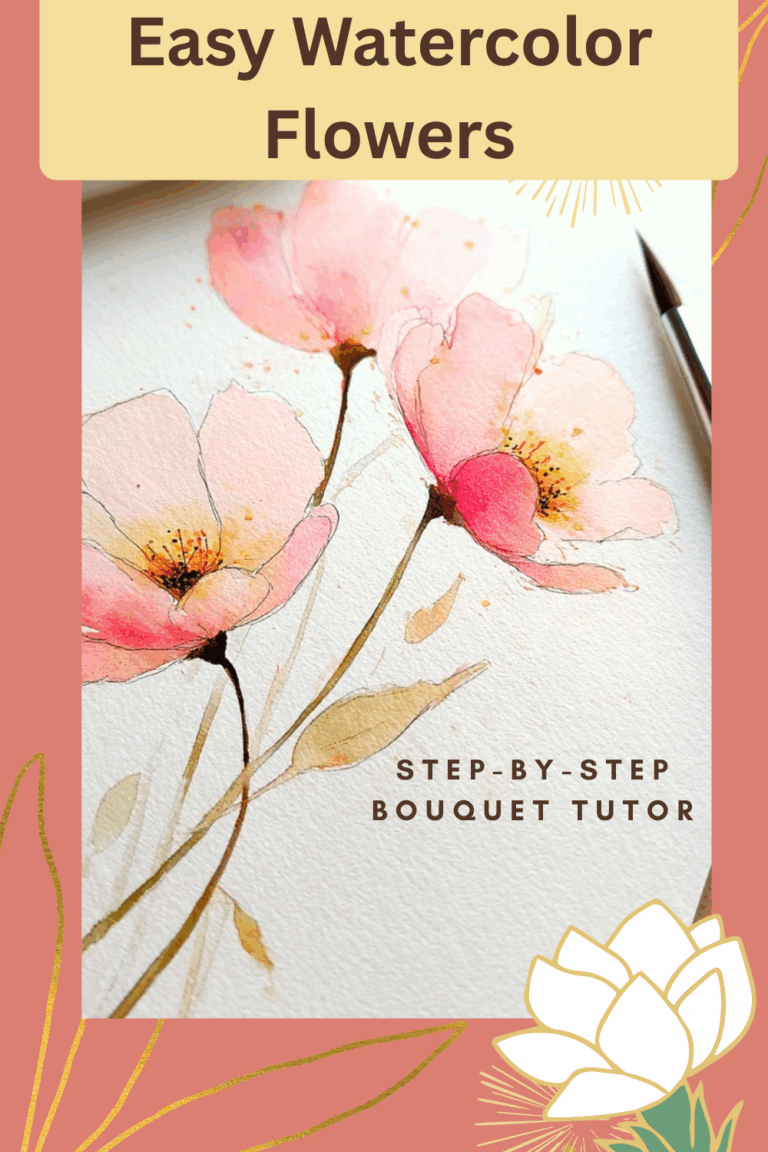
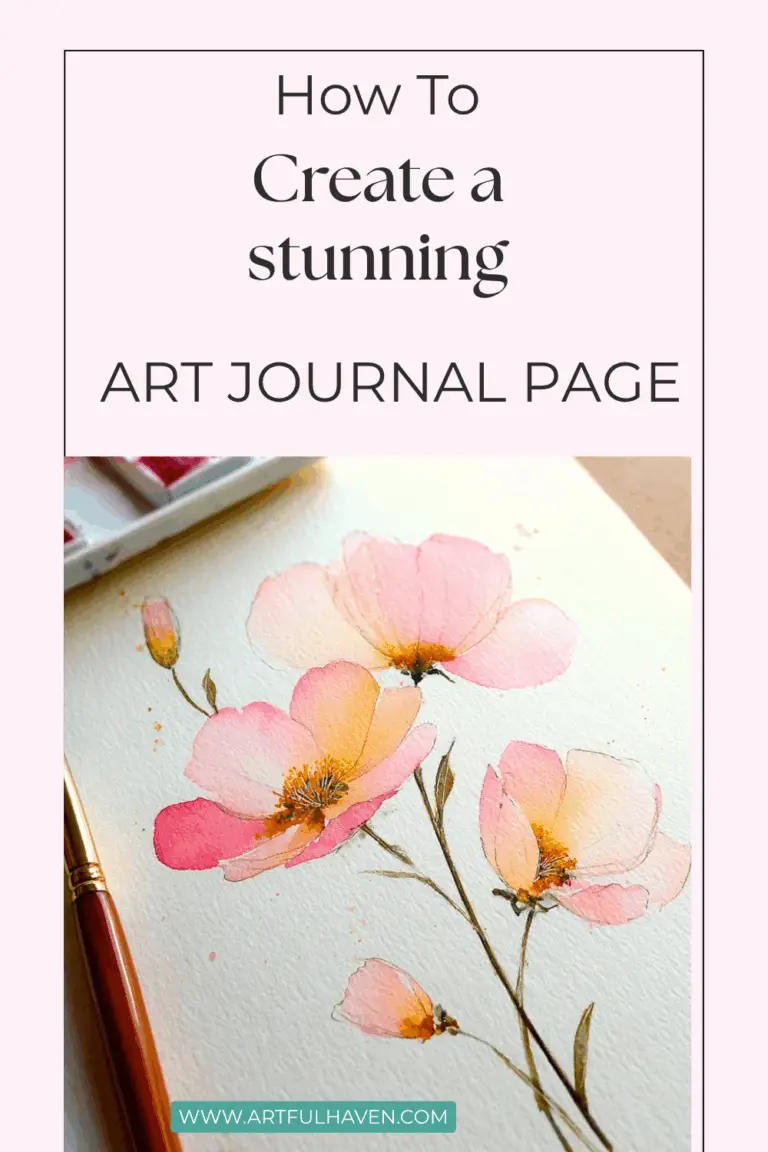
how to paint loose watercolor flowers in your art Journal
No experience needed. This gentle step-by-step tutorial teaches you how to Paint Loose Watercolor Flowers in your art Journal, creating a beautiful loose watercolor bouquet using just three colors and a few simple brushstrokes. In fact, you’ll soon see just how relaxing it can be to paint a loose watercolor floral bouquet in your art…
-
Spring Art Journal Collage: A Mindful Step-by-Step Tutorial for Beginners
Use mixed media art journaling to set spring intentions, welcome new beginnings, and let something beautiful grow step by step for beginners. By Salwa If you want to bring creative mindfulness into your art journaling practice, here is a gentle and joyful spring collage exercise made just for you. It is inspired by the season of…
-
50 Spring Art Journal Prompts
Artful haven by Salwa A spring art journal prompt is a creative suggestion or theme designed to inspire you to create a page in your art journal. Instead of staring at a blank page wondering what to draw or paint a prompt gives you a starting point, a creative challenge that invites exploration, experimentation, and personal expression….
-
The Beginners Guide to Art Journaling tools and Supplies ( What You Actually Need)
Do you sometimes wonder what art tools you really need to draw and paint in your art journal? I’m going to share 11 top art tools to use, but don’t rush and think you must get all of these. Check each one out and choose the ones you need for your unique art.
-
How to Add Images to Mixed-Media Art
Whether you’re an art journal newbie or a canvas-conquering pro, there’s something truly magical about adding images to your work. They tell stories, set moods, and make your pages or paintings burst with personality. But if you’ve ever thought, “Hmm… how do I get this lovely image onto my page?” worry not! I’ve gathered a…