An Easy Way To Paint the Moon Phases In Your Art Journal
Does the Moon inspire you and you want to create art journal pages with the moon theme? Oh, wow. Me, too. I’ve been in love with our bright grayish ball for as long as I can remember.
“What a handsome moon”
Atticus
said the little girl
“it’s light and bright in all the right places.”
As well as this girl, I’ve always felt enchanted by the Moon because its beauty inspires romance, deep thoughts, and things that are eternal. It’s somehow comforting to know it’s always there. And maaan, this ball can put on a splendid show while in the silence of the universe. It’s quite a charmer.
So, you’ve wondered how to paint the moon phases, right? Let me show you.
Moon painting ideas
I had an idea to make an art journal page with the moon phases and experimented a little bit. I’m very happy with the results and so I want to share all of that with you.
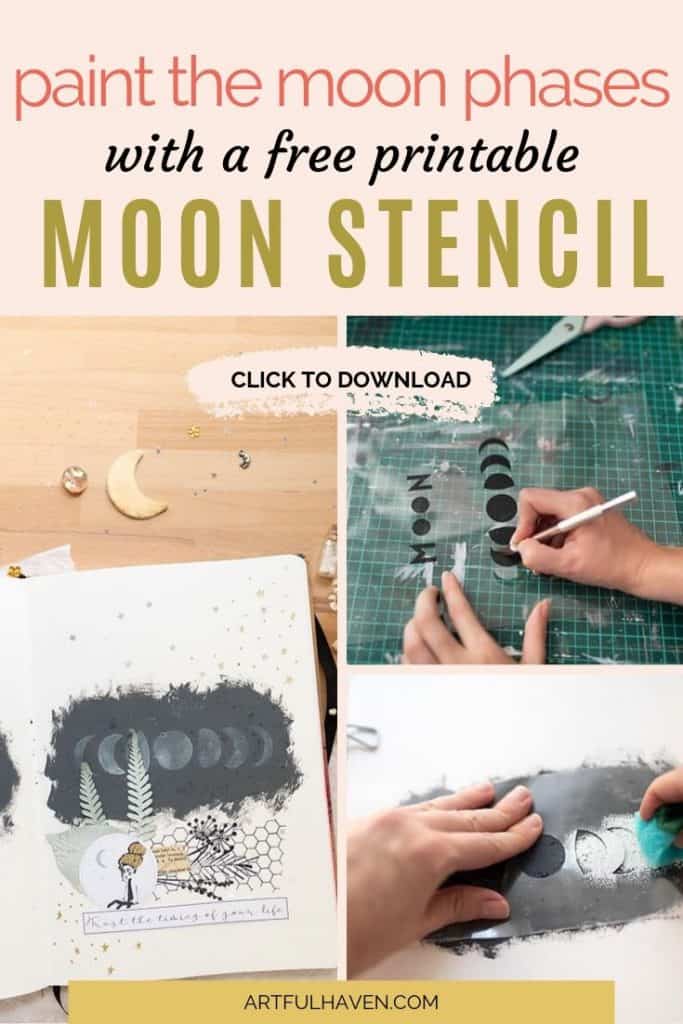
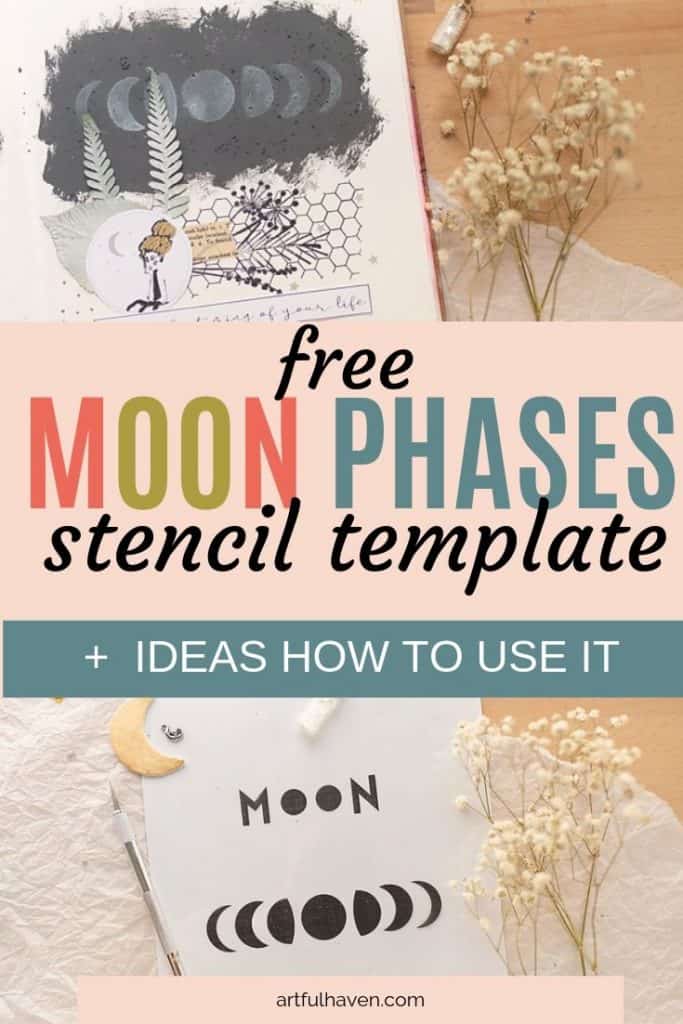
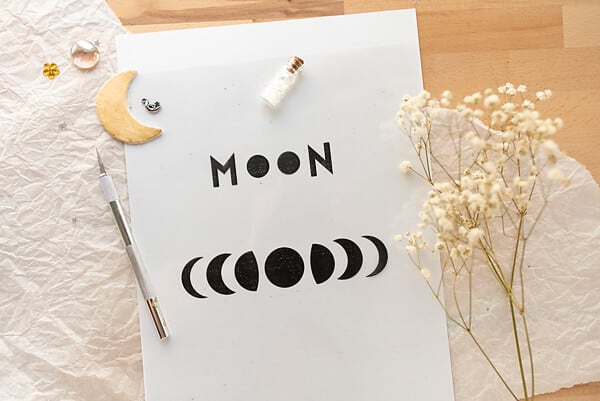
I’ve made a Moon phases stencil and used it on the page below. And this page is what I’d like you to create with me.
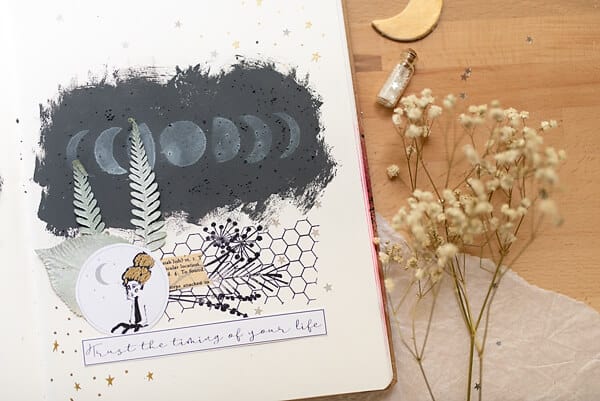
Also, I’m going to show you other ideas for using these supplies and the stencil.
Supplies you’ll need for creating this art journal page
White and black acrylic paint and/or white or black gesso
Gold or silver pen or marker
Stamps of your choice
The moon phases stencil (you can get the free stencil template at the bottom of the post)
Some pressed leaves (optional, of course. You can use paper scraps here if you’d like. If you decide on the leaves, read about how to press and use leaves in this post.)
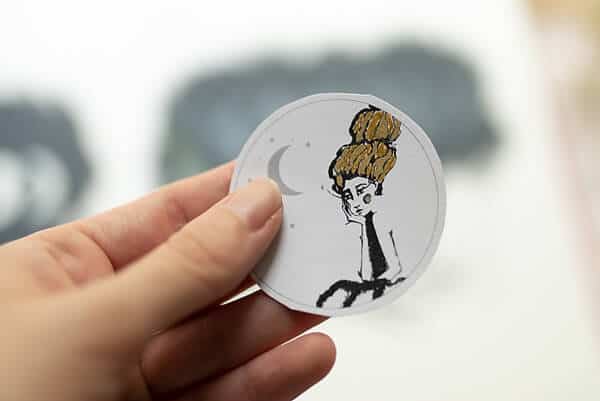
The girl cut-out (it’s also in this printable at the bottom).
Creating moon phases step by step
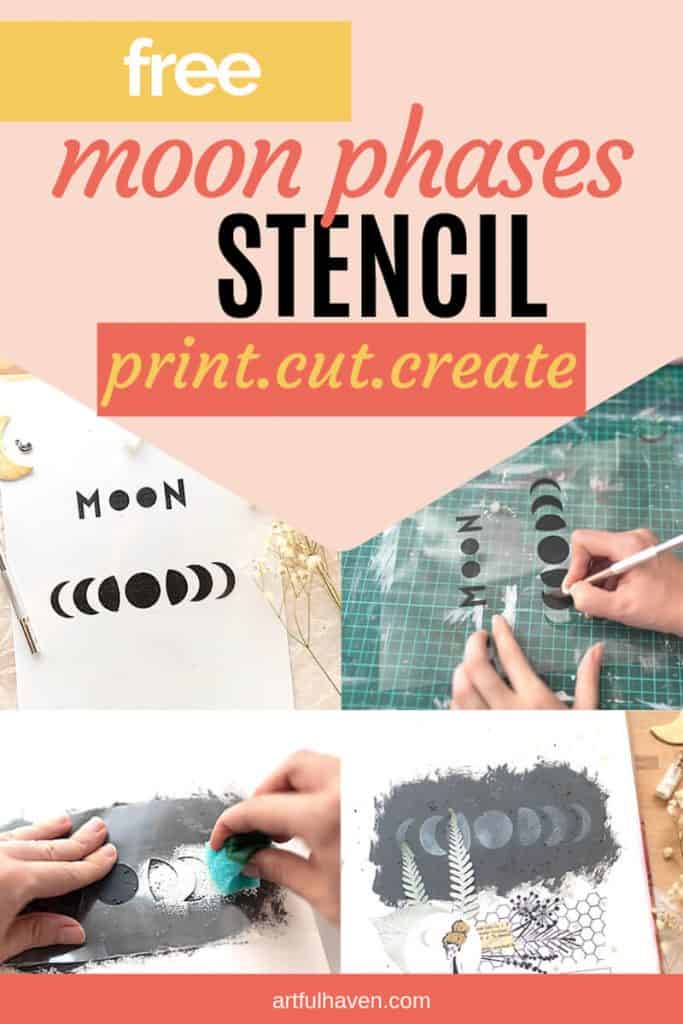
First of all, prepare your stencil. I’ve designed the Moon stencil template in two sizes, so you can be even more creative. After you download it from my library, you can make it in two easy ways.
1. Print out the stencil on a transparency and then cut the templates out with an exacto knife (this is what I did).
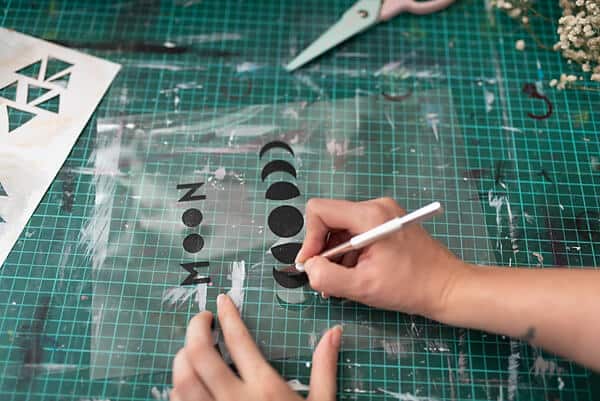
2. Print out the stencil template on a printer paper. Then, put a transparency (or any other heavier plastic similar to the transparency) over it and trace the image with a waterproof pen. Using a waterproof pen is the key because it won’t smudge. Then, cut away with your exacto knife.
So, let’s start the ball rolling!
Step 1: Put some black gesso/acrylic paint on the page. I like doing this with a kitchen sponge because it creates a bit of texture.
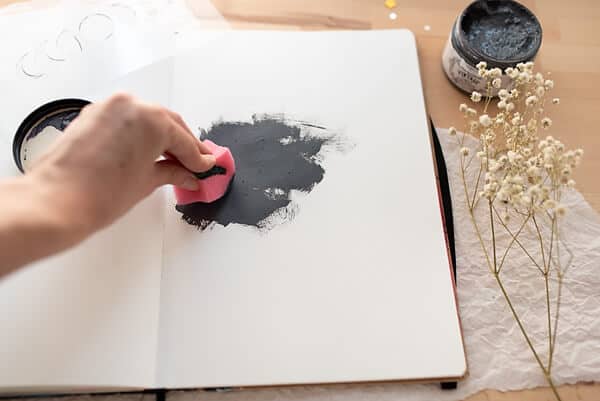
Here, I used the gesso called vintage grey gesso, which has grain in it to give it texture.
If you want the same effect, try using coarse salt with your gesso or acrylic. Try mixing the salt with the paint and then dab it onto the page with the sponge.
Wait until it’s dry. While waiting, I usually go and clean my sponge or any other tools I might have used.
Step 2: Put the stencil on the black surface. My tip is to cover the rest of the page with some paper and to fix the stencil with paper clips on the sides.
I just sprayed with white ink spray a few times, and I must tell you that I was amazed at how this turned out.
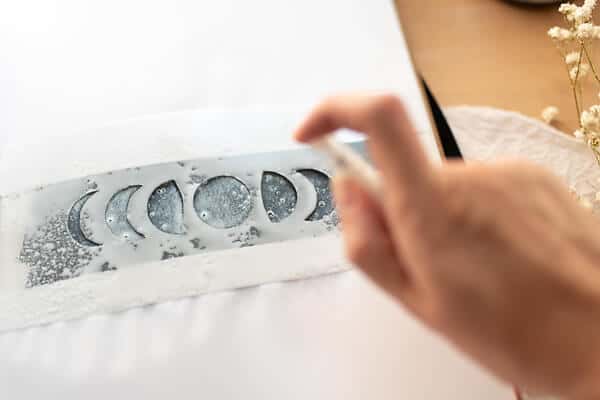
Now, I used white spray ink for this, but if you have none, you can use white acrylic paint and a sponge again.
If you use acrylic paint, just put some paint on the kitchen sponge and dab through the stencil. Dabbing will create texture. Also, you don’t have to be very precise here to fill the whole stencil. Who says the Moon is perfectly round? It has bumps and craters, right?
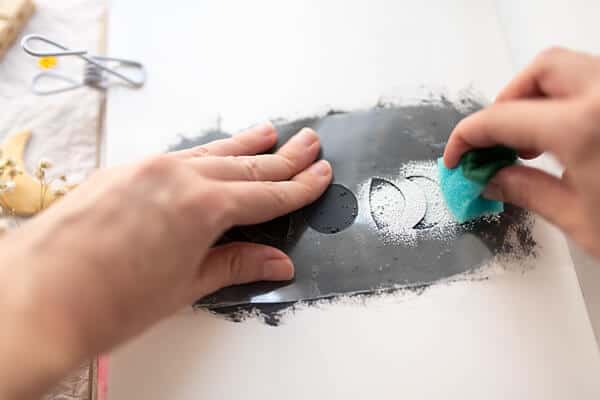
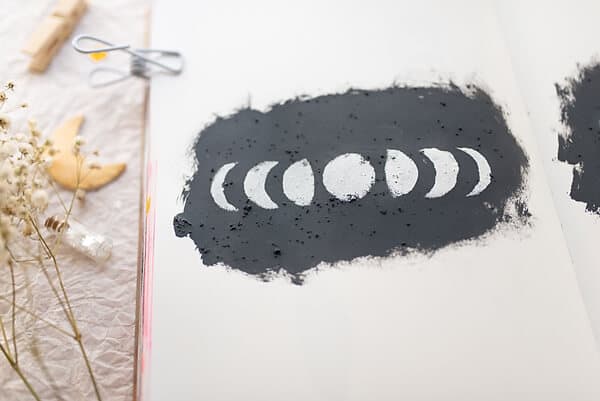
Leave this to dry and clean your tools.
Step 3: Choose where to glue your ephemera and do some stamping there. I used two of my stamps, the wire stamp, and some flowers.
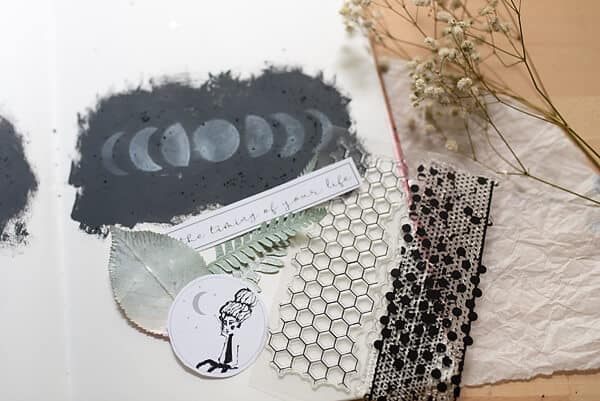
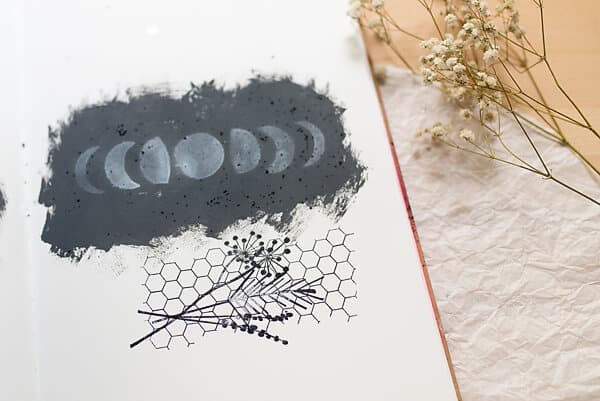
Then, I took three of my pressed leaves, and sprayed them with white acrylic varnish (I did this a few days earlier). And I glued them down with some washi tape.
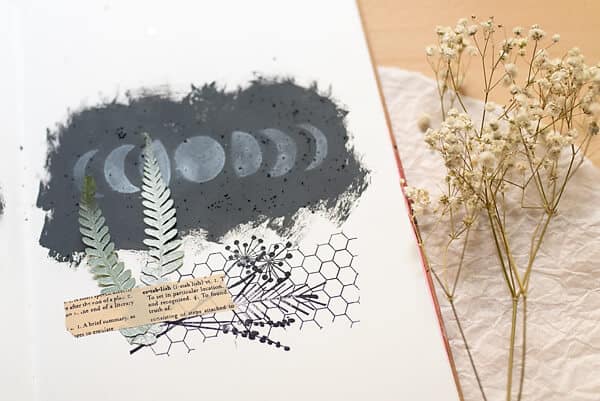
Next, I painted the girl’s hair gold to make her pop and glued it down.
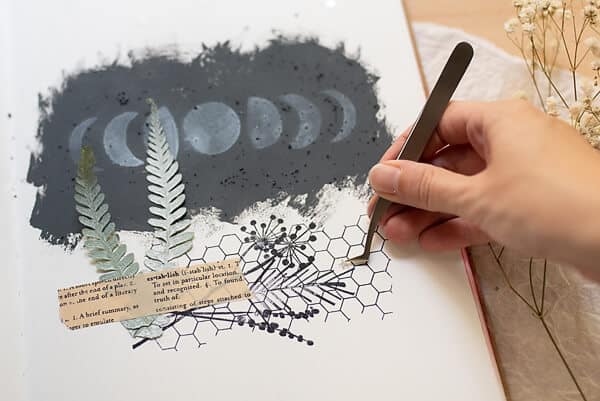
I also added small stars with liquid glue drops and a tweezer.
Finally, I put the inspirational wording at the bottom. You can glue your own, or write something there. Let your creativity guide you.

Other moon painting ideas
Painting the moon phases with this DIY stencil can’t be any easier. Apart from the page we’ve just created, there are other easy ways of doing it.
Let me show you a few so you can fill more pages in your art journal.
I’ve shown you how to paint the moon phases on the black surface. Let’s make this one the other way around.
Painting the Moon phases, idea #1:
Paint the page with white gesso by using a kitchen sponge (it’s all about the texture, remember?). Let it dry and prepare the paint mixture.
Here, you can mix black gesso or black acrylic & white gesso or white acrylic. I used my grainy vintage gesso (again, you can use salt here) and white acrylic paint by mixing 1/3 of the white and 2/3 of the grey.
Just bear in mind that if you use black paint or gesso, you’ll need more white. The goal here is to paint the moon phases grey-ish.
Also, don’t mix the two colors all the way. Leave some white just there on the side so you can blend the paint better while you dab with the sponge (or a stencil brush as I used here, it doesn’t matter).
Put the stencil on the page, fix it with paper clips, or firmly hold it with your hand and dab, dab, dab. Add a little grey here, or a little white there, until you like the blending result.
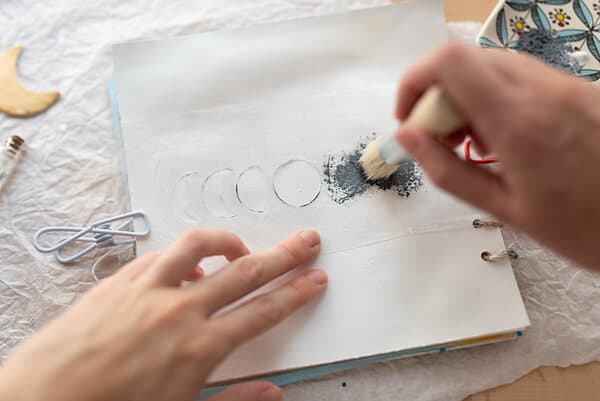
When you’re satisfied, lift the stencil and be amazed at what you’ve created. I love how some places are crooked and the Moon doesn’t have fine lines. That’s just imperfectly perfect.
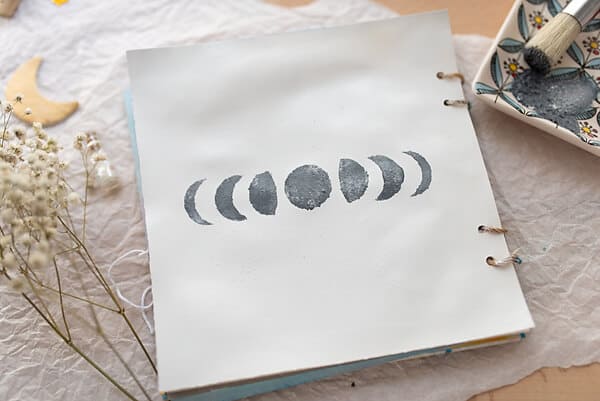
Painting the Moon phases, idea #2:
Create a funky fantasy moon with inks. I used Distress inks here and they are marvelous! I’ve used them for ages and can’t get enough of them.
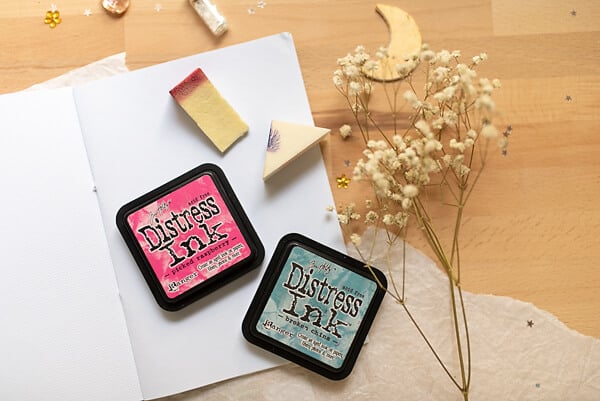
So, if you have any ink with you, use it with a make-up sponge and the stencil.
If you want the Moon phases to look unusual, use bold colors as I did here. Pink and blue. Orange and purple. What kind of a moon is that? The magical one in a land far, far away (ok, I watched and read too many fairytales when I was a kid and I love them still).
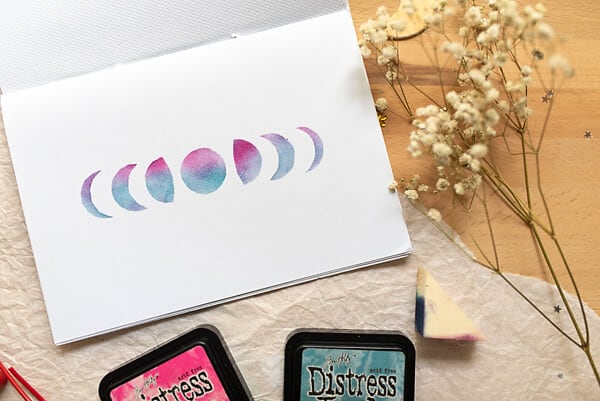
This page is in my gratitude journal, so I’m going to finish it with some grateful words or quotes, and add some stars or doodling.
Painting the Moon phases, idea #3:
I played with the resist technique here. After covering the page with white gesso (because my journal doesn’t have watercolor paper in it), I put the stencil on and used my wax crayon to make the stencil marks.
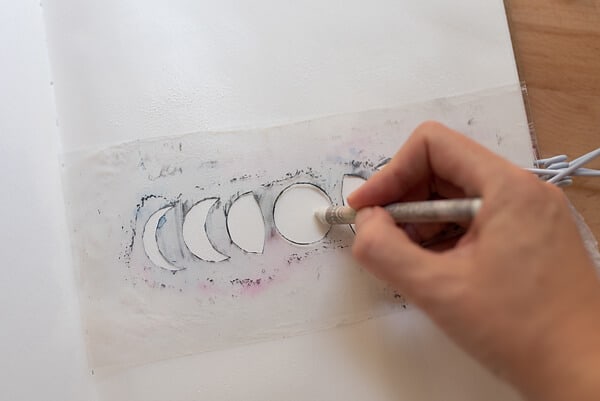
What happens is that the wax in the crayon resists water and paint, so you get a nice effect.
Well, try painting with watercolors all over the page and the stencil marks. Don’t worry that you paint the moons too because the wax is going to resist it.
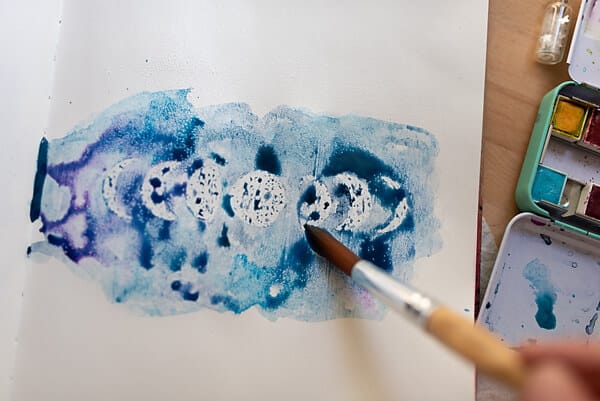
After that, use a paper towel to pick up the excess paint, if you want to. I was impatient to see the result so I picked up some of the water blobs.
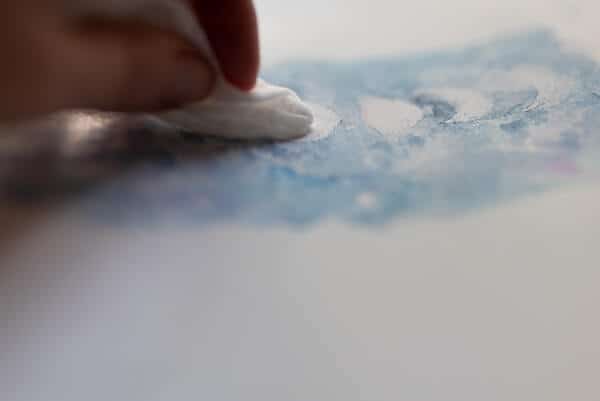
Finally, I used a Q-tip and a baby wipe together to clean my moons carefully because I really wanted them to stand out.
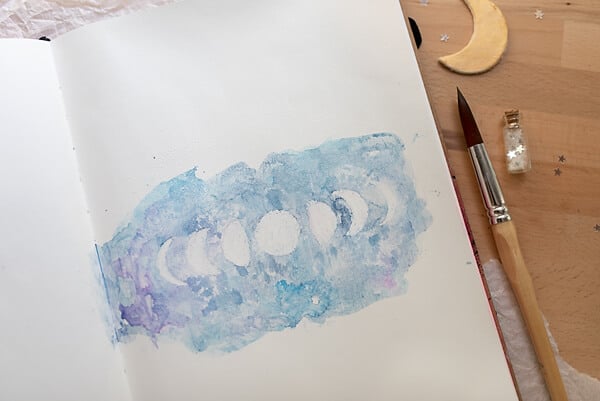
And voila! I think I’m gonna add some words here later, or even a nice, inspirational moon quote.
Moon quotes
Why not include some lovely moon quotes on pages like these? I’ve collected some of the quotes I think you’d like.
You can write them down with a nice pen or type them and print them out.
The lovers of God never run out of patience, for they know that time is needed for the crescent moon to become full.
Rumi
At night, I open the window and ask the moon to come and press its face against mine. Breathe into me. Close the language-door and open the love-window. The moon won’t use the door, only the window.
Rumi
“Everyone is a moon, and has a dark side which he never shows to anybody.”
Mark Twain
When I admire the wonders of a sunset or the beauty of the moon, my soul expands in the worship of the creator.
Mahatma Gandhi
I always look up at the moon and see it as the single most romantic place within the cosmos.
Tom Hanks
With freedom, books, flowers, and the moon who could not be happy?
Oscar Wilde
I will never be a morning person, for the moon and I are much too in love.
Christopher Poindexter
Experiment with the moon phases stencil

I can’t tell you how much I enjoyed making my pages with this stencil. It’s easy, right?
If you’re in love with the Moon, you’re gonna love using these ideas and the stencil.
So, don’t set any limits, experiment with it using different media and see where it takes you.
For example, you can use the bigger stencil and paint with it on a piece of heavy cardstock or wood to make a wall hanging.
I think I’m gonna try just that!
P.S. I’d like to see your art, especially if you make it with this stencil, so let me know in the comments if you do.
DOWNLOAD THIS FREE MOON PHASES STENCIL
You’ll also get instant access to my free resource library packed with printables for your art journal, and weekly artsy newsletters from me.
If you like this moon phases stencil and want to save this for later or share it with others, pin it to your best Pinterest board!
