Easy Mixed Media Art Journal Tutorial With A Magazine Collage
Have you struggled with starting a mixed media page in your art journal because you think you should have a great number of supplies? No, making a mixed media page can be easy and still enjoyable.
That’s why today I’m sharing a fast and easy mixed media art journal tutorial with you, so you can try it and see how easy it can be.
I’ll list the supplies I used, and if you don’t have all of those, that’s fine. I’ll give you ideas on using what you might have.
Also, there’s a video below if you want to watch me do it on video.
Supplies I used for this mixed media page
Disclaimer: Some links in this post may be affiliate links. This means that if you purchase something through that link, I get a small commission, at no extra cost to you.
Here are the supplies I used and suggestions for alternatives.
Also, I want to remind you that mixed media projects often require a lot of paint and water. So, be sure to make these pages on thicker mixed media or watercolor paper.
If you don’t have thick paper, try gluing two pages together, or cover the page with gesso or white acrylic paint. The paint will hold some water on the surface.
1. Relief paste
Art journalists and mixed media artists use relief paste to achieve a textured, 3D effect in their art. I usually use it with a stencil.
As an alternative, you can try using very thick gesso or acrylic paint. Don’t mix them with water.
Use a palette knife, an old credit card, or a piece of strong cardboard and apply the paint until you see it as a 3D shape.
2. Watercolors
I’m sure you have watercolors, but if you don’t, you can add water to acrylics and use them instead.
I used Jane Davenport’s Watercolor sets, Brights, and Neutrals. I’ve been using them for a long time and I love them for their saturation and the color choices.
3. White acrylic paint or gesso
I love using these to make my pages lighter and brighter, or to make my images blend with the background.
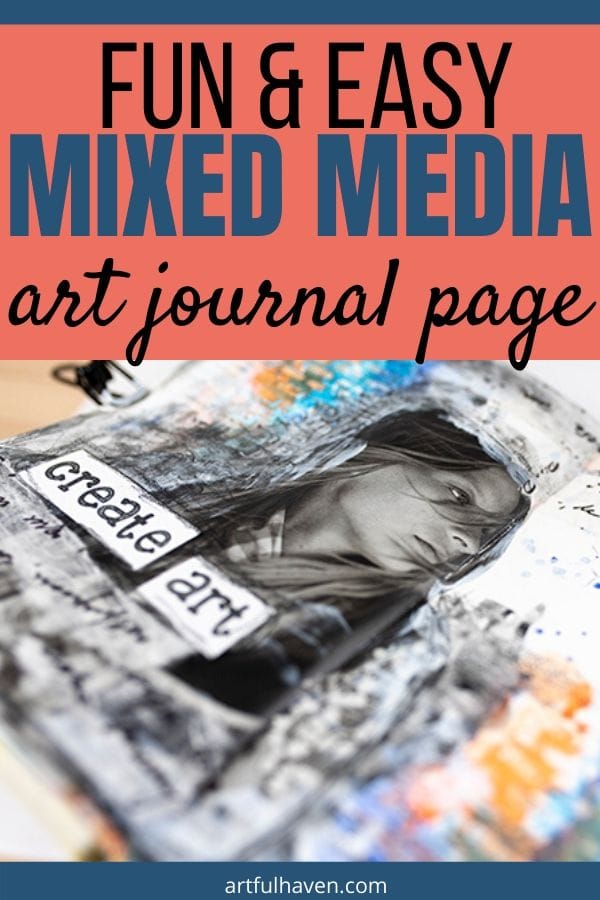
4. A magazine image
I chose black and white because I didn’t want to use many colors. Just take any magazine image, picture, photo, whatever you want and use it as your focal image.
Go through your collage materials and pick the one that you like.
5. A black pencil
Using a black pencil to outline things on your page is a great idea to make them pop. I used it here to outline my image and the journaling.
6. Stamp & ink
The only important thing that you should have in mind when making mixed media pages is to use waterproof ink pads, pens, and markers. Otherwise, the ink will smear and you’ll be frustrated.
Stamps and inks are two of my favorite art supplies, and I use them a lot on my mixed media art journal pages. There are so many things you can do with them.
I used the Archival Ink by Ranger and some of the stamps from my stash.
If you don’t have any so far, you can just doodle with a pen or a marker.
Just be careful not to use your pens on textured backgrounds. But you can try markers, or use a small-size brush and doodle with black paint or ink.
7. A blower or a straw (optional)
I have this camera cleaner, a mini blower, but you can use a straw for the same effect, or don’t use it at all. This is totally optional.
8. Distress Collage Medium
I use this collage medium to glue images and paper on my pages. I’ve loved it so far.
You can use any kind of glue here, in a stick, liquid glue, or a gel medium.
9. Tacky Glue
I love using this glue for adding small bits of paper to my pages.
Mixed media art journal tutorial
If you’ve gathered your supplies, follow the steps below and you’ll see how easy it can be to create a mixed media page in your art journal.
Step 1.
Put your stencil on the top left and bottom right corners of your page or spread. Apply relief paste through the stencil.
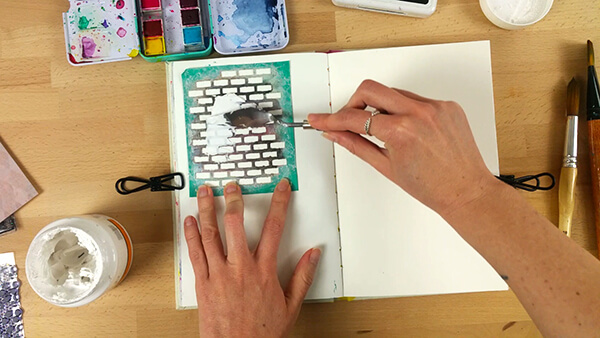
Leave to dry. It’ll probably take longer to dry because you’ll apply a thick layer of the paste.
Step 2.
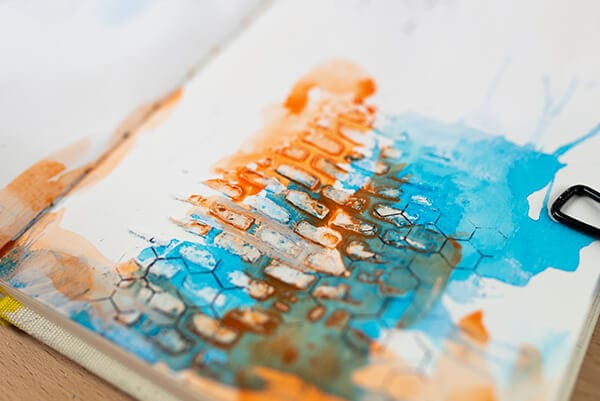
Apply some water over the dried paste, but make it messy. Don’t be careful at all.
Next, add the watercolor of your choice to the water and spread the paint, while adding more watercolor to achieve the saturated look.
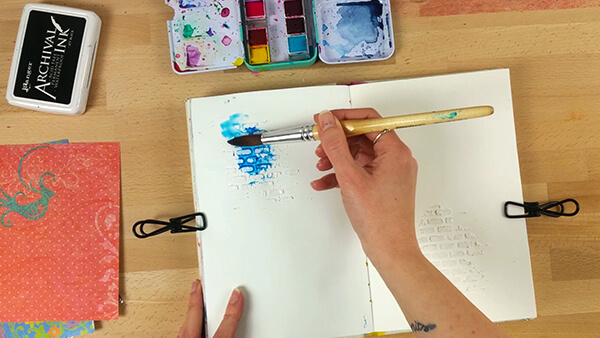
Now, if you want to move the paint over the page, you can use a straw and blow in it a few times to get this look. You’ll see in the video how I do it. It’s so satisfying and fun to do.
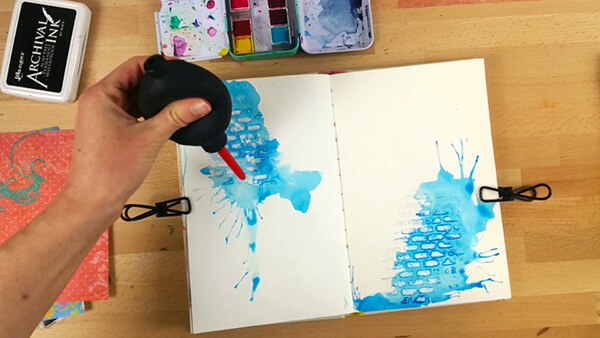
Leave to dry.
Step 3.
Add white acrylic paint or gesso randomly on the page. I intentionally covered some of the watercolor paint to lighten it and make it a part of the background.
Step 4.
Stamp on the areas where you painted the page. Do it randomly and don’t use the whole stamp. This will create a more distressed and vintage look.
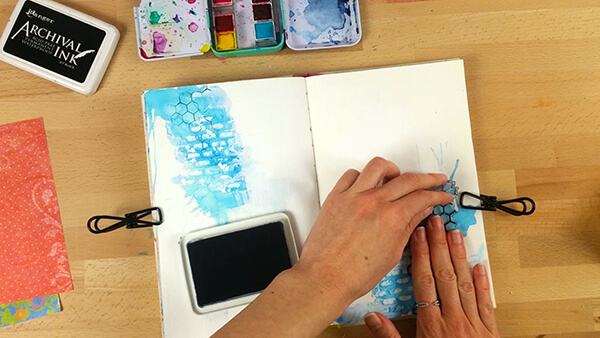
Step 4.
Add one or two more colors in the same way, while playing with the direction the paint will flow.
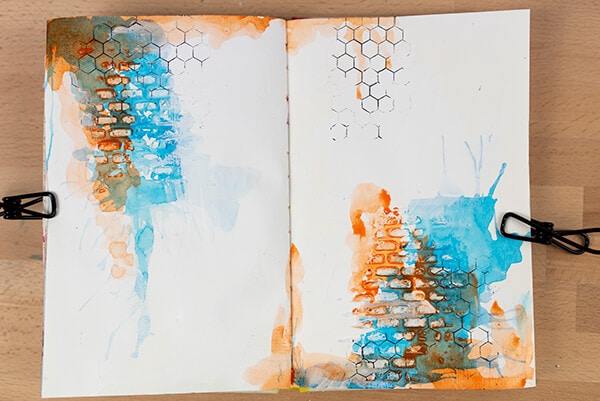
Remember, when it comes to watercolor, the paint only goes where there’s water. So, if you control the water, you’ll control the paint, too.
I added orange and darker blue again.
Step 5.
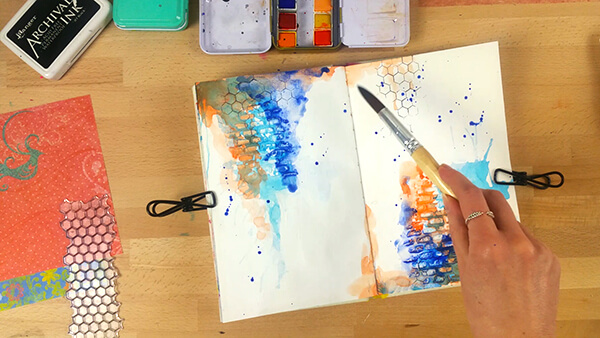
Now, add splashes of paint. Dip the brush in watercolor and just drip it over the page to get watercolor dots or small splashes.
Step 6.
Add more stamping with a different stamp. I used my text stamp which I adore and use in most of my projects. Letters and text are always amazing to include because they’re simple and basic but still interesting. They simply catch our eyes when they’re on the page.
Step 7.
Now is the time to add your main image. Glue it somewhere in the white area.
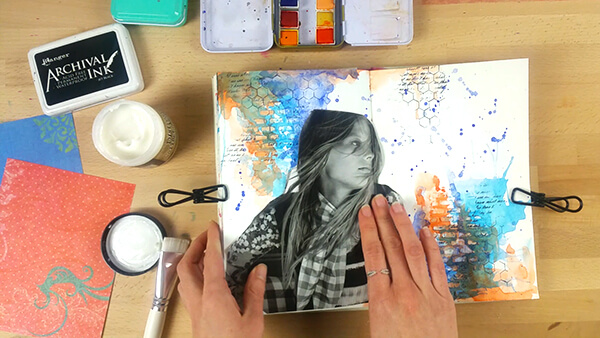
If you’re using gel medium or something similar, wait for it to dry before you continue.
Step 8.
Add more white paint or white acrylic around your image.
This step is optional, but I added gesso because I knew I would put more paint around the image, and the magazine paper wouldn’t handle the water well. A nice layer of gesso will stop it from absorbing water.
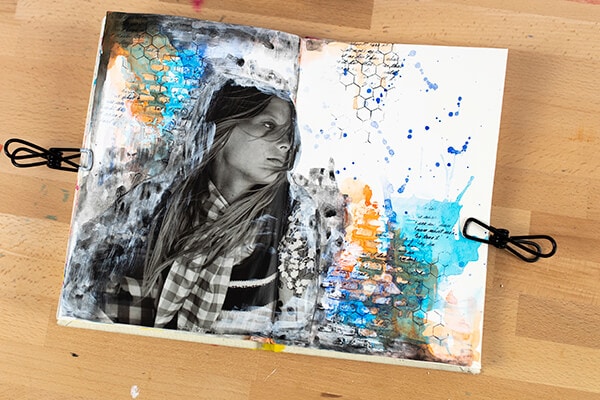
Also, I did this because I wanted my image to be a part of the background, to blend better with everything.
After the gesso is dry, add watercolor around the image to blend its colors to the background. For me, grey worked fine because the image is black and white anyway.
Step 9.
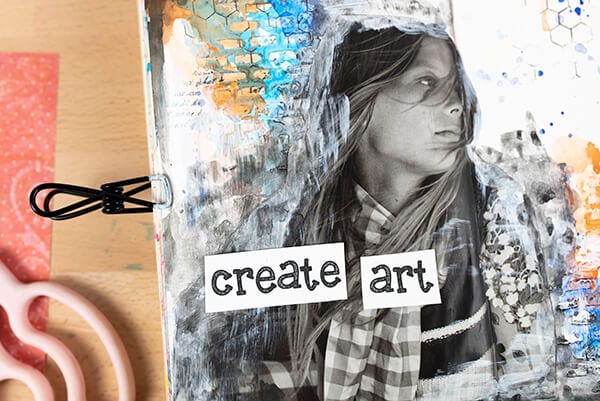
Now add journaling. Because my page was covered in paint and glue, I didn’t want to ruin my pen writing over that, so I used word cut-outs. I printed two words I wanted and glued them to the main image.
Step 10.
Finally, you can outline your journaling and image with a black pencil, marker, or even a brush.
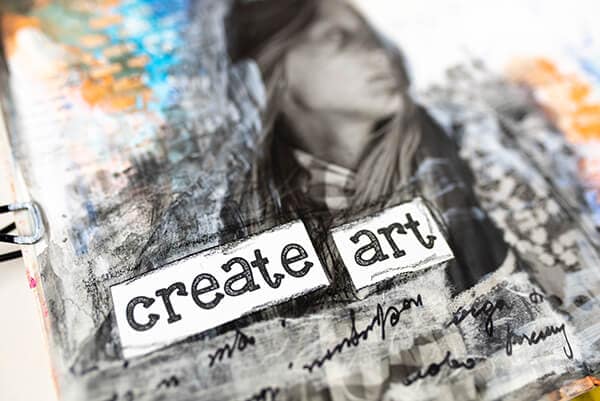
I just scribbled with my pen over some areas, to add more black to the page.
And that’s it! You’ve made a mixed-media art journal page in a beat.
Mixed media art journal tutorial: final tips
See how easy it was to make a mixed-media page?
If you still feel overwhelmed by supplies, just lose some of them, and try it like that.
My one and I believe the most important tip is to always use waterproof art supplies in your mixed media art journals. This way, your words or drawings won’t smear or smudge, unless you want to do this on purpose.
Also, mixed media lets you add so many interesting things to your page, experiment with supplies, and is carefree. To me, mixed media is what freedom in art feels like.
That’s why you should make your mixed media pages however you want, and with any supplies you love. Just play!
RELATED MIXED MEDIA ART JOURNAL ARTICLES
Fast and Easy Mixed Media Background Tutorials for Your Art Journal
Fall Collage: Creative Mindfulness Exercise With Mixed Media
Mixed Media Art Journal Tutorial With A Free Printable Stencil
Do you like this mixed media art journal tutorial? Save it to your favorite Pinterest board!
