17 Essential Watercolor Tips To Help You Become A Better Artist
Starting with watercolor can be so exciting but even more frustrating and intimidating. I know, it seems like you can never do those lovely, soft watercolor images you see on Pinterest.
What if I told you that you can be 17 steps closer to making those pages you envy right now?
If you try and use these watercolor tips I’m sharing today, you might just be on the road to making better watercolor images, no matter what you’re painting.
Also, I want to point out that the watercolor tips I mention here are from my own experience and are mostly for use in art journaling.
Disclaimer: Some links in this post may be affiliate links. This means that if you purchase something through that link, I get a small commission, at no extra cost to you.
Watercolor tips for beginners
I’ll start with basic things and build up from there so you can get the whole picture when it comes to creating something with watercolor.
Some of these tips aren’t a big deal when it comes to mixed media. Mixed media is a mixture of different media, including watercolor, if you want to. But in mixed media techniques, the rules slightly change, you break them and bend them. So, keep that in mind.
For example, I’d never paint with watercolor over gesso. But when I do mixed media pages, I love dripping watercolor or even painting areas loosely. In this case, I don’t care about how watercolor usually works, because mixed media lets us do whatever the heck we want. Does this make sense?
Now, let’s dig into those watercolor tips so you can start creating wonderful watercolor images in your art journal.
Tip 1: Use the right paper
I can’t stress this enough. So, once again:
Use the right paper. Please.
Here’s the thing.
If you use watercolor on regular printer paper, you’ll think watercolor is hard to do and ugly, but mostly you’ll get frustrated because what you see on that paper is just plain crap. The paper curls, bleeds, the colors are dull, and it’s just an annoying mess.
Now, what’s the right paper, you may ask?
It’s watercolor paper. That’s it. Buy watercolor paper or journals that have watercolor paper inside. Or at least some kind of thicker paper, like mixed media papers.
Even better, make your own journal by cutting watercolor paper into pages and binding them.
How to know what’s a good paper?
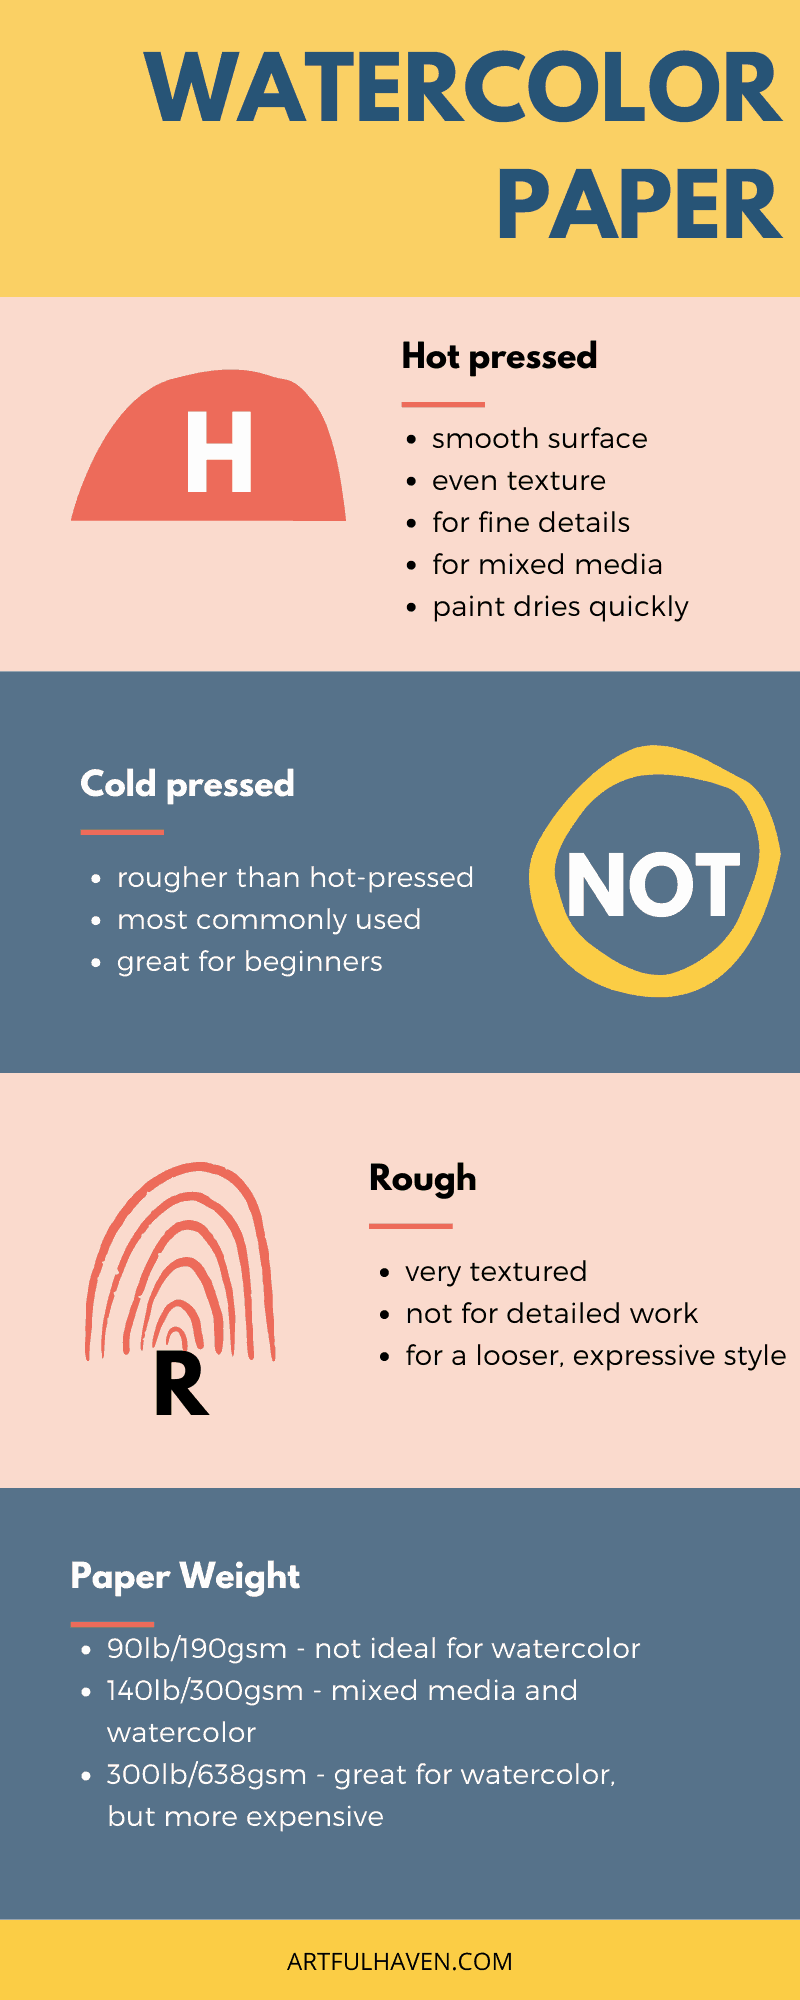
Search for thicker paper with a thickness of 140lb/300gsm or thicker. Every paper set has this marking on them, so it’ll be no problem for you to find it.
Here are some qualities of the watercolor paper and tips on when to use it:
If you want to learn more details about watercolor paper, hop over to this post on essential watercolor supplies for beginners.
I often go to my local stationery shop and get large sheets of watercolor paper (300gsm/140lb) and I cut it into any size I want and bind it in a journal. However, I’ve purchased art journals with watercolor paper inside, and the one I’ve been using for years is Jane Davenport’s Art Journal.
It handles watercolor really well, although sometimes the paper crumples a bit because I add too much water, and since it’s a journal, I can’t glue it or stretch it. But I don’t mind that. I’m just careful with water and I’ve made some cool pages in it.

Tip 2: Use round brushes + different sizes
I don’t think you must have professional and expensive brushes to do lovely art with watercolor.
In my stash, there isn’t a single professional, expensive brush. They aren’t the cheapest ones either, but my brushes are somewhere in the middle. And I love them because they do the job well in my art journals.
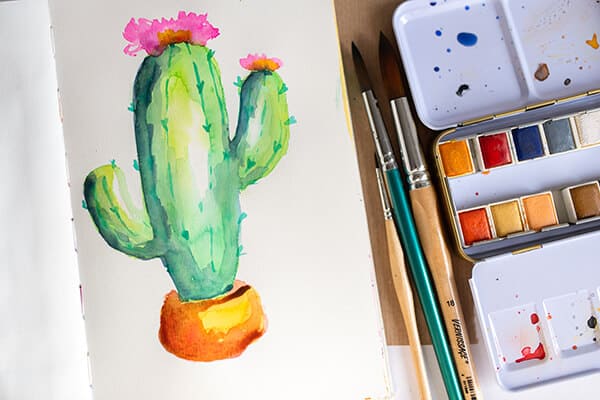
If you want to use watercolor in your art, I suggest getting round brushes in different sizes. Three sizes will be enough for now, and even only two. Don’t stress over this.
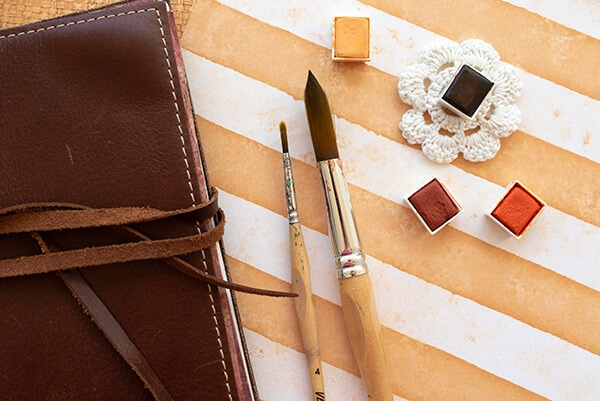
Why a round brush?
Because it has a thick “tummy” and a pointy tip. The tummy holds the water, while the tip lets you control the paint and water, and paint more details.
You can easily change from a detailed painting to a full brush stroke in a second.
Tip 3: Make swatches
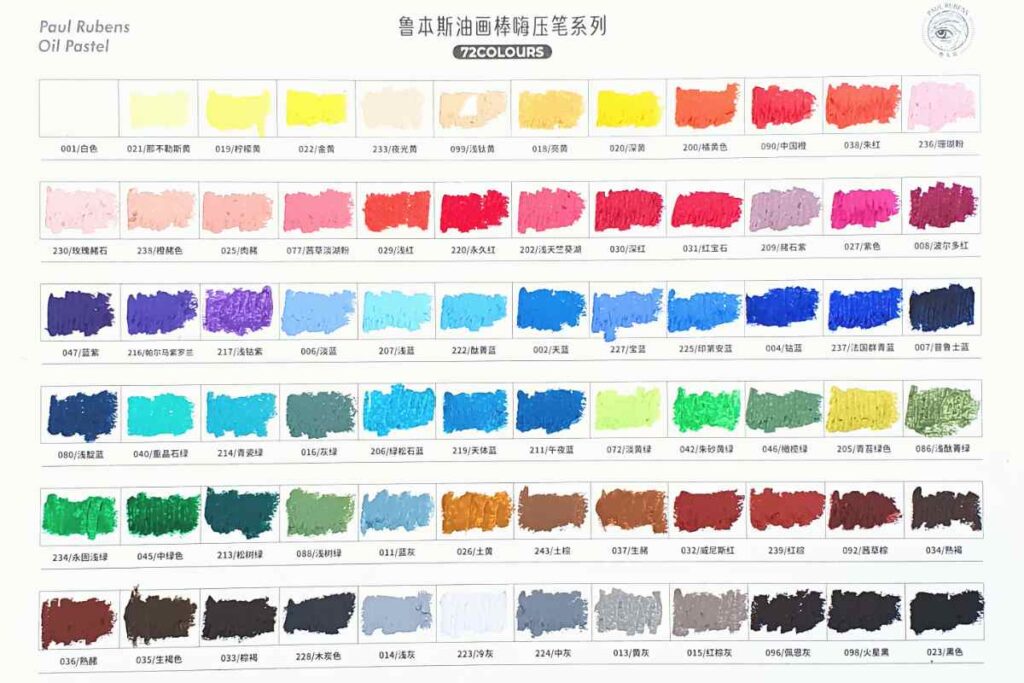
The watercolors look completely different on paper than in their cute little containers. So how do you know what they’d appear like on paper?
Make swatches.
Take a watercolor paper sheet and draw fields (you can make a table, squares, circles, anything) for each color you have in your watercolor set.
Then paint inside these fields to see how the paint behaves on paper. After this is dry, have it as a handy reference when you paint in watercolor. It’ll help you a lot in choosing colors.
You can also try mixing colors and making swatches for this. Now, you have two reference guides to help you choose. How amazing is that?
Tip 4: Sketch your image
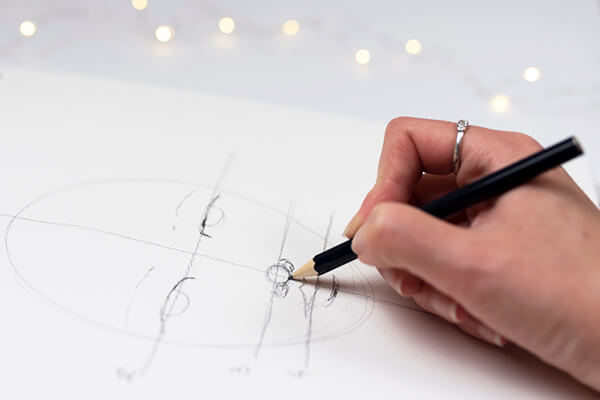
Before you start painting, sketch the image lightly with a pencil.
Keep it light if you don’t want the pencil to show through watercolor.
The thing is, when you paint over a pencil, it stays under the paint and you can’t remove it later.
I don’t mind pencil showing through, as long as it’s light and not taking all of the attention.
Sketching helps you stay within the lines and shapes you want to paint.
However, don’t make this a rule and carefully paint within the lines. You’ll just get frustrated. See the lines as guides but don’t see them as limits. Let that watercolor flow freely with your brush and water.
With this, we’re coming to the next tip.
Tip 5: Be loose
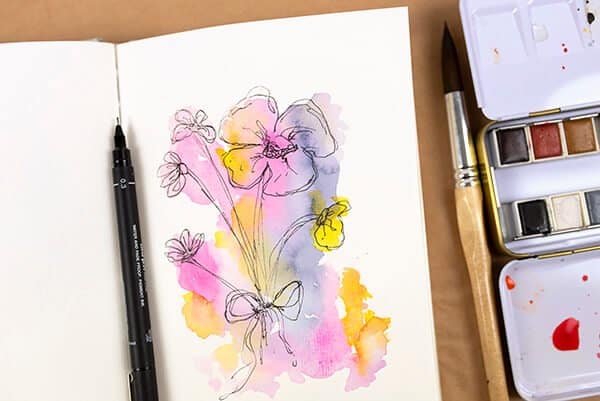
What this means is not to treat watercolor the same as acrylic paint.
Watercolor is beautiful because it’s loose and you don’t want to miss out on this soft effect by following rigid lines.
I used to paint with watercolor the same as I did with acrylic paint. I would draw my image and then paint strictly within those lines, not a tiny bit over them.
This way, I only limited the paint whose nature is to flow, and not be restricted. Firstly, trying to limit it this way was the labor of Sisyphus, and secondly, it just wasn’t that pretty. At least it wasn’t for me.
Tip 6: Mix enough paint
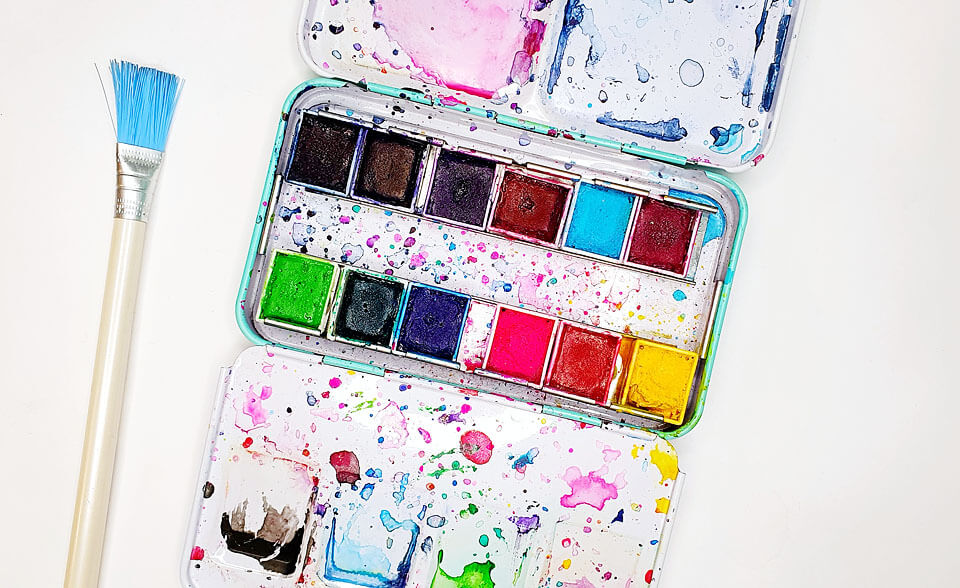
Always mix enough paint before you start painting.
If you think a certain amount will be enough, mix some more. And a bit more.
You don’t want to be in the middle of your painting and then realize you have to mix paint again. I promise you, you’ll never mix the same color again.
Don’t worry about using your paint quickly, even when they’re dry, they’re still water-soluble.
I use an ordinary ceramic plate to mix colors, and I leave the excess to dry. But when I want to paint again, I can just add water to the palette, and reactivate it all over again. So, there’s no paint waste.
Tip 7: Mixing palette tips
Most watercolor sets come with their own little mixing areas but somehow there’s not enough room to mix. Or is it just me?
That’s why I use a big plate, just an ordinary plate I stole from my kitchen.
Another neat thing to use is any ceramic dish that’s usually used for snacks or candies on coffee tables. If you find one with a lot of tiny containers, you’ve got yourself a true gem.
This lets you mix plenty of colors and if they’re deep enough, you can mix enough paint.
If you already don’t have something similar in your kitchen, check out this mixing tray in a shape of a flower. (Cute!)
Tip 8: Water is the boss
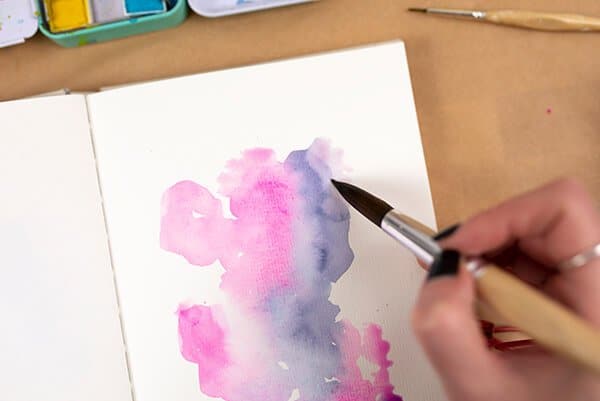
True that.
In watercolor painting, water is the main thing you want to control.
Because the paint follows the water trail. In other words, paint doesn’t go where there’s no water. That’s why we call them watercolors.
The more water you put on the paper, the more control you need.
Now, this may sound contradictory but find it somewhere in the middle, not too much water, and especially not too little.
Without water, this paint just sucks, and with too much water, you risk a flood on your page. A messy flood. Which is fine for mixed media, but not for soft watercolor images.
Here’s where you’ll have to practice and learn from your mistakes. And you should make mistakes, how else will you learn? Right?
Tip 9: Paint from light to dark
Watercolor is a translucent medium which means that you can see the layers underneath.
But if you first paint with darker colors, how will the lighter colors even show on top? They won’t.
So, when you start painting, start with the lightest color you’re going to use and build from there.
For example, if you want to paint flowers, start with lighter areas such as parts of petals, and when they’re dry, continue with darker tones like details or shadows.
Tip 10: Leave white space
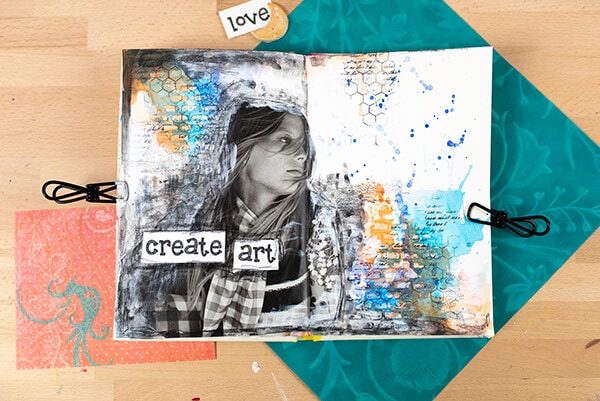
This is one of my favorite watercolor tips I’ve ever learned.
I used to paint all the way, I mean, without any trace of the paper below. And I wondered why I didn’t like my images.
The search led me to learn how leaving white spaces makes the image layered, dimensional, deep, and overall, way more interesting.
What does this mean in practice?
When you paint something, imagine where you’d put the highlights, and leave those areas blank. Let the paper show through.
I promise you this makes such a huge difference in your paintings.
If you’re painting flowers, leave a few white blanks on the petals, and also on the leaves. Do it randomly and don’t overthink this. When it’s dry, move a step away from it and now look at it. Does it have more interest? More dimension? I bet it does.
Practice this often and you’ll get the hang of it.
Tip 11: Every paper has a breaking point
Yes, no matter what the quality or thickness, every paper has a breaking point. That moment when you force it heavily and hard that it just tears.
It’s easy to overdo things with water or brush strokes because you could think: Just a little more, here, or just a bit more water here, if I could just spread this paint more, etc.
And then you end up with a murder. Yes, you murder your paper and you can easily see the bullet hole in it.
Watercolor paper can take on a lot, but it has its limits.
To avoid this, you should first wait for layers to dry completely before continuing with painting, and second, don’t work in one area for too long or with heavy brush strokes.
Remember, watercolor is light and airy, so try treating it like that.
Tip 12: Use a hair dryer/heat gun
A neat little watercolor tip is to use a helper like a hairdryer or a heat gun to speed up the drying process.
But keep in mind that watercolor can move around with water, so be careful when using a hairdryer. Set the fan at the lowest or it’ll move the paint around. However, if you want to move it around for effect, that pumps it up.
A heat gun is a great option for drying paint. I’ve been using it for years. It dries things quickly and has no fan like a hairdryer so it doesn’t move the paint around.
Just be careful not to hold it too close to the painting, and not long in one place. Move it around from a safe distance.
Tip 13: Paint splatters
When you’re done painting, you could add finishing touches with watercolor by splattering it from above with a brush.
I love doing this with ink and acrylic, too. It adds interest to your page and it’s a great way to use up that mixed paint from the beginning.
Tip 14: Use waterproof pens
If you’re going to draw or outline with a pen or a maker on your watercolor image, then make sure the pens are waterproof.
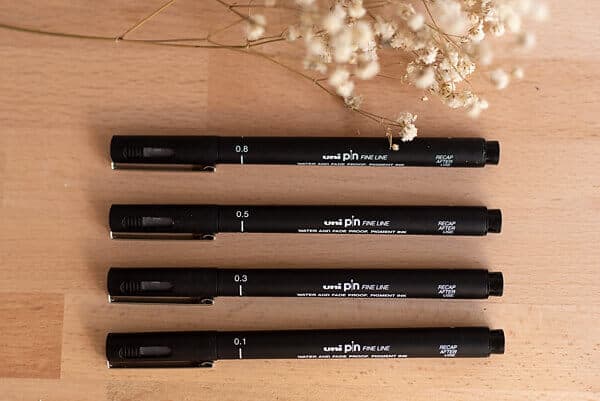
This should be stated on the pen themselves, but you can also test the pens you have and see which ones don’t smear.
You don’t have to spend hours searching for these pens, I’ve got you covered, too. Check this article on the best waterproof art journal supplies, including pens.
Tip 15: Work quickly with layers or leave them to dry
Although watercolor dries, you can still lift it with water because it’ll always react to water. But this happens when you really work long in one area.
So, when you’re trying to build layers, let the previous layers dry. This way, you’ll avoid lifting off paint from previous layers.
The bottom line is not to hang out too long in one area.
Always have this in mind.
Tip 16: Learn basic color theory
If you learn how to mix watercolors, you’ll be a painting boss in no time.
Color theory may sound daunting but if you learn the basics, you’ll have more control and won’t create muddy colors. Has this happened to you?
The rule of thumb is not to mix complementary colors: red and green, purple and yellow, or blue and orange.
Tip 17: Play
If you try following the rules and hold your brush with trembling hands afraid you’ll do something wrong, you’re already doing something so utterly wrong that it’s ridiculous.
Now imagine you ruin a part of your painting or your page. A blob of paint appears out of nowhere, you don’t know what to do with it. Oh, and now it’s mixing with another blob. Wait, what? How did that happen?
I’m telling you to lose the tears and embrace what you’ve done on that page. Analyze what happened. Was it the loose grip? Were the layers not dry? Some colors didn’t mix well together and now it’s all muddy? What caused this so-called mistake?
And right at this moment, you become the teacher. Explain to yourself what led to this accident, why you hate it (or love it, that happens, too), and what you can do to avoid it again.
These mistakes are what’s going to teach you how to grow. When you look at them this way, they’re actually your little magical wonders.
That’s why it’s important to play. This hobby of ours is not a serious business, world peace doesn’t depend on it, and it won’t cause more world hunger or anything.
Just play. And play. And play some more. Experiment with all these watercolor tips and you’ll figure out things soon.
I promise.
Watercolor tips for beginners – wrap up
So, let’s wrap things up. What are the best watercolor tips for art journaling beginners?
1. Use the right paper, 140lb/300gsm, or thicker.
2. Use round brushes.
3. Make swatches.
4. Sketch your image, but lightly.
5. Be loose
6. Mix enough paint.
7. Choose a ceramic palette with small containers.
8. Water is the boss, where the water flows, the paint goes.
9. Paint from light to dark.
10. Leave white space.
11. Every paper has a breaking point, so don’t work it too hard.
12. Use a hairdryer/heat gun to speed up the drying time.
13. End with paint splatters to create interest.
14. Use waterproof pens.
15. Work quickly with layers
16. Learn basic color theory
17. Play like your life depends on it.

