3 Best Ways To Organize Art Supplies In Small Spaces Without Overwhelm
I know that there are so many ideas online for organizing art supplies and of course, some will work for you and some won’t. What I got tired of is seeing walls filled with pegboards (they always looked yucky to me), shelf ideas that require drilling, or big fancy spaces where you can have gigantic cupboards and shelves.
Most of us have only one tiny desk and that’s it. Many don’t even have that but work on dining tables. I’ve done all that and I dig you.
I’m sharing 3 simple and practical ways to organize art supplies you’ll ever need. These are no-overwhelm ideas for small spaces that’ll help you make more art and not waste time on arranging or tidying up.
So, this is for you my artsy friend, you who create in a tiny corner or without a dedicated space at all.
Disclaimer: Some links in this post may be affiliate links. This means that if you purchase something through that link, I get a small commission, at no extra cost to you.
1. Rolling utility cart – a lifesaver
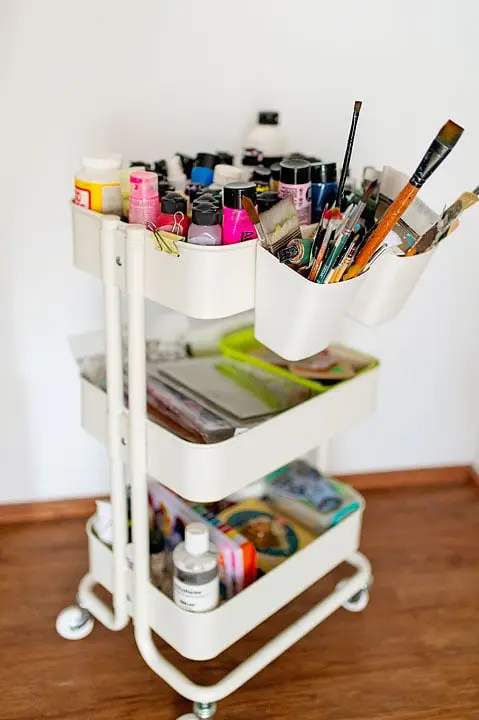
My mother got me one from Ikea and at first I thought: No way, my supplies won’t all fit here. However, when I started arranging things in a practical way, I was really happy with its functionality, space, decluttered look, and practicality.
Here’s why a rolling utility cart is practical and useful for your art supplies:
1. Mobility: You can easily move it around your space, whether you’re working in the living room, bedroom, or even outdoors. This flexibility is especially handy in small spaces where you need to maximize every inch.
2. Versatility: With multiple tiers or shelves, a rolling cart offers plenty of storage options. You can customize it to fit your specific needs and preferences, organizing supplies in a way that works best for you. Mine has 3 shelves that are deep enough to hold almost everything.
3. Space-saving: Because it’s vertical, a rolling cart takes up minimal floor space while providing maximum storage capacity. This is a huge win in small spaces where you struggle to organize your art supplies.
4. Convenience: Having all your art supplies neatly organized and easily accessible in one place saves you time and energy. No more rummaging through drawers or searching through closets – everything you need is right at your fingertips.
How I use a rolling utility cart to organize my art supplies
Now, when it comes to arranging art supplies in your rolling utility cart, here are some tips to help you make the most of the space:
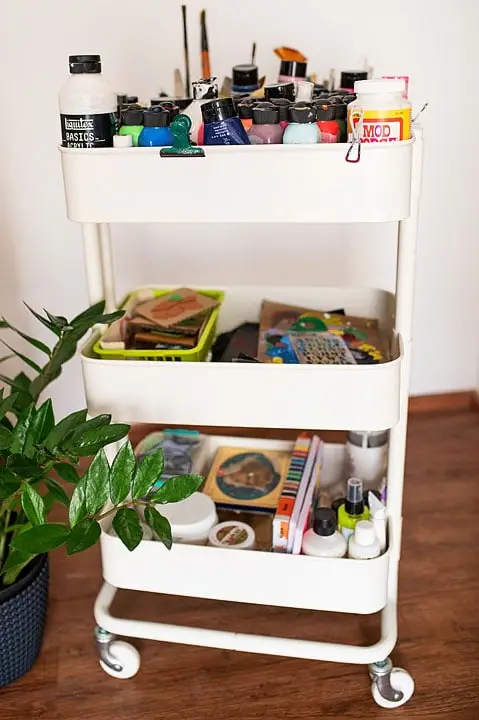
- Top tier: Reserve the top tier for frequently used items or tools that you need easy access to, like paint and some tools. My top shelf is reserved for acrylic paint that I always use, Mod Podge, Gesso, and acrylic sprays. I try to keep them arranged by color, but even if they’re just scattered, you can easily see the colors and choose easily.
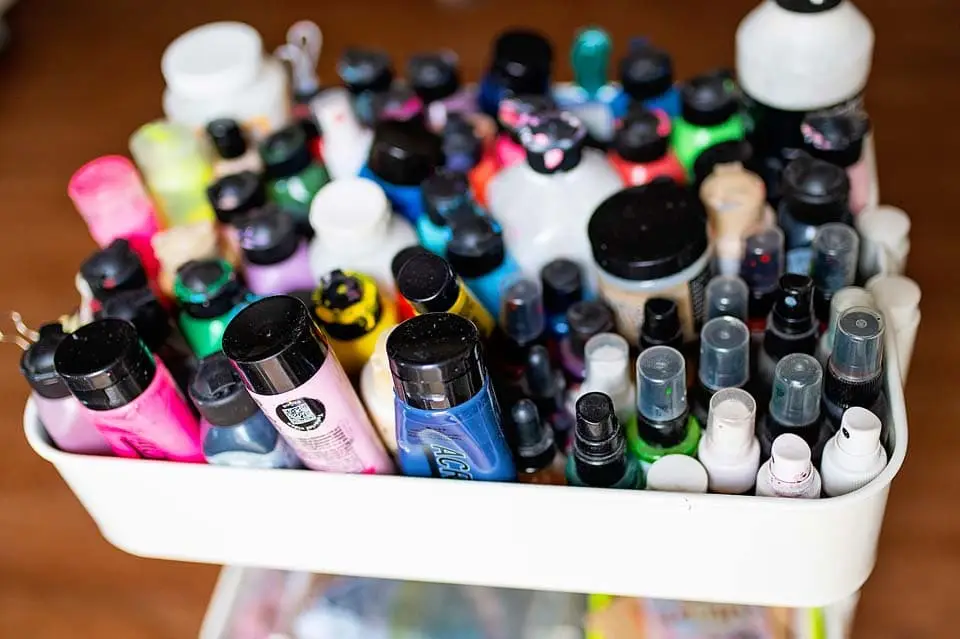
On the sides, I have two hanging containers where I keep the tools like paintbrushes, brayers, painting knives and other things I use all the time. You can get these containers from Ikea as well. They’re super handy and are very firm and don’t move or fall down.

- Middle tier: You can use this space for the second set of supplies that you often use. Here, I usually stack my stamps and smaller stencils. My Gelli plate is also here. For smaller stamps, I use a container to keep them together and to easily find them.
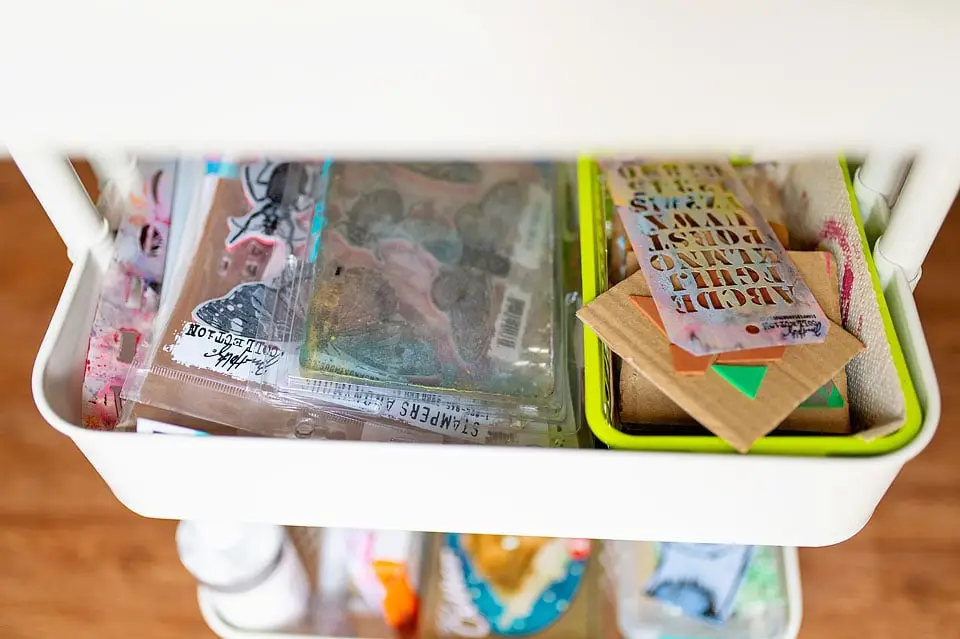
Also, you can use the middle tier for larger items such as sketchbooks, pads, etc. Stack them vertically to maximize space and keep them organized. However, I’ve found that journals and sketchbooks take a lot of space, so I keep them on my bookshelves all around the house.
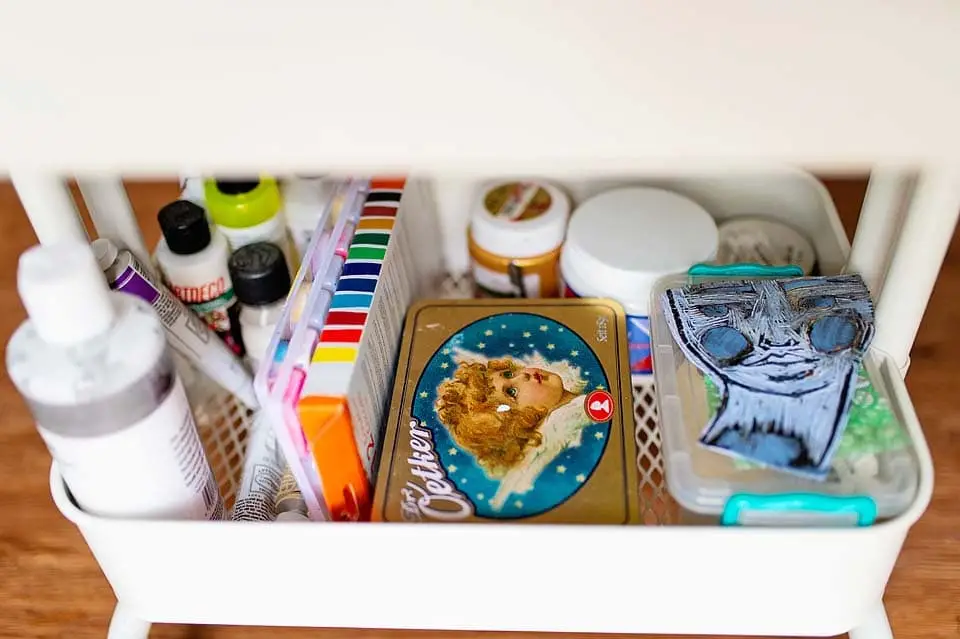
- Bottom tier: Store heavier or bulkier items in the bottom tier to keep the cart balanced and stable. This could include paint palettes, larger bottles of paint, paint sets, or any other supplies that you don’t use too often but you still want them to be around when you work. You know, just in case.
Here, you can stack things in containers like markers, pens, rulers, stamps, etc.
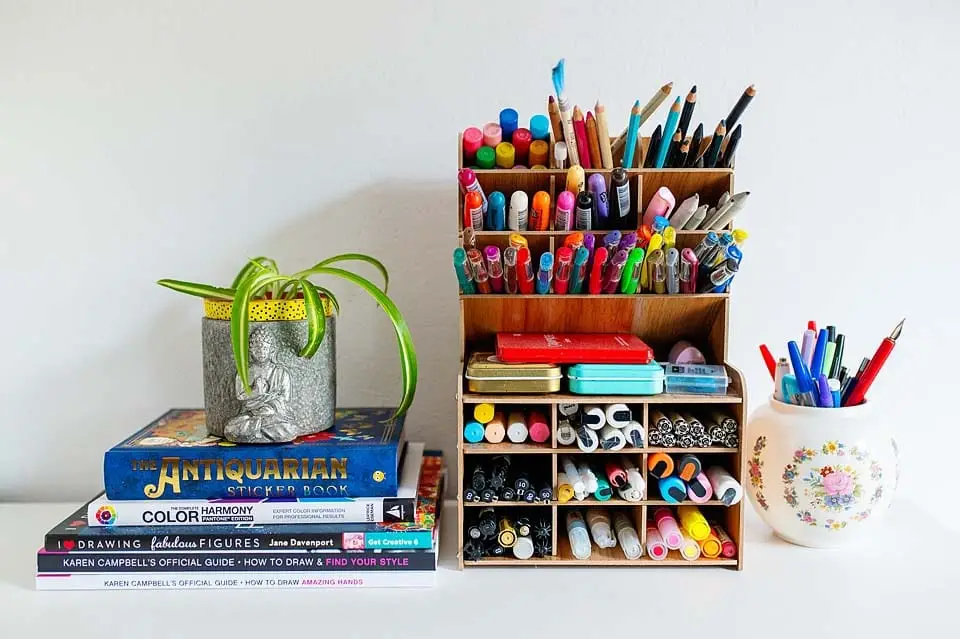
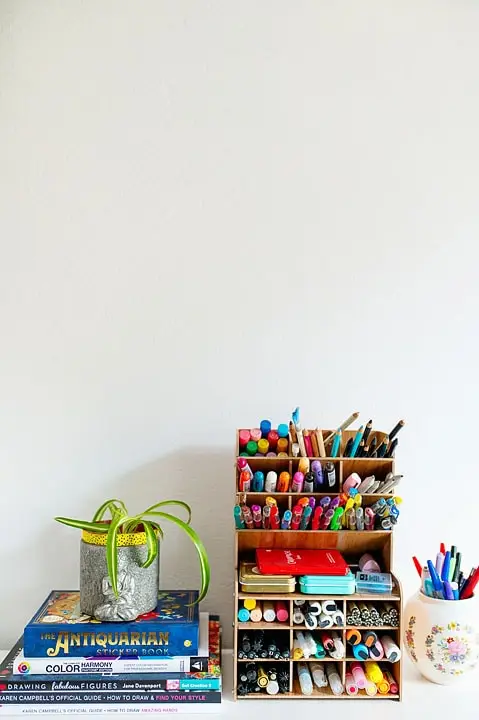
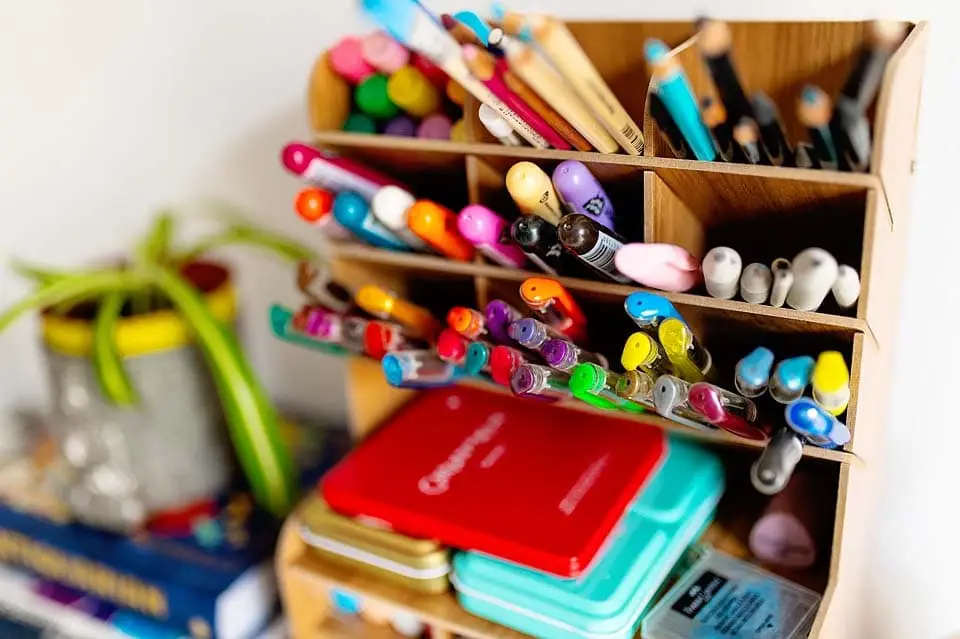
2. Mini shelves for pens and markers
So, we’ve covered paint and tools but what about our markers and pens? Well, most pens and markers should be kept horizontally. That’s why I avoid using jars for them.
Instead, I got a tiny shelf for them and they’re all placed horizontally. This shelf has little compartments so you can easily organize the pens and markers and see them all clearly.
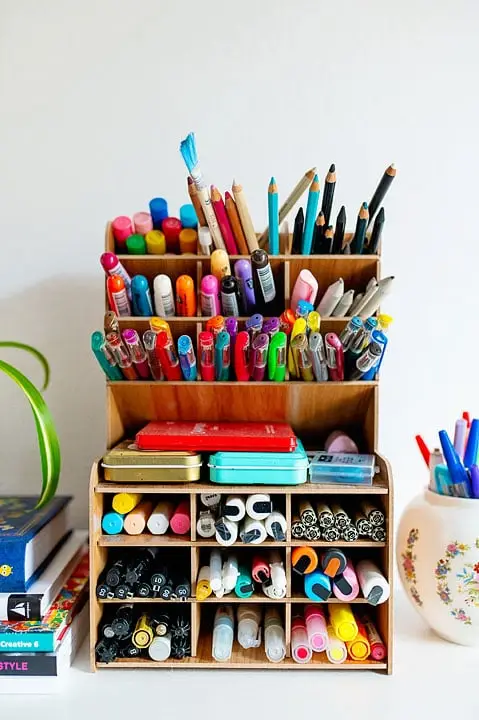
This tiny shelf doesn’t take up too much space and can fit in many places like bookshelves, on desks, even on the floor under a desk.
I arranged all my pens and markers in it: Posca markers, Gelatos, different pencils, fineliners, even two sets of watercolor and my erasers. I couldn’t love it more.
3. Paper holders and organizers
If you’re into art journaling, you definitely have papers, magazine cutouts, larger stencils, etc. This set of supplies doesn’t fit in my utility cart. I tried putting them there, but it gets messy quickly and they’re not easy to find.
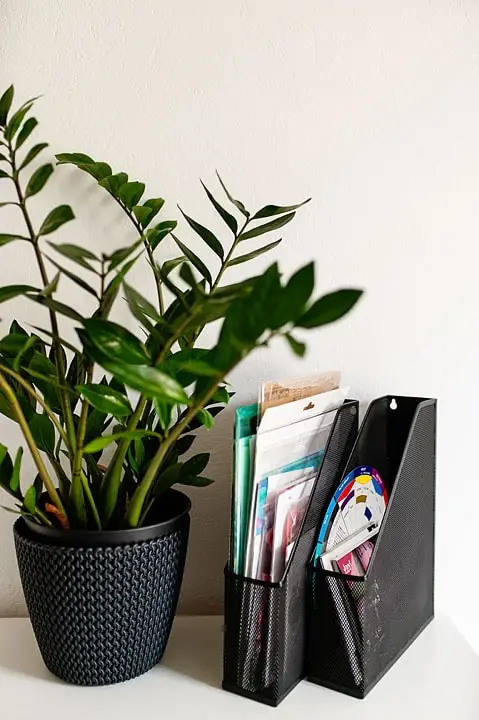
So, I got two paper organizers. They’re stiff and can stand on my desk without falling down. This is important. You want to have a sturdy holder.
Here’s why I believe these are great for your paper (and other larger) art supplies:
- Keeps the paper flat: Paper holders and organizers are designed to store various types of paper, protecting them from damage and keeping them flat and wrinkle-free. This is crucial if you work with different mediums and surfaces, and can be sure that your paper remains in perfect condition for your projects.
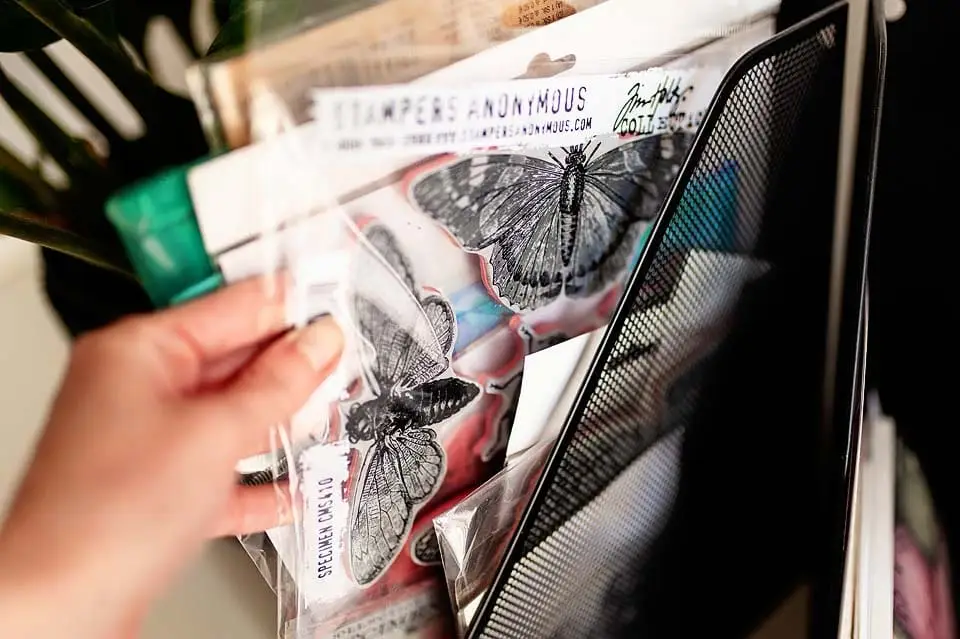
And not just for paper, but for your bigger stencils and stamps. You can arrange them vertically and easily pick and choose among them when you’re making art. I keep my larger stencils and stamps there, together with scrap papers, printables, etc.
Also, you can keep paper pads and smaller sketchbooks here. These sturdier things like sketchbooks can keep the papers from wrinkling and help to hold them upright.
- Easy access and sorting: By categorizing and storing different types of paper in dedicated holders or organizers, you can quickly locate the specific sheets you need for each project.
This saves time and frustration that would otherwise be spent searching through stacks of paper or rifling through drawers.
Organizing art supplies in small spaces – final tips
- Think of a way you can have your most used supplies at the reach of your hand. What supplies are those? For me, that’s acrylic paint, brushes, pens, and paper. That’s why I have the paint on the top tier on my utility cart. My pens are on my desk, as well as my paper organizer.
- Go through your art supplies and see which ones you rarely use or never use. Then, put those supplies in a box and stack it in a closet or under the bed. For me, that’s usually oil paint, glitter pens, some markers, scrapbook paper, and big paper pads.
- Keep the art journal or a paper pad you’re currently working on on the desk or somewhere near your working space.
- Use clear containers or storage bins whenever possible. This allows you to see the contents at a glance, making it easier to find what you need without having to rummage through multiple containers.
- If you’re a neat freak, labeling your storage containers, drawers, and shelves can save you a lot of time and frustration. Clearly label each container with the type of supplies it holds, making it easy to locate items when you need them.
- Grouping similar items together – such as paints, brushes, and sketchbooks – helps you stay organized and makes it easier to find what you need. Consider organizing your supplies by type or use, and designate specific areas or containers for each group. That’s what I do with my acrylic paint – I stack together the same color groups.
- Maximize vertical space. This allows you to store more supplies without taking up valuable floor space, making your workspace feel less cluttered and more organized. That’s where these awesome utility carts come in handy.
Now that you’ve got the supplies in place,
actually start creating
Sign up for the free Art Journal Starter Kit and get ideas
on starting and using those supplies you’ve stacked.