7 Easy Art Journal Backgrounds for Beginners (No Experience Needed)
You’ve stared at a blank page. You’ve picked up a brush, put it back down, and told yourself you’ll start tomorrow. Sound familiar? I’ve been there many times.
Here’s the thing — the background is the most important part of any art journal page. It sets the mood, gives you something to work on top of, and (best of all) it gives you a reason to actually start.
The good news? You don’t need to be good at art to make a beautiful background. These 7 techniques are so beginner-friendly that you can do them right now, with whatever supplies you already have.
No experience needed. No expensive supplies. Just you, your journal, and a blank page that’s about to become something beautiful. Let’s go.
Why the Background Is the Most Important Part of Your Art Journal Page
Think of your background as the foundation of a house. Everything you add on top — collage, drawings, quotes, stamps — will look better, feel more connected, and be easier to create if your background is solid.
A good background also does something magical for beginners: it removes the fear of the blank page. The moment you put paint, tape, or paper on that white page, you’ve already started. And starting is the hardest part.
One thing that helps me create more consistently?
I prepare a few art journal backgrounds in advance.
Sometimes 4 or 5 pages.
Just color, collage, texture… nothing complicated.
Then when I feel like creating, I can open my journal and start right away. No blank page. No pressure.
A great background also:
- Hides imperfections (paint over your mistakes!)
- Creates depth and texture in your final page
- Sets the mood and color palette before you even add your focal point
- Makes your finished page look layered and intentional — even if it wasn’t 😄
What You Need (Hint: You Probably Already Have It)
You don’t need to run to the art store before you try these. Most of these backgrounds work with basic supplies:
- Acrylic paint (any brand, any colors)
- Watercolor paint or even watercolor brush pens
- Gesso (white or clear)
- Washi tape
- Magazine pages or tissue paper
- A brush, a sponge, or even your fingers
- Your art journal with decent paper (250lb or thicker is ideal)
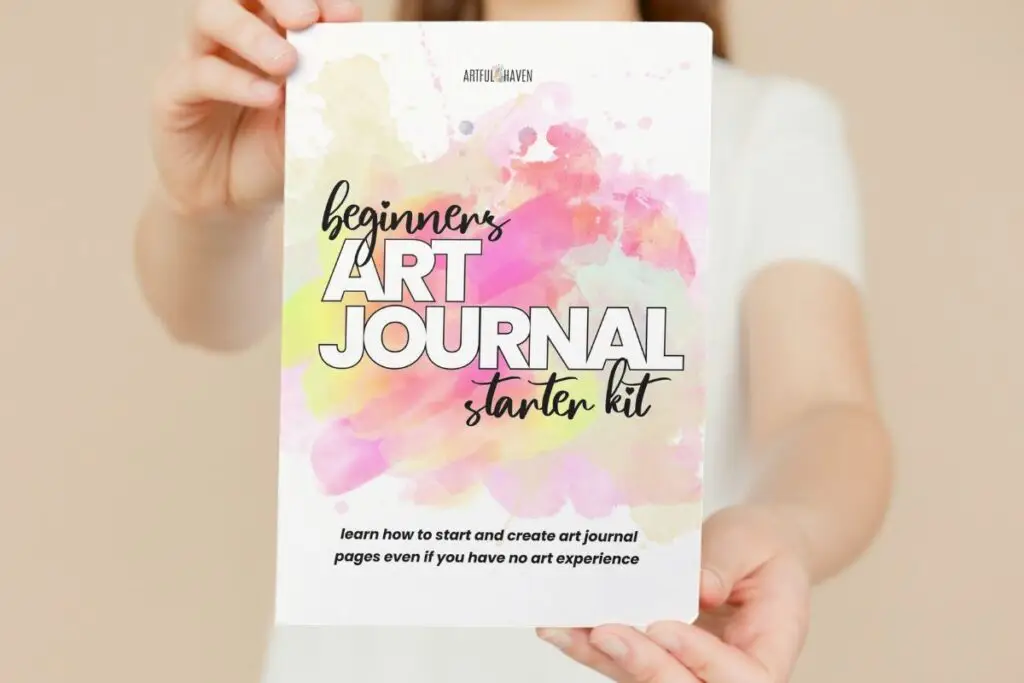
New to art journaling and not sure what supplies to grab? Download my free Art Journal Starter Kit — it has a full beginner shopping list so you know exactly what to buy and what to skip.

7 Easy Art Journal Backgrounds for Beginners
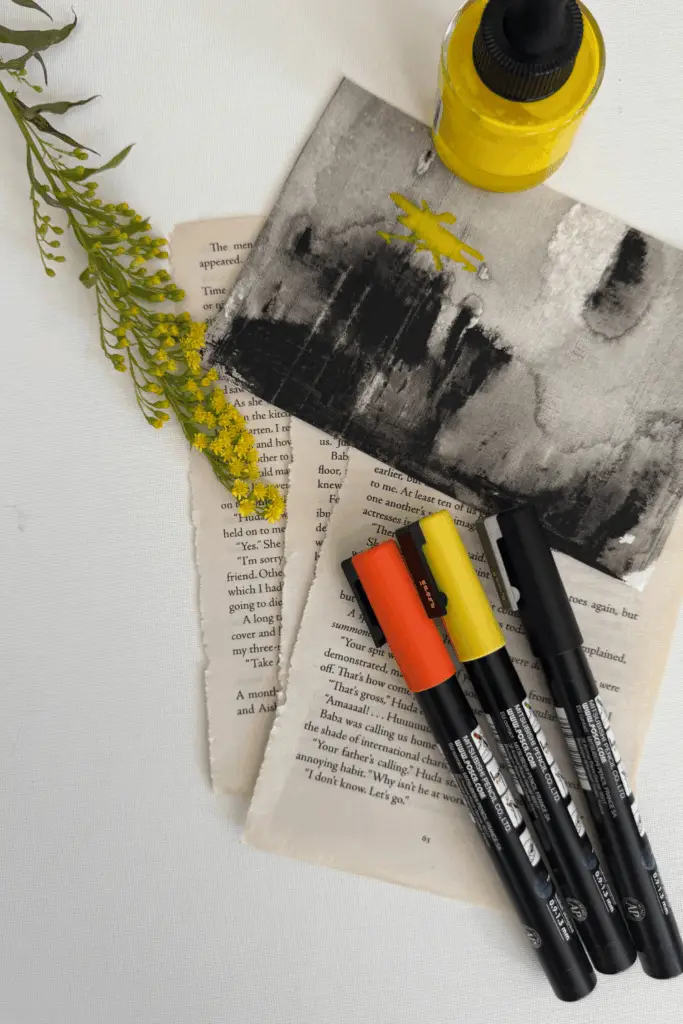
1. Acrylic Wash — The Classic Beginner Background
This is the background I recommend to every single beginner, and the one I still use most often. It’s fast, flexible, and almost impossible to mess up.

How to do it:
- Pick 2–3 colors of acrylic paint that you love together
- Dip your brush or a sponge and apply paint in sections across the page
- While the paint is still wet, blend the colors where they meet
- Let it dry completely before the next step
💡 Don’t overthink your color choices.
You can leave it as is, or once dry, apply a thin coat of white gesso over the top to create a more muted, layered effect. I talk all about Acrylic painting techniques in depth here
Acrylic Painting Techniques Every Beginner Can Do Easily
2. Washi Tape Patchwork — No Paint Required
This one is perfect for days when you don’t want to deal with wet paint or drying time. All you need is your washi tape collection and about 5 minutes.
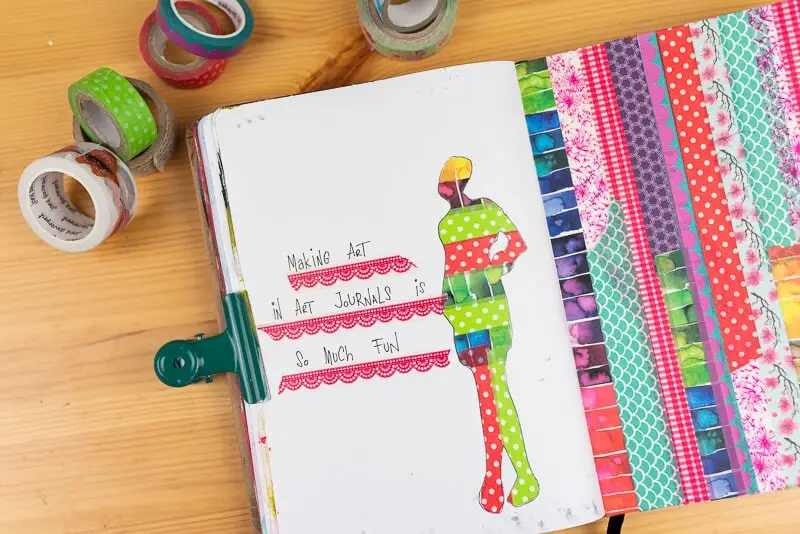
How to do it:
- Tear (don’t cut!) strips of washi tape and press them onto your page in overlapping patches
- Mix patterns, colors, and widths for a more interesting result
- Once the page is covered, you can leave it or apply a thin coat of clear gesso over the top to create a new painting surface
💡 Tearing washi tape instead of cutting gives you a more organic, textured edge — and it’s actually easier. Try it!
I have a full post dedicated to washi tape ideas if you want to go deeper:
19 Creative Washi Tape Ideas for Art Journal Pages →
3. Gesso Texture Background — Simple and Stunning
Gesso isn’t just a primer — it’s one of the most versatile art journal tools you have. Applied with intention, it creates the most beautiful textured backgrounds.
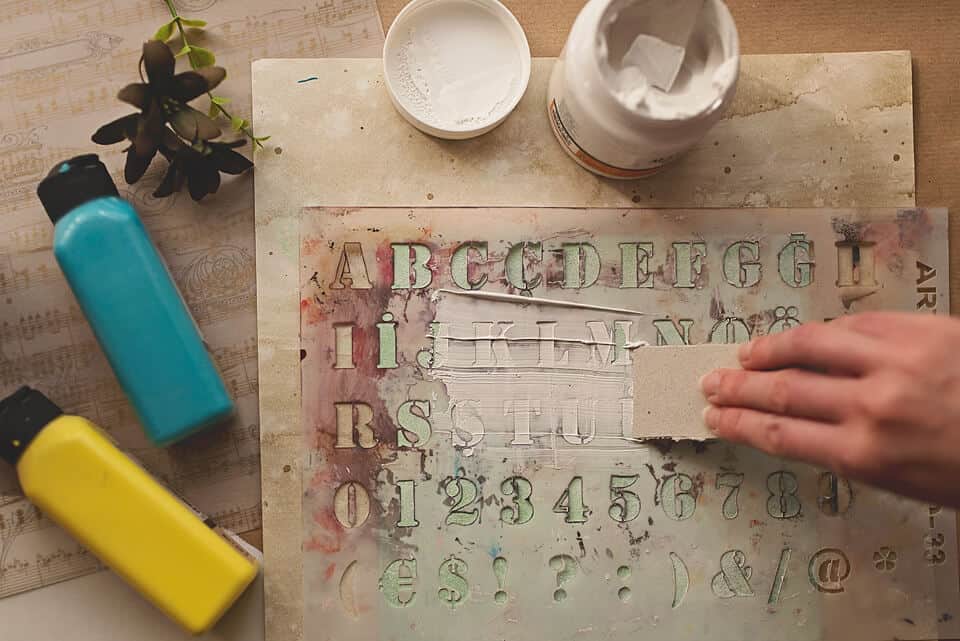
How to do it:
- Apply white gesso to your page with a brush or palette knife
- Before it dries, drag a comb, crumpled plastic wrap, or old credit card through it to create texture
- Let it dry fully, then paint over it with watercolor or diluted acrylic to reveal the texture beneath
💡 The thicker you apply the gesso, the more dramatic the texture. Start thin if you’re nervous, then experiment.
If you’ve never used gesso before, don’t skip my beginner guide first:
What is Gesso and How to Use It in Art Journaling →
4. Collage Base — Magazine Paper as a Background
This is one of my absolute favorites, and it always gets the best reactions when I share it. The idea is simple: use torn magazine pages as the foundation of your background instead of paint.
How to do it:
- Tear magazine pages into random pieces of different sizes
- Glue them down with a glue stick or collage medium (Mod Podge works great)
- Overlap the pieces and let them go off the edges of the page
- Once dry, paint over everything with diluted acrylic or gesso to unify the colors
💡 Don’t try to match the magazine images — the more random and layered it looks, the better. The whole point is texture and depth, not a recognizable image.
Want more collage ideas? I’ve got you covered:
13 Mixed Media Collage Art Journal Ideas →
5. Watercolor Bleed — Soft, Dreamy, and Effortless
If you love soft, painterly backgrounds, this one is for you. Watercolor bleeds are one of those techniques that look incredibly skilled but are actually very forgiving.
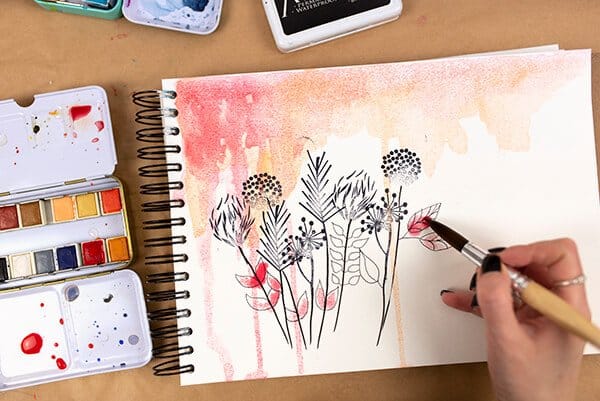
How to do it:
- Wet your page lightly with a brush dipped in clean water
- Drop or brush watercolor paint onto the wet surface and watch it bloom and spread
- Tilt the page slightly to encourage drips and movement
- Let it dry completely before adding anything on top
💡 Use at least 250lb paper for this technique — lighter paper will buckle and warp. If your current journal is too thin, check out my advice on
choosing the right art journal.
The less you fuss with it, the better it usually turns out. Watercolor rewards you when you let go. 🌊
6. Tissue Paper Layer — The Secret Weapon for Texture
This one is criminally underrated, especially for beginners. Tissue paper is cheap, easy to find, and creates the most interesting wrinkled textures when glued down.
How to do it:
- Tear tissue paper into rough pieces
- Apply a coat of Mod Podge or collage medium to your page
- Press the tissue paper onto the wet surface, letting it wrinkle and bunch naturally
- Brush more collage medium over the top to seal it
- Once dry, paint over it — the texture will show through beautifully
💡 Colored tissue paper adds a bonus wash of color to your page. Plain white works perfectly too — you can paint any color over it once it’s dry.
7. Stamped Pattern — Bold, Graphic, and So Satisfying
If you love bold, graphic-looking pages, a stamped pattern background might be your new favorite thing. This works especially well if you have a background of repeating stamps or stencils.
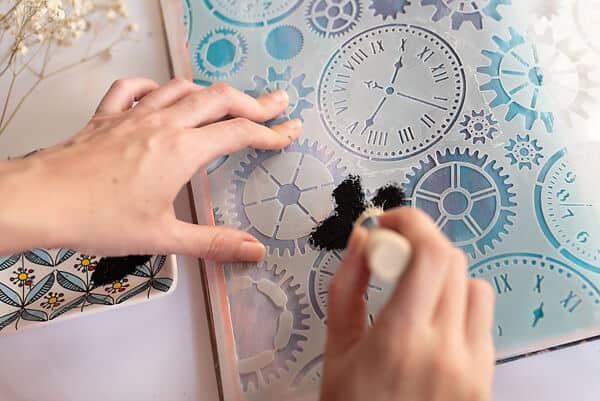
How to do it:
- Choose a stamp with a simple, repeating design (leaves, circles, abstract shapes)
- Ink it up and stamp randomly across your page, overlapping and rotating
- Don’t try to make it perfect — the messy, organic look is what makes it beautiful
- Once dry, wash a thin layer of diluted paint over the top to tie it all together
💡 You can use the eraser end of a pencil dipped in paint as a stamp! No stamp collection needed.
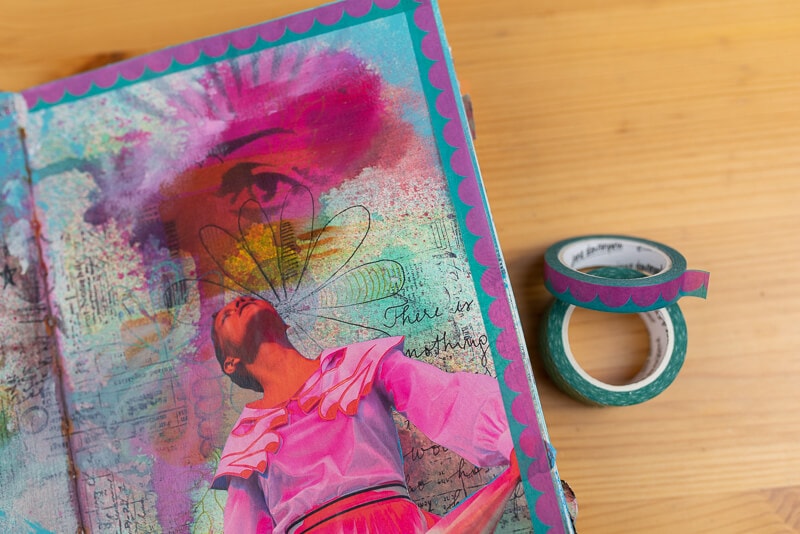
Can You Combine These Techniques?
Absolutely — and this is where the magic really happens. The most beautiful art journal backgrounds usually combine 2 or 3 of these techniques on top of each other.
Some of my favorite combinations:
- Acrylic wash → gesso texture → watercolor wash on top
- Collage base → paint over the top → washi tape accents
- Tissue paper layer → stamped pattern → white gesso dry-brush
Start simple, and once you’re comfortable with each technique individually, start layering. That’s when your pages will start to surprise you. 🎨
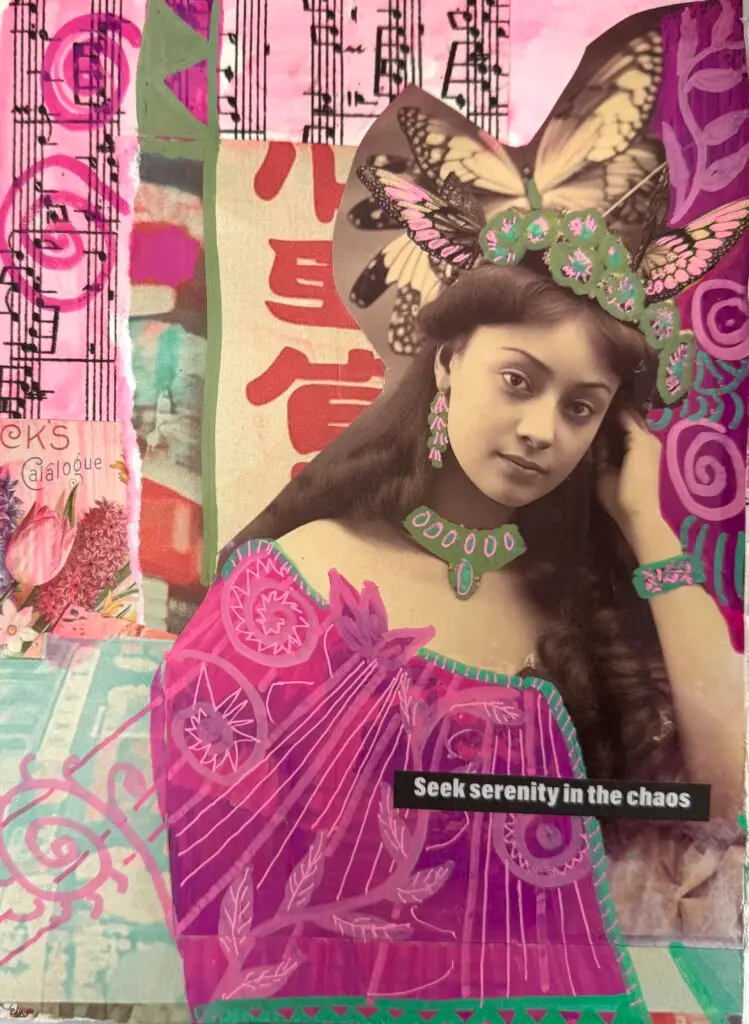
What Do You Do After Your Background Dries?
Once your background is dry, it becomes your canvas. Now you add your focal point — a face, a figure, a flower, a quote, a word. The background is done; your job now is to add one main element that the eye will land on.
Some ideas for what to add on top:
- A drawn or painted face (my Face Proportions Guide is free — grab it below!)
- A collaged magazine image
- A meaningful quote in hand-lettering or a print-out
- Simple botanical drawings like leaves or flowers
- Abstract marks and doodles
Don’t overthink it. The background is already interesting — your focal point just needs to show up.
Frequently Asked Questions
Yes — always let each layer dry completely before adding the next. Wet-on-wet can work intentionally (like the watercolor bleed technique) but mixing dry techniques with wet ones will create muddy, uneven results. Be patient. It’s worth it.
Paint over it with white gesso and start again — or work with it! Some of the best art journal pages I’ve ever made started as backgrounds I hated. Gesso is your best friend when things go wrong. I have a whole post on rescuing bad art journal pages if you need it.
For wet techniques (watercolor bleed, acrylic wash), you’ll want at least 250lb paper. Lighter paper will buckle and make everything harder. For dry techniques like washi tape and stamping, almost any paper works.
Not at all. Student-grade acrylics, cheap washi tape from any craft store, and basic collage materials are all you need to get started. I always recommend beginners start with budget supplies — save the investment for when you know what you love.
Ready to Make Your First Background? 🎨
Pick one technique from this list — just one — and try it today. Don’t wait until you have better supplies, a cleaner desk, or more time. Your journal is waiting for you right now.
And if you’re not sure where to begin, my free Art Journal Starter Kit walks you through everything: what supplies to buy, how to start your first page, and how to get past the fear of the blank page.
art Journal starter kit
More Posts You’ll Love
- How To Draw Whimsical Faces Step By Step
- 13 Drawing Exercises For Beginners (Absolutely Easy To Do)
A Beginner’s Guide To Collaging With Tips & Ideas - Art Journal Page Layouts And Ideas With Step-By-Step Instructions
- 30 Art Journal Prompts
Happy Creating
Salwa