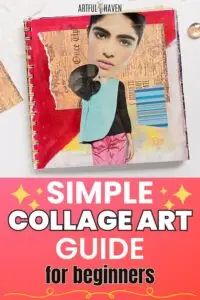
A Beginner’s Guide to Collaging With Tips & Ideas
I bet you want to try collaging, but you don’t know how or what it’s about.
That’s why I’m going to share some advice on how to start and the steps you can take to make your first collage and gain more confidence.
Collaging is a great thing for beginners, because it’s and easy and fun way to be creative. You’ll see :).
Disclaimer: Some links in this post may be affiliate links. This means that if you purchase something through that link, I get a small commission, at no extra cost to you.
What’s collaging?
It involves collecting, cutting, tearing, and gluing images or paper scraps into a story, an image that has its own world and universe.
That being said, collage offers irresistible freedom of creation without wondering if you’re doing the right thing. It can be super creative and relaxing. Collaging lets you choose images you love and use them to create a unique, I mean…totally unique piece of work.
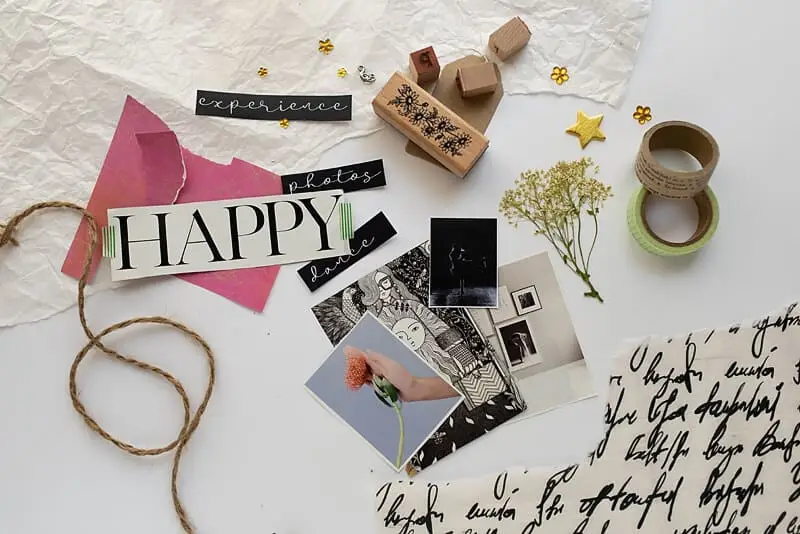
First, gather your supplies
Besides all the 2D elements you can use such as paper, you can also use 3D elements such as lace, strings, buttons, bottle caps, fabric, etc.
This just depends on what you want to create, what you’re creating it on, and whether you want to show off that bad boy or keep it to yourself.
For example, if you want to hang your collage art on a wall, you can add as many 3D elements as you want. However, if you’re creating in an art journal, then you’re limited to mainly 2D elements because an art journal wouldn’t close otherwise.
Also, if you don’t prefer gluing down heavier objects like buttons, feathers, or leaves or don’t have the proper glue that can hold them, you stick to 2D elements (paper).
Here’s a quick list of collage materials you can use:
- Paper
- Photos
- Magazine images
- Book paper
- Book illustrations
- Comic books
- Ribbon
- Lace
- Serviettes
- Wrapping paper
- Postcards
- Feathers
- Leaves
- Buttons
- Fabric
- Playing cards
- Stickers
- Threads
- Concert tickets
- Newspaper headlines
- Images from paper packaging
- Your old work or scribbles
- Scrapbook paper
What magazines are good for collage art?
Best magazines for collage. If you have a magazine ready to go, just cut it out and use it.
The only difference I’ve noticed is with the glossy pages and matte ones. Matte pages in magazines can be tricky because sometimes their ink can smear when you add liquid glue or paint over it.
I’ve mostly used glossy pages from fashion magazines, National Geographic, and similar. They’ve never smeared and I find a great number of elements in them.
For the sake of this post, I’ll list some types of magazines where you can find amazing images:
- Any fashion magazine
- Nature or garden magazines (a lot of animals and flowers)
- Specialized magazines about Earth and the universe can fill up your stash with amazing images
- Music magazines
- Old magazines that have a retro vibe
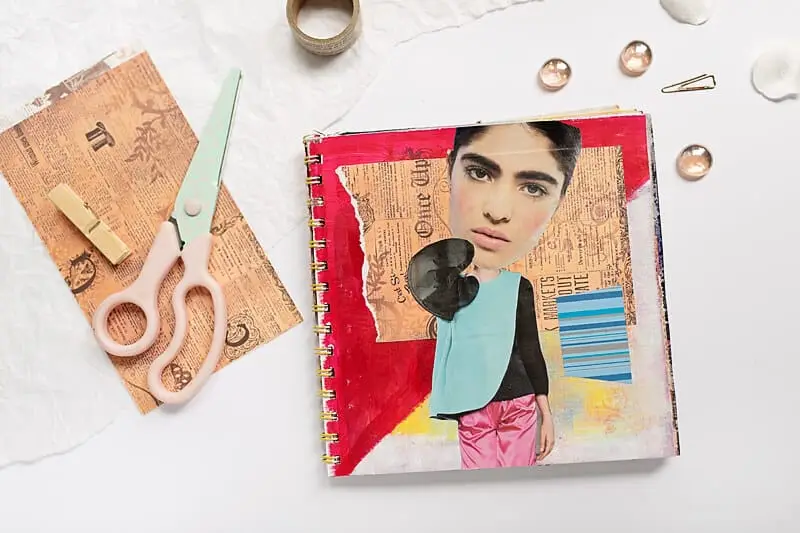
What tools to use for collage art?
Scissors
Any type of scissors will do. However, there are cute little craft scissors that can be used to cut even the smallest ideas.
I use ordinary scissors and that’s why my images aren’t usually fussy cut to perfection. I just don’t care.
Just remember to use scissors that fit really comfortably in your hands, otherwise, your fingers will hurt from all the cutting.
X-acto knife
It’s a great cutting tool if you have enough healthy nerves to use it. I can only use it on certain occasions. It seems I cut too slowly with an X-acto knife. But I’m impatient.
You, on the other hand (if you’re a patient person), can use this knife to really cut out your images in detail. You can also use it to cut shapes inside your images, which is harder with scissors.
Lastly, if you’re going to use an X-acto knife, you need to have a cutting mat of some kind. Otherwise, you’ll ruin the surface you’re working on. So, have that in mind.
Glue/adhesive
This is a must. You can’t make collages without some sort of glue. There are many adhesives people use for collage art: sticks, school glue, Mod Podge, etc.
What is the best glue for collage?
I must be honest, I don’t believe I’ve found an adhesive that does a perfect job every time with any material.
I’ve tried a few adhesives and I’ll tell you about each of them.
Glue stick

This is the most basic collage material you’ll need. And you can start collaging if you only have a glue stick. It’s easy to use and most of them glue the paper down easily and it sticks.
But remember, your surface needs to be the right one for a glue stick. It works best on smooth, non-textured surfaces.
Mod podge
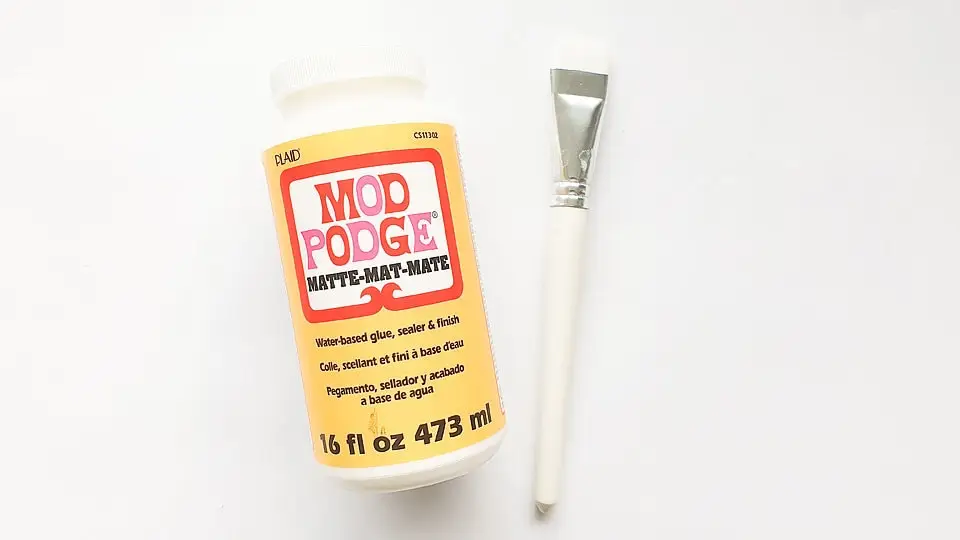
Mod podge is a decoupage medium that can be used in collage as well. It serves as glue but can also be a sealer.
Unlike PVA glue, it is easily spread out with a brush and is thin. This makes it perfect for collage.
Ranger Ink Distress Collage Medium
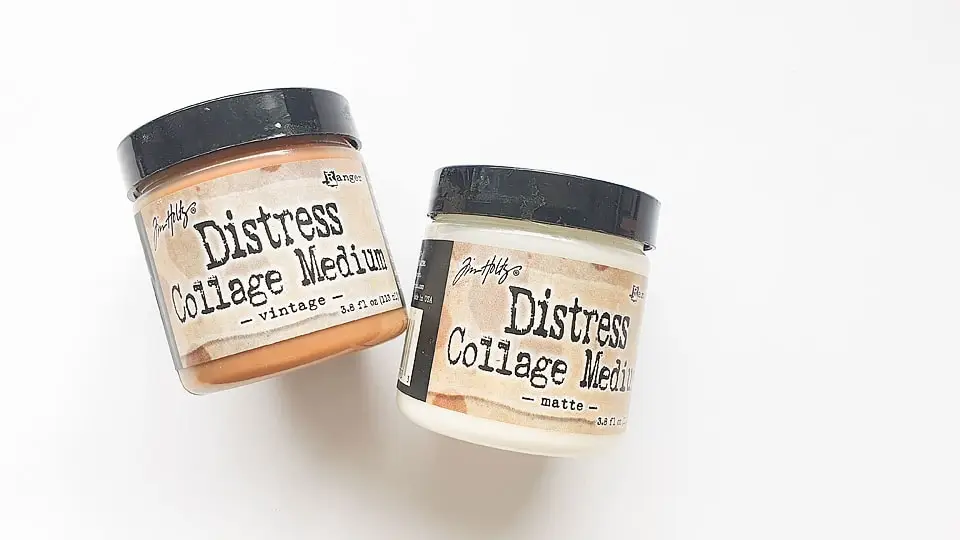
I’ve used this collage medium for a long time and I can say it’s a neat thing to have for collage. It’s similar to mod podge and can be applied with a brush or a foam brush.
I like using an ordinary, firmer brush rather than a foam one because foam brushes tend to keep a lot of glue and are soft.
I have one with matte and vintage finishes. They’re both great and the vintage one has a browny finish so you can go over your image with it for a vintage vibe.
It will also seal your papers. Similar to Mod Podge.
Acrylic paint
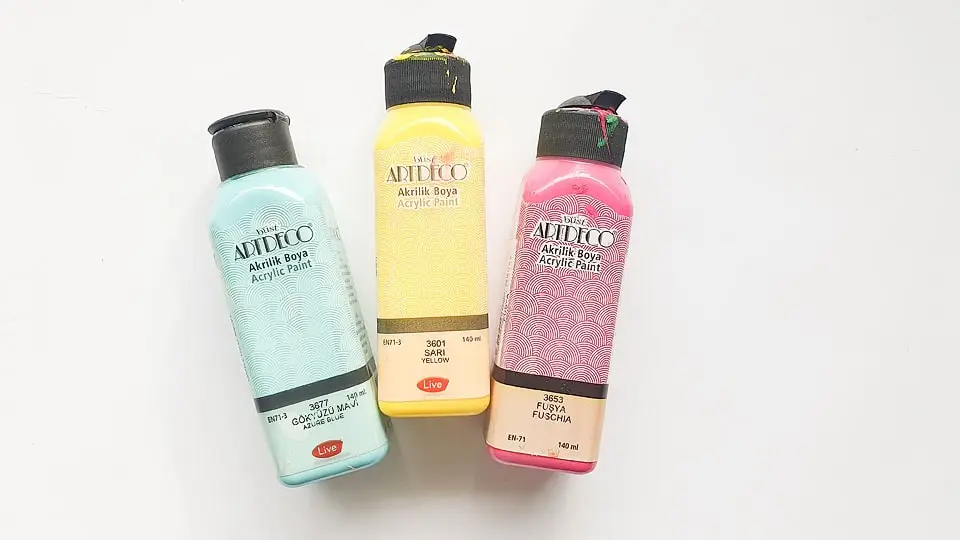
You might be surprised that you find acrylic paint here. However, when you put a thin paper on top of wet acrylic paint, it’s going to stick.
When acrylic paint dries, it acts as glue, it keeps any paper you stuck to it. However, the paper is probably going to wrinkle. But this can have a great effect on your collage. It’s worth trying out.
Glue gun
A glue gun is an excellent tool if you want to glue down heavier elements like buttons or lace. You just need to be careful not to overdo it with the glue because it will show on your piece once it’s dry.
Also, there are craft glue guns that have tiny tips so you can use them for the tiniest elements.
Double-sided tape
This is one of my favorite adhesives for collage. You can use the tape with paper or images but it takes a lot of planning and cutting the tape.
Double-sided tapes are usually strong, so fixes are harder to do. Be aware of that.
They do come in different widths so you can choose the one that suits your vision.
Washi tape
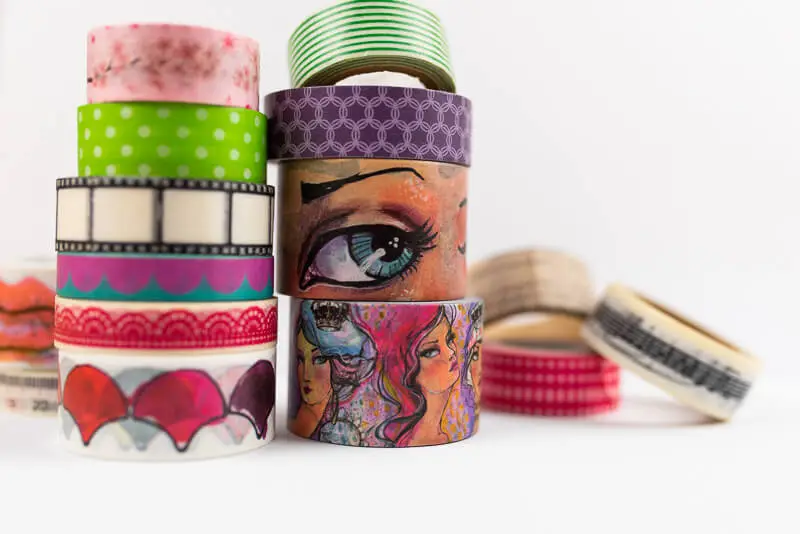
Everyone is in love with washi tape. They’re cute and easy to use, and you can choose from many different designs. Although they don’t hold very well, you can use them more as decorative elements.
If you don’t care for a complete flat adhesion, washi tape can make an interesting, textured effect.
What I usually do is glue my image down with stronger glue and then add washi tape for the corners of my images, or to connect two pieces of paper together. Visually, this is really nice.
Liquid white PVA glue
We mostly used it in school projects, but if you have this one in your stash, you can still use it. I suggest using a brush to spread it across the surface, so it doesn’t create lumps of glue under your paper.
Something to iron out the glue
I don’t know the official name, but this is any tool you can use to spread the glue evenly once you’ve already glued down the image. Use it to iron the image so the glue under it doesn’t create any bumps.
I use a strong old credit card, or a piece of plastic, and sometimes a bone folder.
Tweezers for tiny pieces
No matter the size of your fingers, it’s usually hard to adhere tiny collage pieces and do it perfectly. That’s why I use craft tweezers. Maybe you can try ordinary tweezers, they should work the same.
Glue gun for 3D pieces
This is an amazing tool to have if you want to glue down thicker and heavier elements like buttons or feathers.
Collage brush
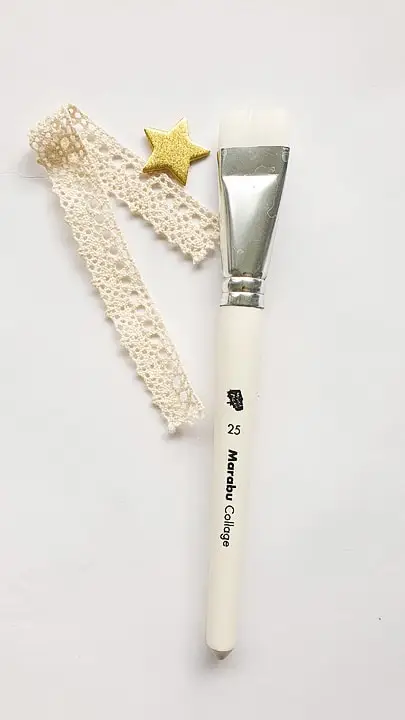
I usually use a collage brush with liquid glue such as Mod Podge and collage medium. It’s a neat tool for this because it’s to be sturdier than regular brushes and can move the glue easier.
Ruler
If you want to cut perfect lines quickly, use a ruler and an X-acto knife. But still, watch your fingers.
Cutting mat
A cutting mat is only necessary if you’re using an X-acto knife. Otherwise, scissors are enough.
They come in different sizes and shapes. Some have rulers and grids on them for alignment and cutting.
Budget-friendly tips
Here are some great places to find free or budget-friendly collage materials:
Junk Mail
Use advertisements, flyers, and envelopes for colorful or textured pieces.
Magazines and Newspapers
Check your own collection or ask friends and neighbors for old issues.
Libraries or coffee shops often give away outdated magazines.
Packaging and Wrapping
Save decorative packaging from products, gift wrap, or even paper bags.
Printables Online
Search for free printable designs, vintage images, or patterns on sites like Unsplash, Freepik, or my printables Library.
Nature Finds
Collect leaves, flowers, or feathers to add natural elements to your collages.
Used Books
Visit “free” book exchanges, little libraries, or charity shops for old books with interesting illustrations.
Getting started: Easy steps to your first collage
These are my suggestions for starting with collage. There are no rules, but I found this process below to work for me.
1. Collect images
If you’re into collaging, then you collect images all the time. It’s not just before a project. Whenever you see something that attracts your eye, save it.
When people want to throw out wrapping paper, I take it. Maybe not all of it, but I save some if I really love the paper.
If you don’t have time and will to cut out things all the time, just collect them, and you can cut them out in detail later. For example, when I see an image in a magazine that I love, I just rip out the whole page, and later I cut out the image.
Collecting collage elements can be tricky and you can find yourself overwhelmed with all the bits and pieces. So, good collage organization is always a plus. Figure out what works for you and follow that system.
2. Fussy cut or tear your elements
The way you’re going to cut them out depends on your style and preferences. Some artists fussy cut their elements, while others leave a white line around, while some just tear their paper scraps.
All of these methods are interesting in their own way. You decide which look you like better. Or, use all of them. There are no rules, remember?
Besides collecting elements, deciding on composition is also fun. However, I know many people struggle with that.
3. Decide on composition
Composition is important in collage-making. It dictates how you’ll arrange the elements, their colors, size, and where to place them. I already talked about composition above and how you can improve your collage with some tricks.
When deciding on composition, ask yourself these questions:
- What color combinations am I going to choose? ( eg. Choose your main image and then all other colors according to that image)
- How many visible elements will I have? (One main image, or more)
- Will I layer my elements?
- How will I make the background? (If any)
- What colors to choose?
- Where can I place my elements so they’re connected?
- Where can I place my main element so it pops out from the rest of my collage? (Rule of thirds)
- Am I going to have any supporting elements to go with the main one?
Look, this doesn’t have to be complicated. If these questions seem too much for you, skip them. Use only one question from above and focus on that. With time, you’ll develop a sixth sense for these things and they’ll become easier.
4. Layer things
Layering is always fun, it creates amazing effects of depth and gives a certain dimension to your work.
If you want to layer things, place elements on top of each other, and leave the parts of the bottom layers also visible. You can play with layering a lot and explore what you like doing and what final result you like seeing.
However, here are a few tips for layering in collage art:
- Don’t make one stack of elements too thick
- Put larger pieces at the bottom and smaller ones towards the top
- Mix and match before you glue things down
- Add paint as a visual layer under your elements like images
- Paint over images as well
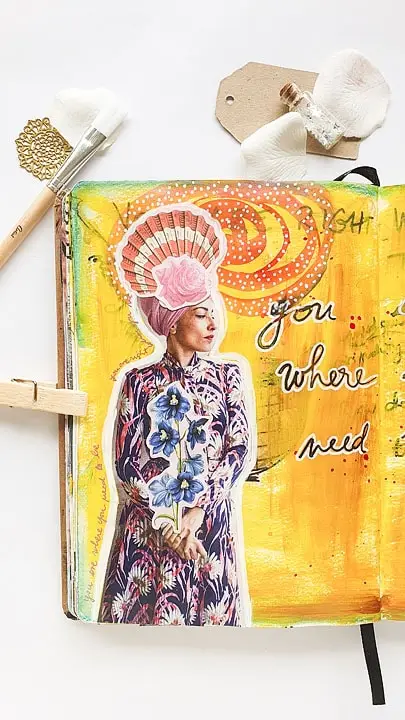
This is a neat idea and can be really cute-looking. What I usually do is outline my fashion magazine images with a white Posca pen. And I don’t stop there, I add more lines spreading out from that outline.
Also, you can use a black or white pen/marker to draw lines around the subject, spread from it towards the borders, or create a geometrical feel with multiple lines and their directions.
Draw on images
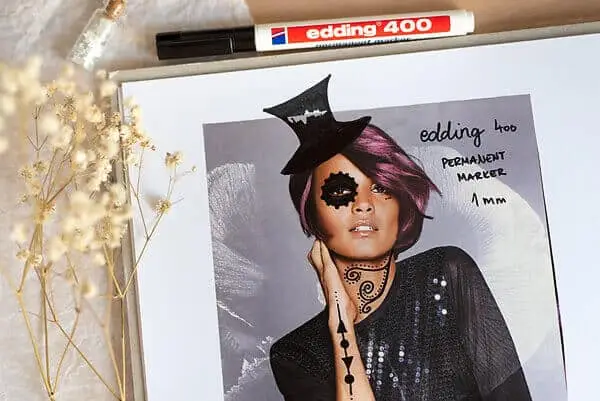
This is especially great for images of people. When I use a magazine image of a model, I often draw on her face. These are marks or symbols I love. You can also add marks on hair, tattoos on arms or legs, etc. There’s no limit to your imagination.
Write on images
If you’re into art journaling, you can add writing to your images. For example, sometimes I journal on the clothes of a woman, her hands, and even her hair. Again, you can do anything.
I like using waterproof markers for this, but if this is your last layer, use any pen or marker that can write on your finished collage.
I suggest Posca paint pens and Micron pens. White Posca is great for darker surfaces and it’s just a wonderful pen for adding that extra touch.
5. Glue down your pieces, working from the background forward
After you’ve decided where everything should go, slowly start gluing the images down. Of course, start with the bottom ones if you’re layering things.
And be careful to glue down entire image so it doesn’t get off at ends.
Tips to keep in mind
- There’s no right or wrong way to collage.
It’s all about personal expression and what brings you joy. So, don’t get stuck at “this must be perfect” or you’ll never get unstuck and actually experiment.
- Don’t overthink.
Play with colors, textures, and shapes. The more you explore, the more things you’ll learn and become better at this.
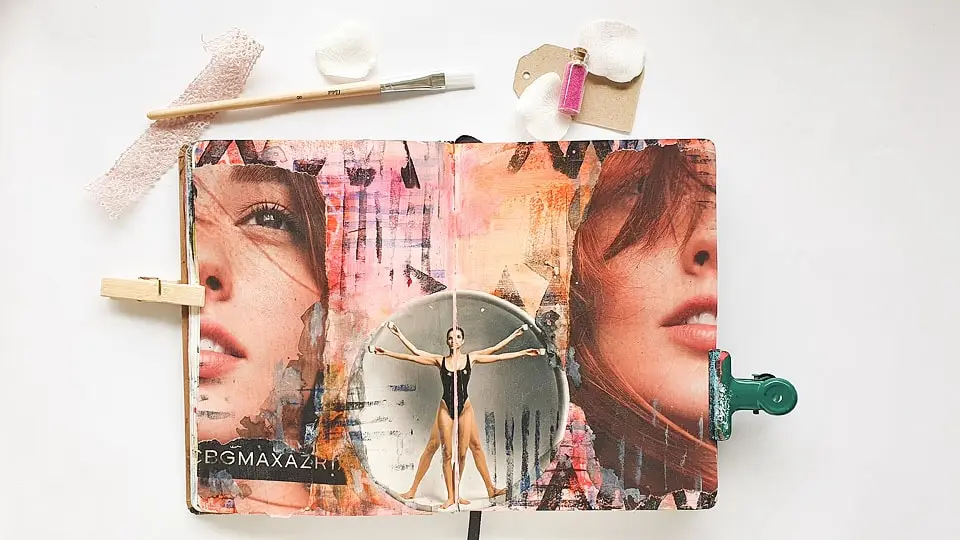
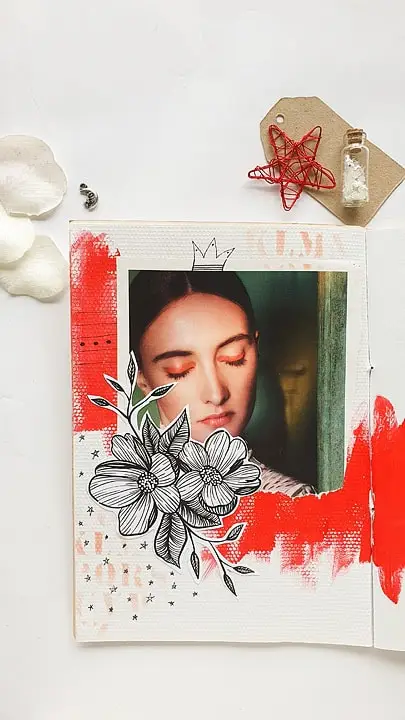
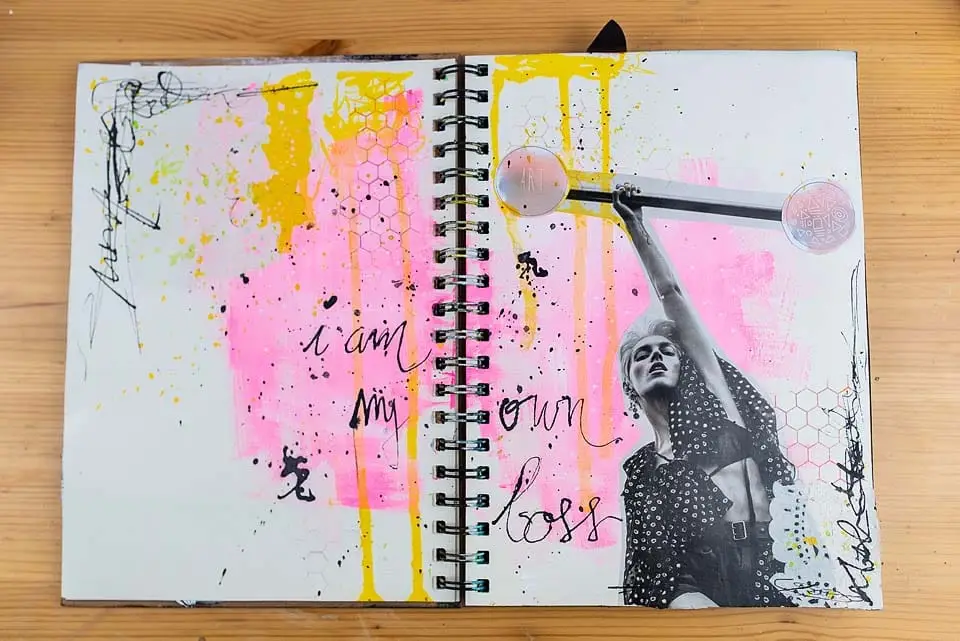
- Leave some “white space” if it feels overwhelming.
You don’t have to cover the whole page/paper. Leaving some white/empty space is actually pretty cool. It makes your collaged image stand out from the monotonous background.
Check out the spread below all the empty space (it doesn’t be all white, just empty).
Creative collage ideas to try
I feel there are no limit with collage. You can create whatever you want, in an infinite number of combinations. Here are some ideas you can try that have a certain theme:
- Create a vision board in your art journal. Use images, photos, paper scraps, stamps, whatever you want. And focus on your dreams and desires.
- Make a memory collage with old tickets, photos, and notes. It can be really fun. I used to do it and now I have wonderful reminders of my life experiences.
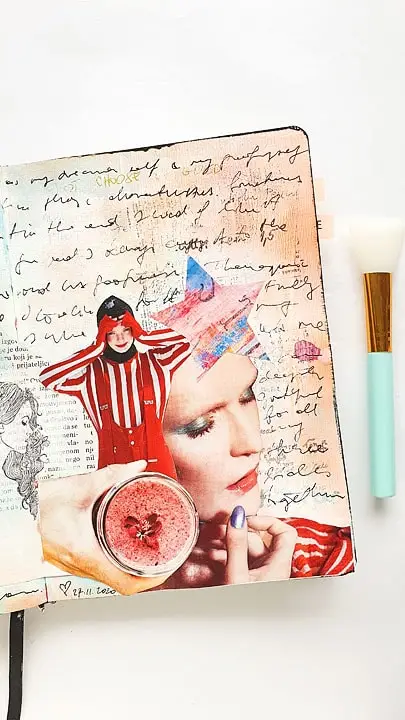
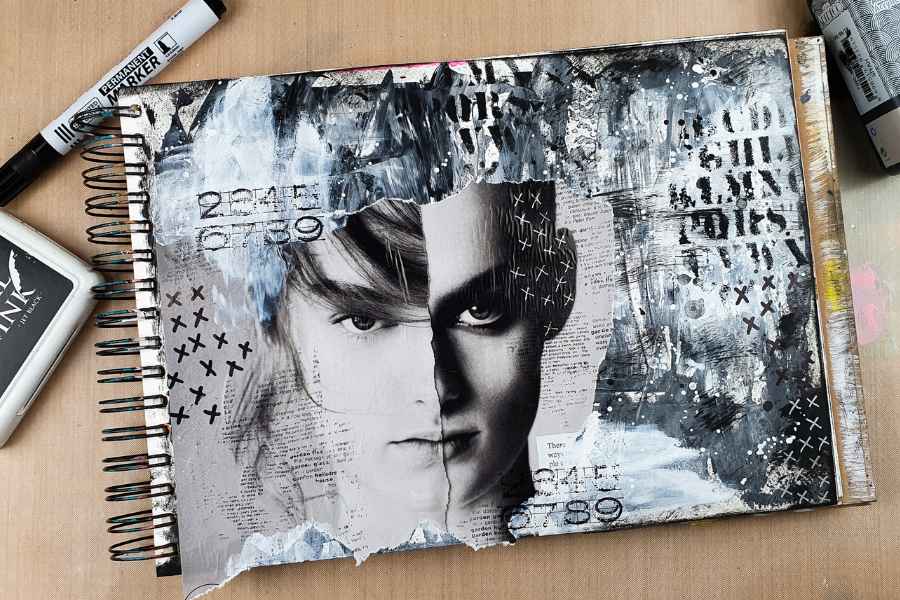
- Use only black-and-white materials for a minimalist look. Oh, I love this idea. It gives you wonderful ideas by limiting what you can use.
Below, I made a grunge collage using only black, white, and grey.
If you need more creative collage ideas, I’ve got plenty that are perfect for art journaling.
Click here for 13 creative collage art ideas so you can begin today.
Common challenges and how to overcome them
- I don’t have good materials.
Well, you can use any papers or materials you can find in your house: junk mail, newsppers, catalogues, digital printables, old notes, etc. - It looks messy.
So what? Let it look messy. You can’t be an expert at the very beginning. Show yourself some grace. The more you experiment and try things out, the better your collages will be. Embrace imperfection! It will heal you and your process. - I’m scared to ruin my journal. You can’t ruin it. It is there for you and your exploration. You’re not selling it, exhibiting it, or anything like that. Even if you reeeeally hate your collage, just cover it if you want to, but no regrets, ok?
Final thoughts I want you to remember
Start small and enjoy the process, there’s nothing 100% perfect.
Collaging is about experimenting and having fun, not perfection. By experimenting, you’ll learn so much. I promise.
You can share your creations online to connect with the collaging community and even ask for a feedback.
Related collage articles that can also help you
13 Unusually Creative Collage Art Ideas