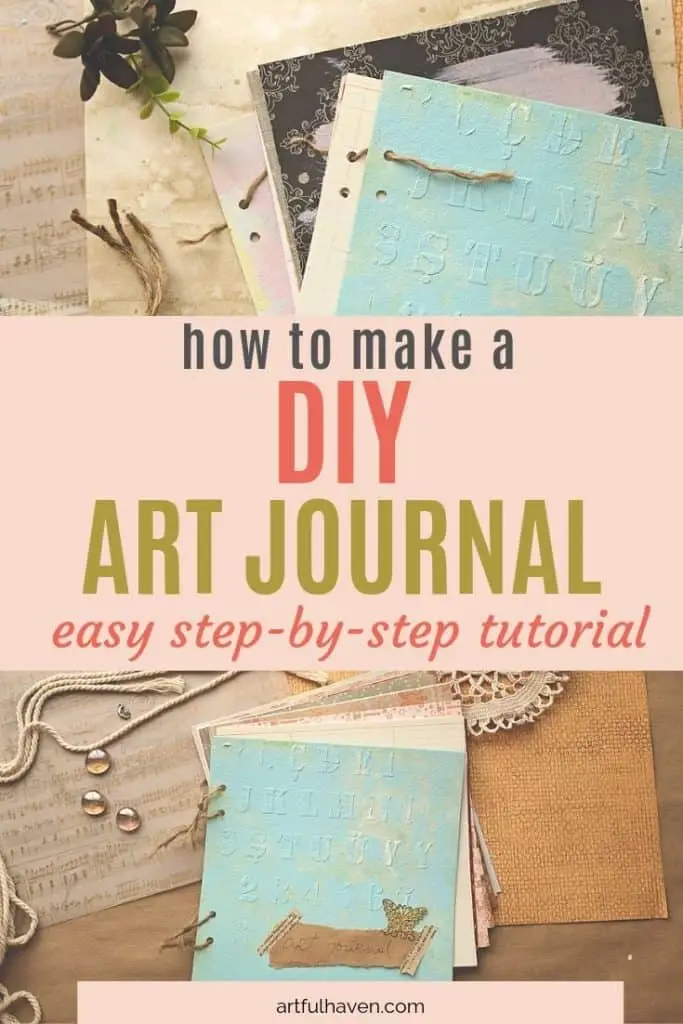
DIY Art Journal Tutorial With Mixed Media Cover
If you’re just starting art journaling, you’re still a bit confused about all the journals available, am I right? Since you’re here, I suppose you’re looking for an easy way to make an art journal. I’m going to show you how. In just a few simple steps, you’ll have an art journal to start making art and having fun.
This DIY art journal is so easy to make you could create so many of them, over and over again.
The supplies for a DIY art journal
Supplies for building the journal:
- 2 cardboard covers (any size you want)
- 15 papers (measure to fit the size of the covers)
- Twine
- Hole punch
- Scissors (they’re handy, right?)
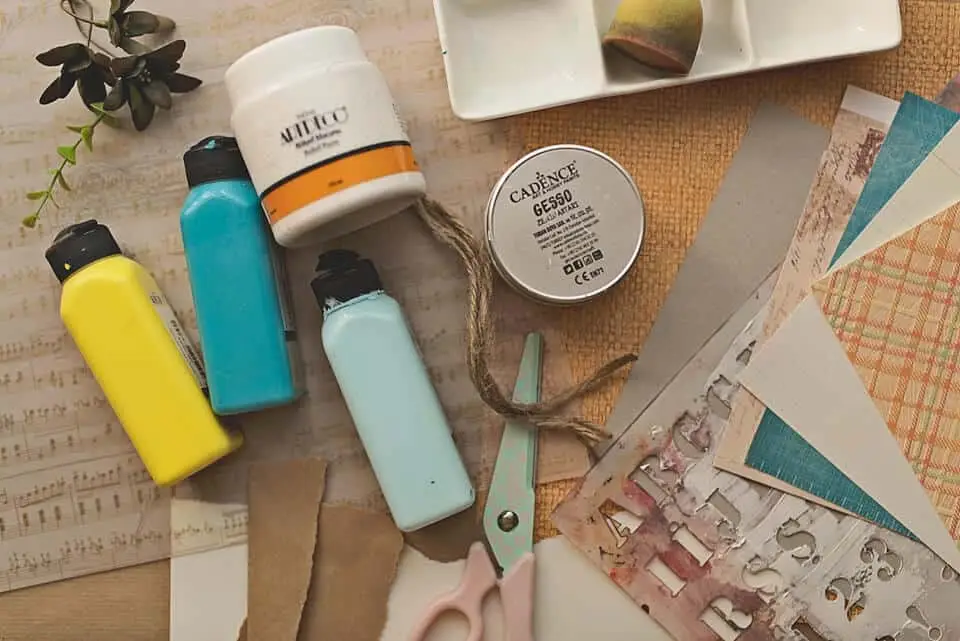
Supplies for decorating the journal:
- Sponge (you can use a kitchen sponge)
- Gesso or white acrylic paint (If you’re not familiar with gesso, you can check out the post about beginner’s art supplies here.)
- Acrylic paint
- A stencil
- Relief/texture paste
- A piece of cardboard for applying the relief paste
- Decorative papers or other ephemera you love
- Brush
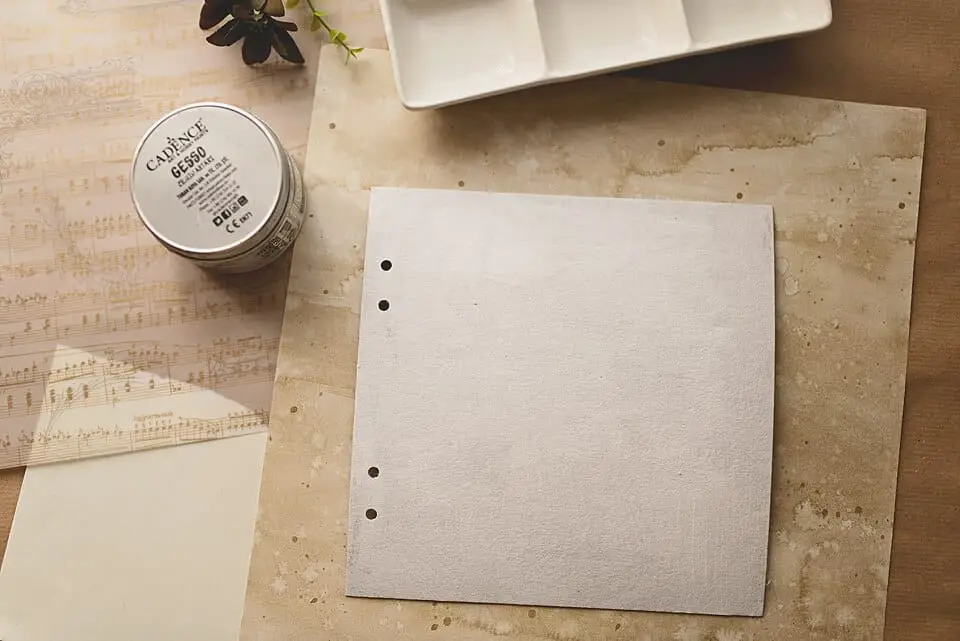
For this simple art journal tutorial, I prepared 2 cardboard covers (20×20 cm, around 8 in). You can buy cardboard at office supply stores or recycle from shoe boxes, and cereal boxes, there are so many choices.
I always put gesso on my covers and use some acrylic paint to make the background. You can leave it blank if you want.
For the pages, I used scrapbook papers I had lying around. You use whatever size you want but keep the inside pages a little bit smaller than the covers. So they don’t pop out when you close the journal.
Although, it’s not super important. This will be your art journal, who cares if it ends up a little crooked in the end? The journal doesn’t care, this is just fun and play.
Next, you’ll need some twine to bind the cover and the pages. You can use any kind, I like this one because it’s a little rustic and gives the journal a handmade vibe. I used a paper hole punch to make holes for the twine.
Paper punch is something neat and practical. I bind most of my books this way. Punch holes, put some twine through, make a knot, and voila!
How to make an art journal: step-by-step
1. Prepare pages and the cover
First, punch the holes for the binding. You can make them as you like. I prefer to have 4 holes so the binding can hold the pages better.
Just be sure to measure between the holes so that all the pages align nicely, and that they fit the holes on the covers (remember this if your cover is slightly bigger than the pages)
When the covers are dry, paint away! I usually mix two or three colors for the background. There are no rules here. Play with it. Put some music on and get goofy with the sponge. Or even better, fingers!
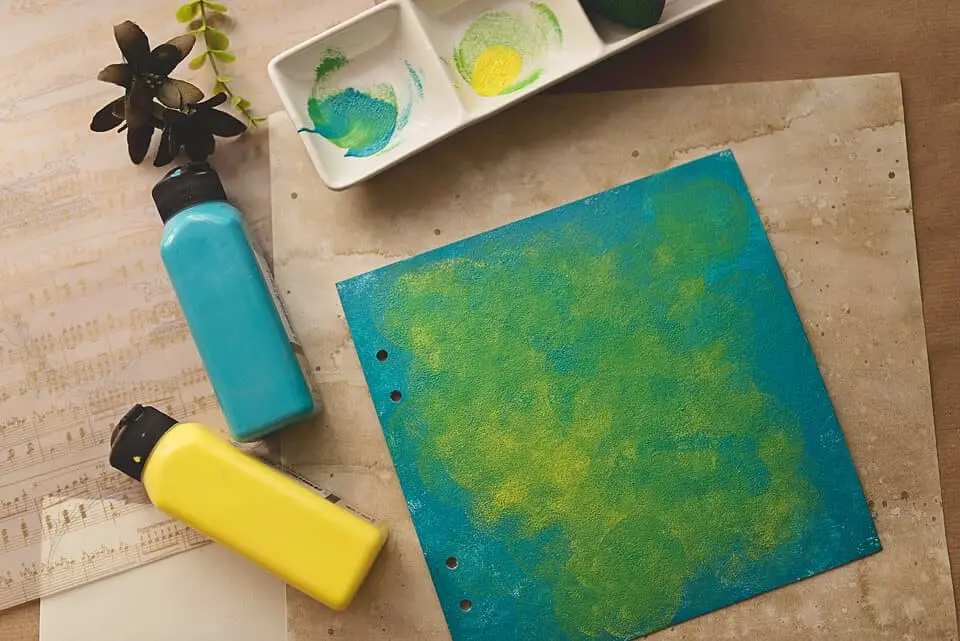
Leave it to dry and pour yourself some coffee or tea. Yes, this is also a tutorial step. I’m not kidding.
Covers dry? Okay, let’s decorate!
2. Decorate the covers of the journal
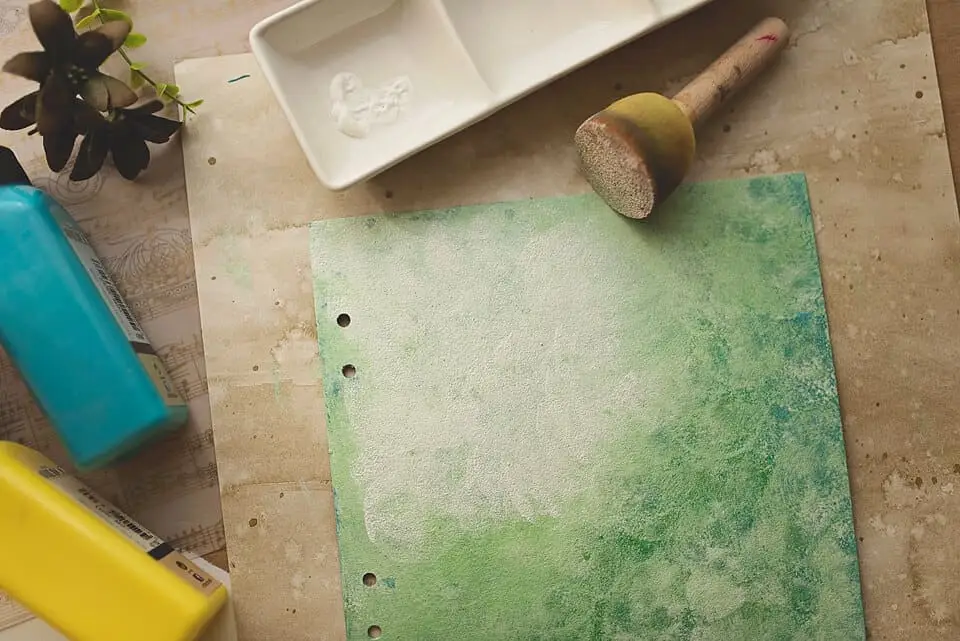
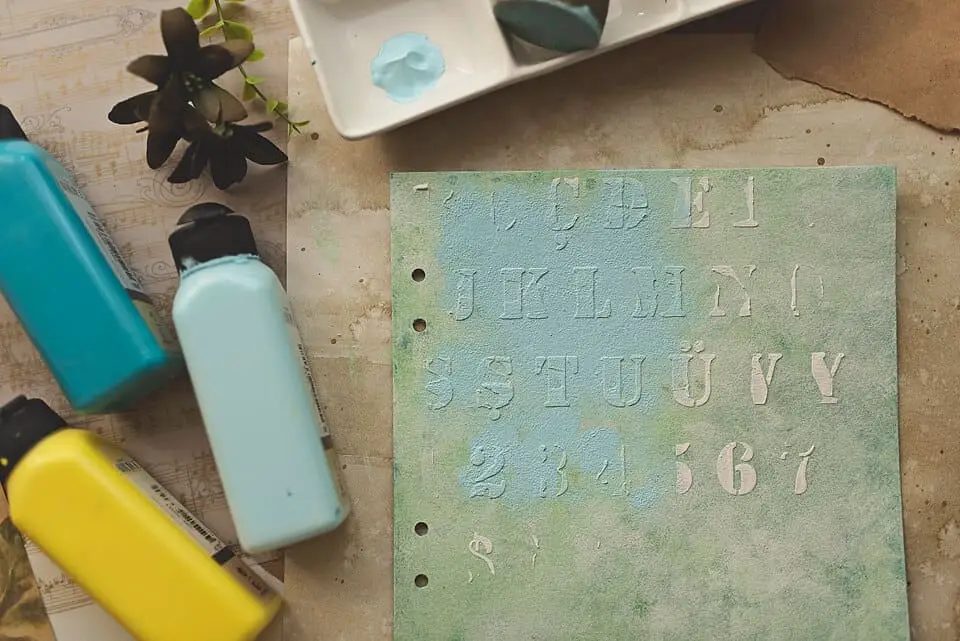
I thought the blue and yellow on my cover were too saturated, so I softened them with white acrylic. I love the softer pastel look.
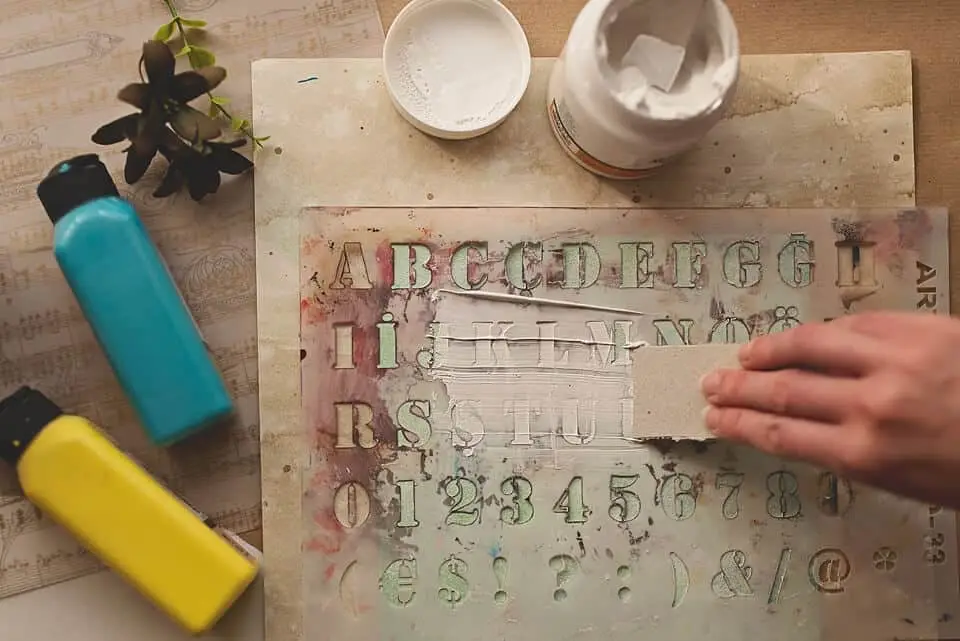
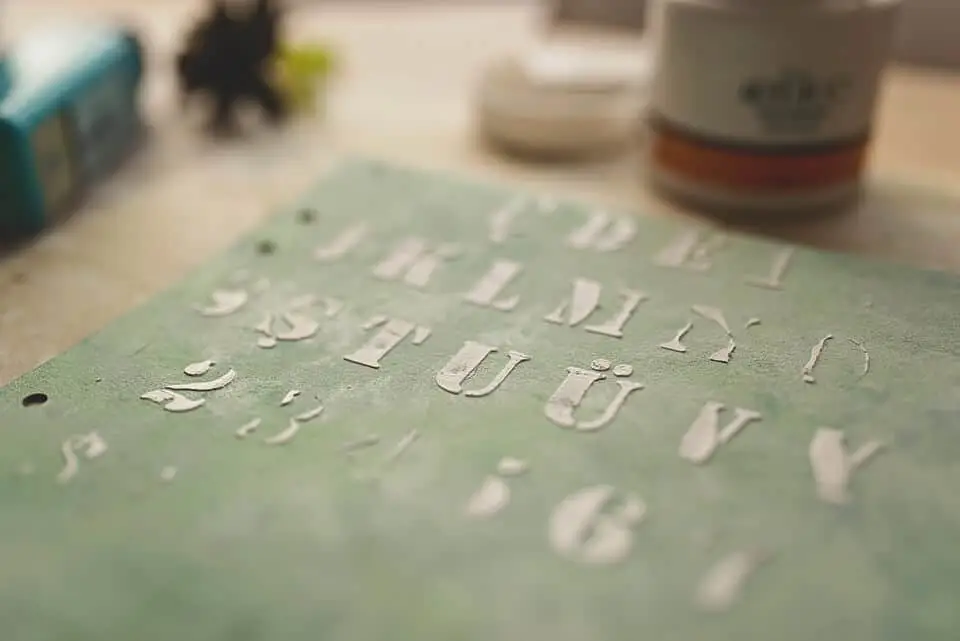
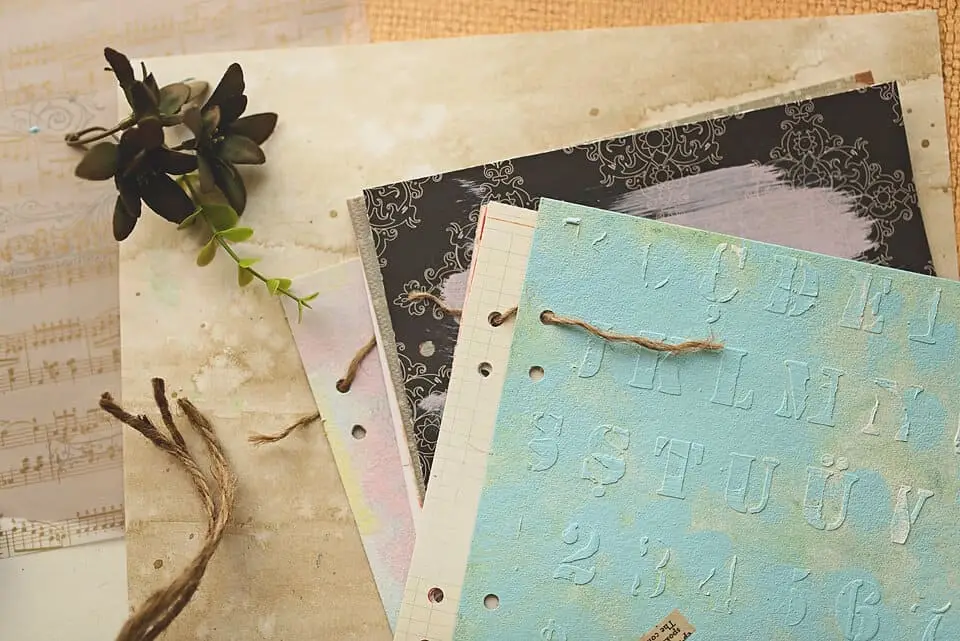
Then I used my stencil to put relief paste onto the cover. I don’t do this carefully or with a plan. Just make a few strokes on your stencil. Whatever you do, the result will be amazing. Oh, this texture! Love it!
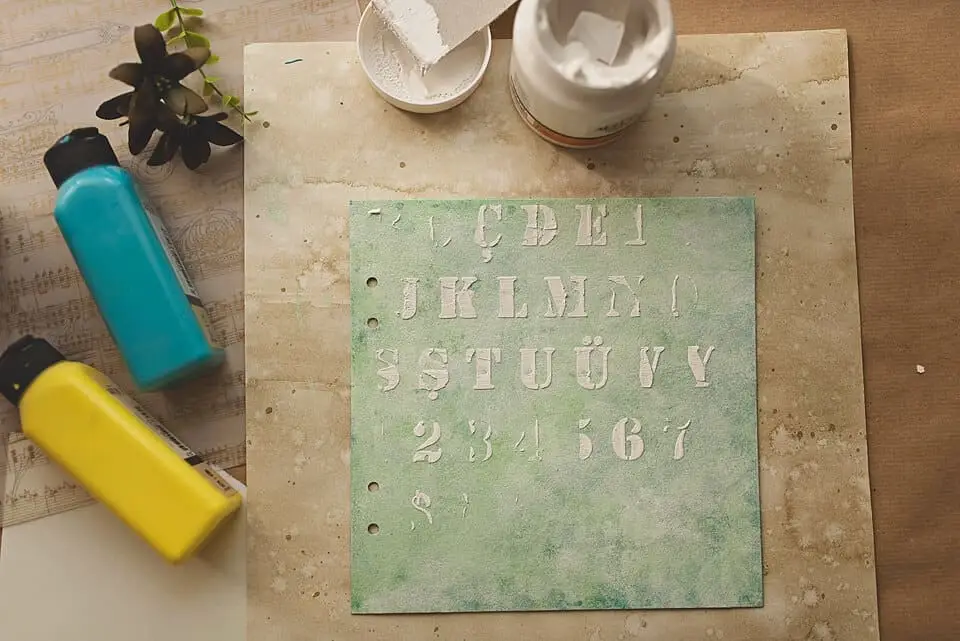
After this got dry, I added pastel blue on top of everything, to soften it even more. And unify the whole page.
I was tempted for a moment to add things on the cover but reminded myself that this should be a lesson in simplicity. My eyes enjoyed what was in front of me and I giggled. (I do this often when I create and suddenly realize I love what I see. Yeah, giggles are fun.)
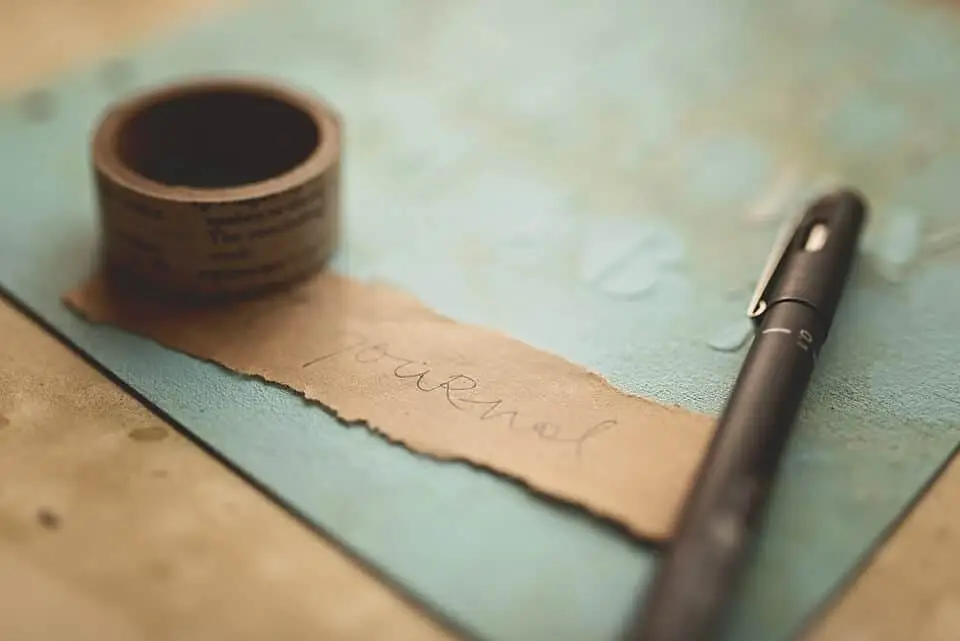
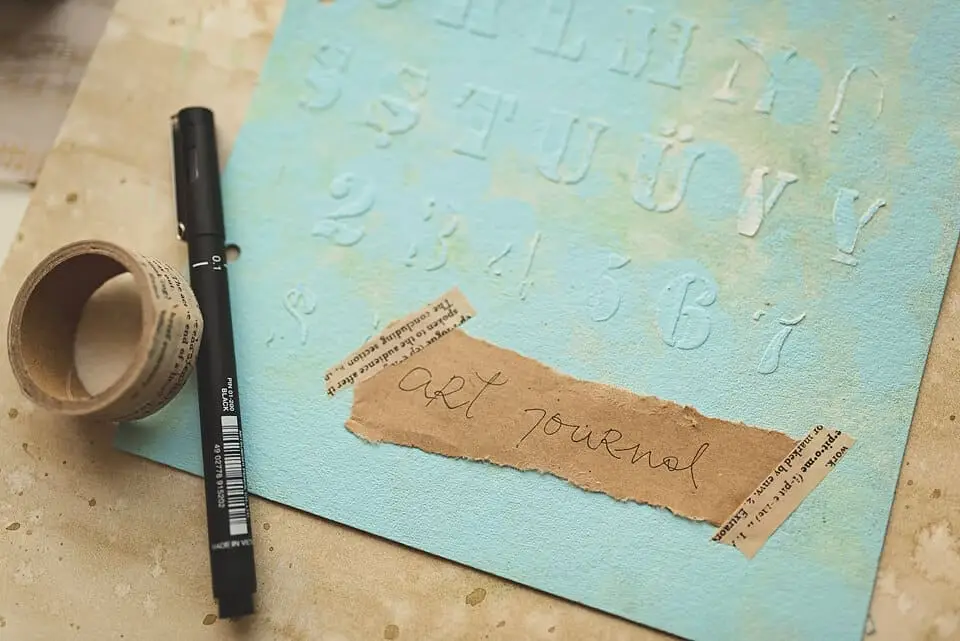
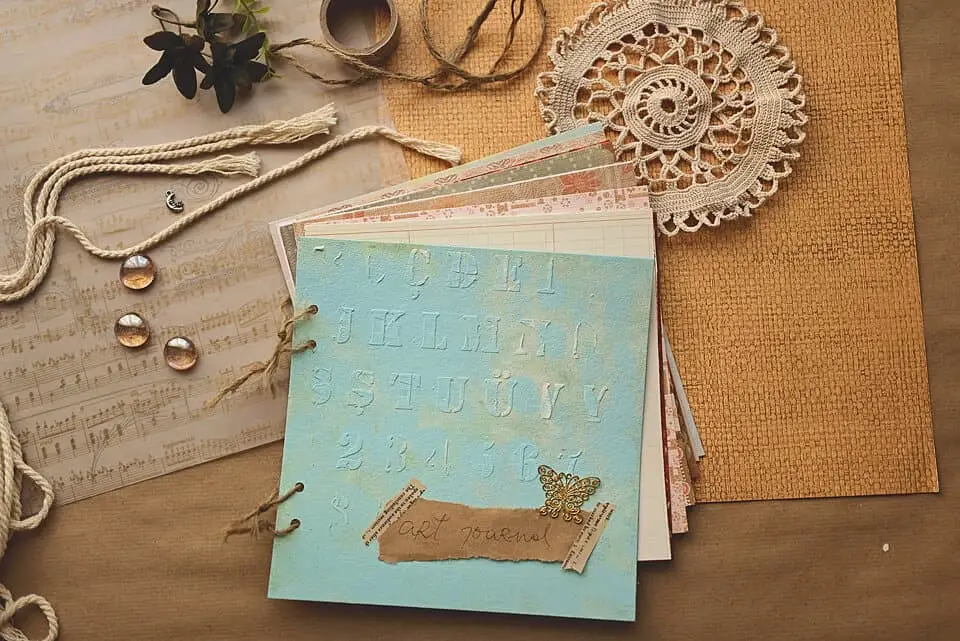
Well, while giggling away, I decided I would put a piece of brown paper and write on it. I glued it with washi tape and put a beautiful butterfly on top. Ok, that was it. I was satisfied.
I also painted the back cover before putting it all together.
Nothing’s left but to bind the cover and the pages with the twine. There’s not much philosophy in that, right?
Enjoy your DIY art journal
There you go. A simple-but-oh-so-pretty journal is in front of you. Remember, creative work doesn’t have to be complicated and end up in an exhibition. We should often go back to basics and simple things in life, and therefore in our art.
The bottom line is, it’s important that you create, as often as you can, to keep that artistic spark within you. A simple project like this will keep your fingers creating and your inner artist nurtured.
All you need to do now is to fill your DIY art journal with anything the artist within you desires. Make it magical.
How?
I’ve got you covered. Read more about finding inspiration to make art, or check some of the ideas on how to start a page in your DIY art journal.
ARE YOU READY TO START YOUR FIRST ART JOURNAL?
Download your FREE Art Journal Starter Kit and finally start making art without constantly wondering where to start or what supplies to use.