How to Add Images to Mixed-Media Art
Whether you’re an art journal newbie or a canvas-conquering pro, there’s something truly magical about adding images to your work. They tell stories, set moods, and make your pages or paintings burst with personality. But if you’ve ever thought,
“Hmm… how do I get this lovely image onto my page?” worry not!
I’ve gathered a treasure trove of fun, friendly, and fabulously artsy ways to do just that. Let’s dive in!
Great news: there are SO many FUN ways to add the image to your art!
You can glue it, trace it, transfer it, stamp it, print it, or build it up layer by layer.
I am sure you have tried some of these techniques. I just want to go over all the possible way to create that super star on your page or canvas. Some methods are super easy and quick Others take a bit more practice but are totally worth it.
Every single one will unlock something new in your creativity.
Ready to explore? Let’s jump in! I encourage you to try them all.
consider this your complete guide to gluing, transferring, tracing, printing, and layering
Images can be:
Faces
Animals
Botanicals
Quotes
Whimsical characters
Places
Let’s Start with the easiest way
1. The Classic Cut & Paste (With Pizzazz!)
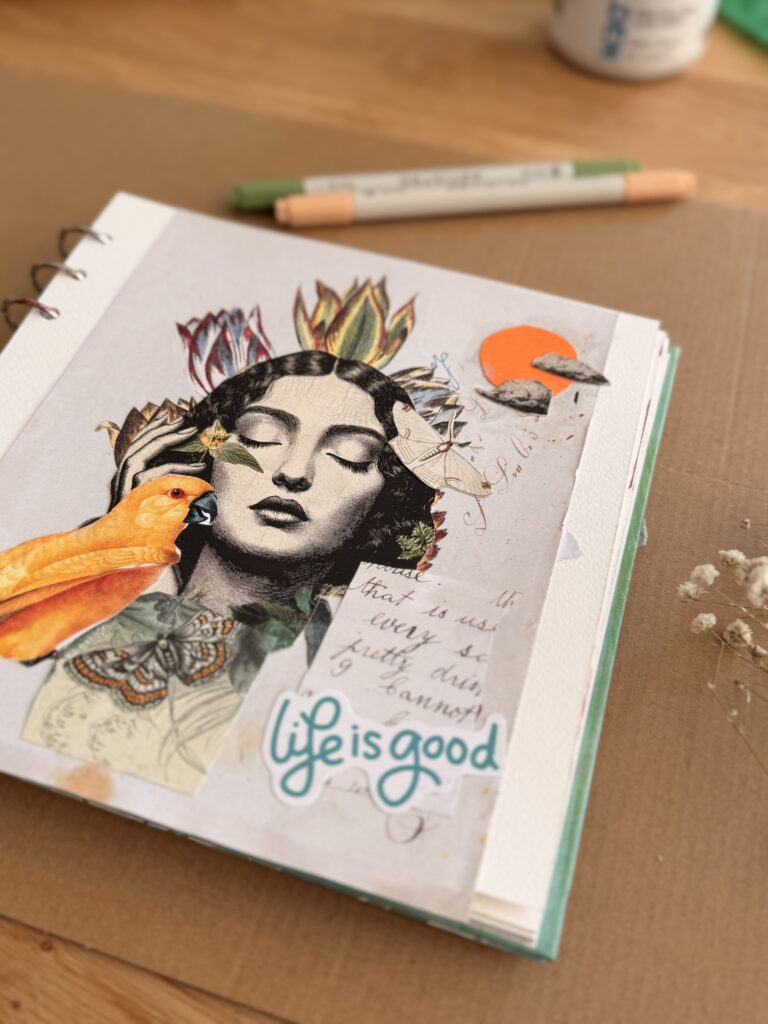
Old-school but oh-so-satisfying. Grab those scissors, a glue stick, and let’s play!
Magazine: Flip through old magazines, catalogs, or even junk mail. Cut out images, words, or textures that speak to you. Layer them, overlap them, or create a wild collage!
Personal Photo: Print your photos in black and white or sepia for a cohesive look. Try printing them on different papers such as vellum, tissue, or even coffee-stained paper for extra charm.
How to make it look gorgeous:
Here’s the secret: we don’t want things to look stuck on instead we want them to look like they grew there so …..
Tear edges instead of cutting them straight
Use thinner papers when you can
Brush medium over the top to seal it
Add little dabs of paint or pencil marks over and around both the image and the background.
Now it looks like it belongs. 💛
Pro-tip: Use matte medium instead of glue to avoid wrinkles and add a sealant on top of the image. Now, you can paint right over it!
2. Tracing & Carbon Transfer
This one’s a game-changer!
Carbon Paper
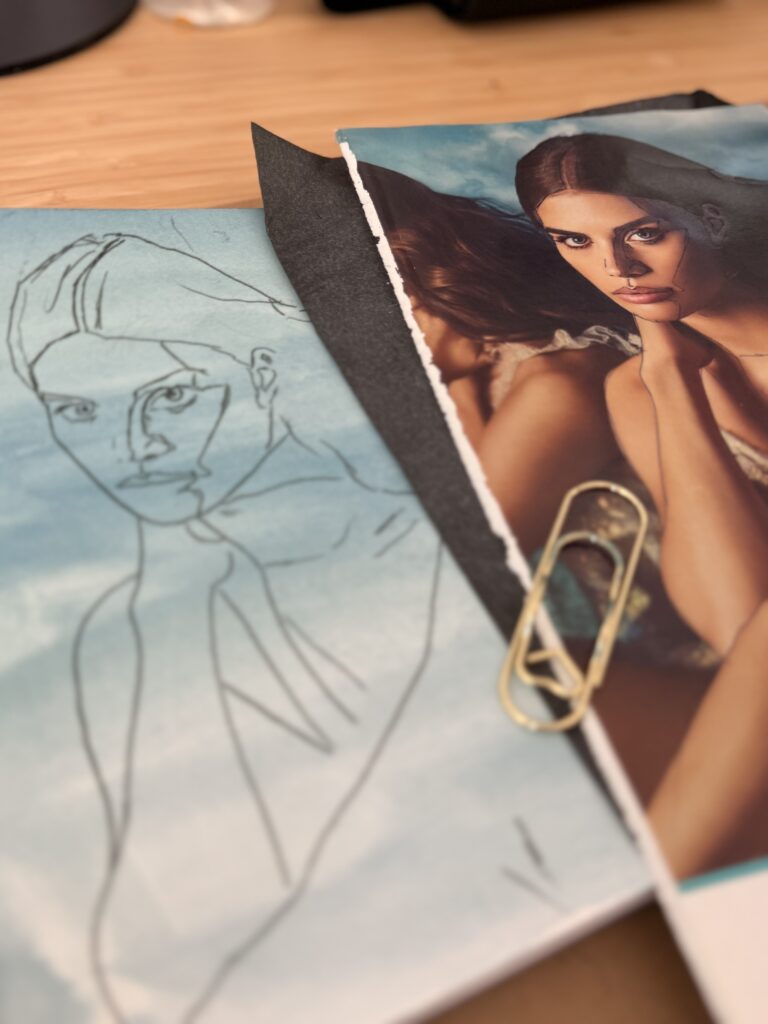
Pop some graphite paper or carbon paper underneath, then trace away.
Tip: Tape the graphite paper and the image you want to transfer from one side so you can double check when you are tracing.
Tip: make sure you put the right side of the carbon paper.
Lightbox
It’s a flat surface that lights up from underneath, allowing you to see through your paper so you can trace cleanly and easily. You simply place your reference image on the lightbox, put your journal page (or watercolor paper) on top, turn on the light and voilà… your lines gently glow through.
Projector Sketching:
Use a cheap pocket projector to project an image onto your canvas or page. Trace lightly in pencil, then paint or collage over it.
You can read more about Projectors in the link below
The Most Budget Projectors for Art
Back-Rubbing Transfer
Color on the back of your image with graphite, soft pencil, or pastel and then trace over the front to transfer it
Once you are done the image will appear as a soft, faint line drawing on your page.
It gives you structure without killing creativity.
You still choose the colors, mood and the story.
Tracing is just the doorway, the magic happens after.
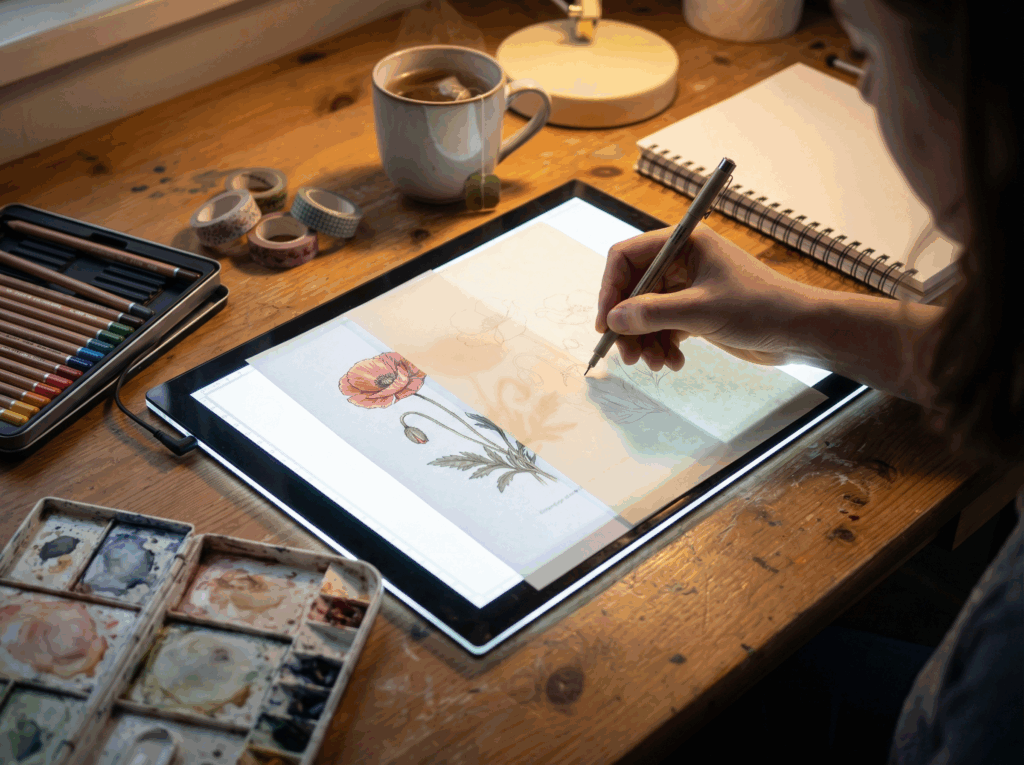
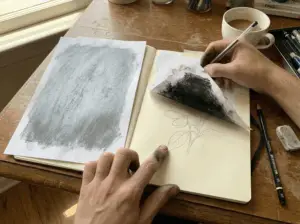
3. Draw, Doodle, & Paint Your Own!
Nothing is more “you” than your own hand-drawn images.
Sometimes the best move is just to look at an image and draw it your own way.
No tracing. No transfer. Just you and your hand.
This keeps things:
Totally unique
Full of personality
Wonderfully imperfect
Simple Silhouettes: Don’t stress about details. Paint a simple silhouette of a tree, bird, or person. It’s striking and effective!
Continuous Line Drawing: Challenge yourself to draw an image without lifting your pen. It’s quirky, free, and full of character.
The image becomes yours, not just a copy. And honestly? That’s where the magic lives.
Here are some ways you can add doodle, drawings into your art journal
How To Draw Whimsical Faces Step By Step
9 Steps To Mastering Female Face Proportions: Easy Tutorial For Beginners
38 Cute And Easy Doodles To Draw – No Drawing Skills Needed
4. Printed Paper Love
Did you know you can run all sorts of papers through your printer?
Try printing on:
Old book pages
Deli paper
Thin watercolor paper
When you glue them down, they practically melt into your artwork. It’s so dreamy.
Why stop at images? Printed papers themselves can be art.
Scrapbook Paper: A universe of patterns exists in the scrapbook aisle. Tear, cut, or decoupage.
Book Pages: Old book pages (especially foreign language or music sheets) add texture and intrigue. Use them as a background or cut out specific shapes.
Napkin Art: Yes, decorative paper napkins! Separate the layers, use the top printed one, and adhere with matte medium. They have gorgeous designs and blend beautifully.
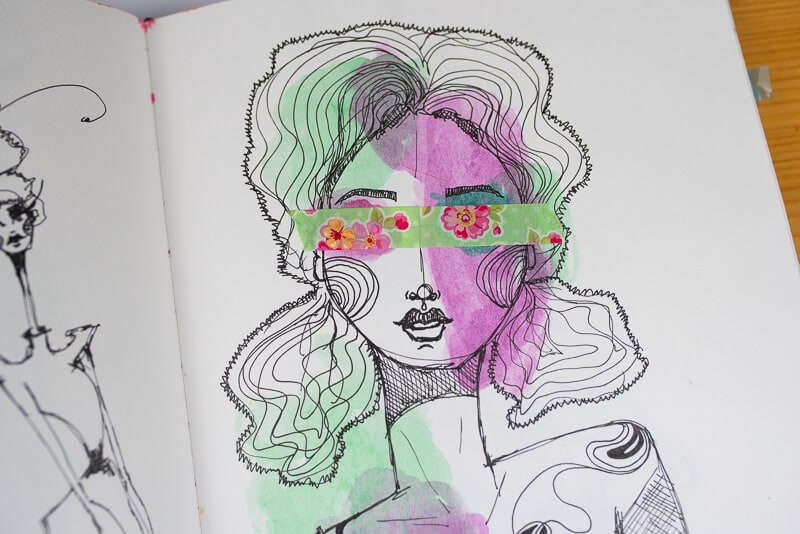
5. Stamp It Up!
Don’t forget, stamps count as images too!
Rubber stamps and clear photopolymer stamps are your best friends for adding crisp or quirky images.
Ready-Made Magic: There are stamps for literally everything such as, flowers, faces, galaxies, dinosaurs, you name it.
Make Your Own: Carve your own stamps from erasers or soft block for a truly personal touch. Your doodles can become reusable art!
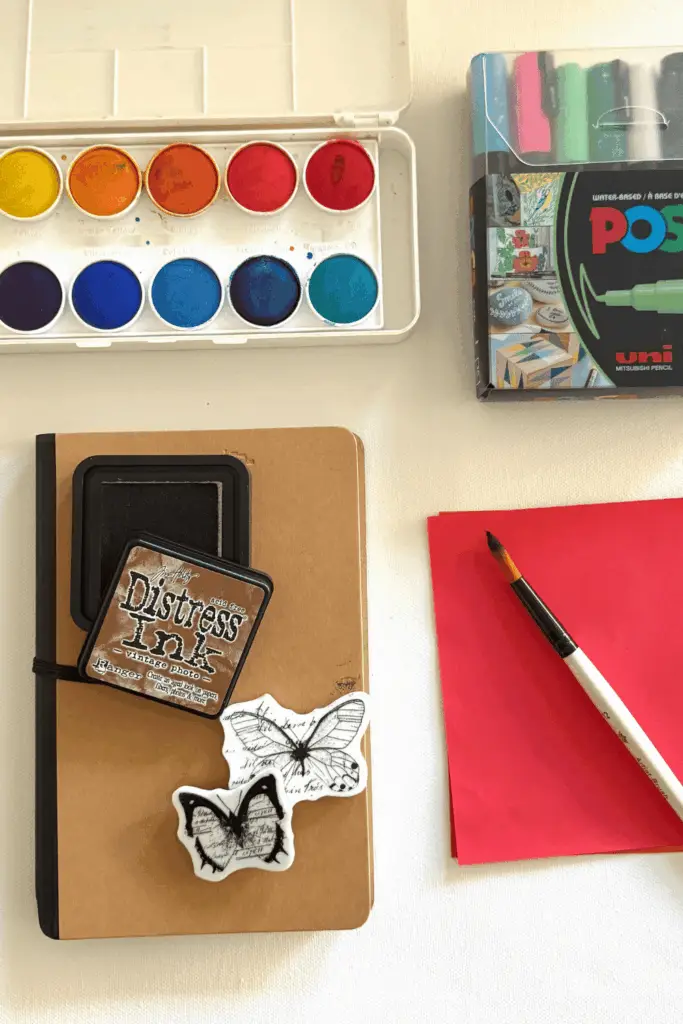
Ink Play: Experiment with different inks such as archival, distress, pigment, or even paint. Try stamping on tissue paper first, then gluing it down for a translucent effect.
6. Stencils: The Unsung Heroes
Stencils are fast, flexible, and fantastic for repeating patterns or focal images.
Store-Bought or DIY: Buy lovely laser-cut stencils or make your own by cutting shapes out of acetate or cardstock.
Mix Your Mediums: Use paint, ink sprays, texture paste, or even crayons over stencils. Layer different stencils for rich, complex backgrounds.
Negative Space Fun: Sometimes, the shape left unpainted inside a stencil is the real star. Play with both positive and negative space!
Stenciling might sound fancy, but it’s really just coloring with a cheat sheet! You place a stencil, dab on some paint, and lift it away to reveal instant magic. The best part? You can use the same stencil over and over in different colors, at different angles, even overlapping to create new shapes. It’s pattern-making made playful, and absolutely anyone can do it.
Gel medium
-
-
-
- Print your image (mirror it first if there are words).
-
- Paint a smooth layer of gel medium onto your journal page (or onto the printed image).
-
- Place the image face-down onto the gel.
-
- Burnish (rub firmly) with an old card or spoon to remove air bubbles.
-
- Let it dry completely (important, if it’s even a little damp, it can peel).
-
- Wet the paper with a damp sponge, then gently rub in circles. The paper will “pill” off.
-
- Repeat: wet + rub until only the ink remains.
-
- Seal with a thin coat of gel medium on top to protect it.
-
-
Tip: Go slow on the rubbing. The ink layer is delicate, think “gentle peeling,” not scrubbing.
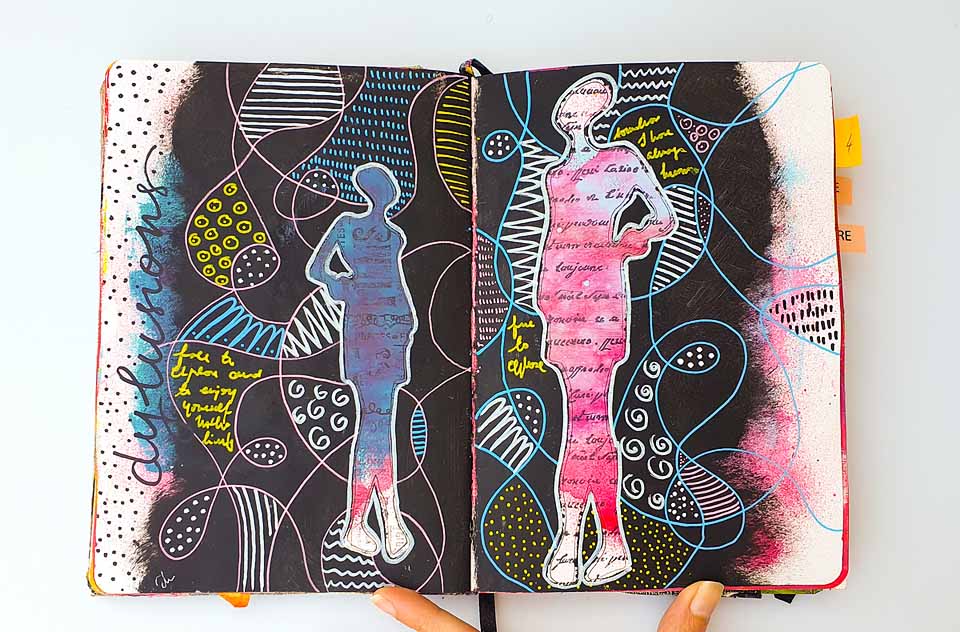
Layered Image Storytelling
Here’s where it gets really fun—mix and match!
Imagine:
A traced face, a glued flower, a transferred word, a stamped pattern and a soft painted wash.
Every layer adds another piece to the story. It’s like building a little world on your page.
🎨 Art Journal & Canvas Image FAQ: Your Questions Answered!
Here’s a friendly Q&A to help you navigate the wonderful world of adding images to your art—with practical tips, encouragement, and a few creative nudges!
Q1: I’m new to art journaling. Which technique should I start with?
A: Start with Classic Collage or Stickers & Washi Tape! They’re low-pressure, require minimal supplies, and instantly add color and interest. There’s no drying time and no “mistakes”—just play!
Q2: How do I keep my collage from looking flat?
A: Layer, layer, layer!
· Place some images under paint or gesso.
· Let others pop on top.
· Add doodles, or stamping over edges.
Q3: Why did my gel transfer turn out patchy or not stick?
A: Common problem:
· Wrong paper: Laser prints/photocopies work best; inkjet smudges.
· Not enough pressure: Burnish (rub) really well before drying.
· Rubbing too soon/too hard: Let it dry completely, then gently wet and roll—don’t scrub.
Q4: How do I blend an image into the background so it doesn’t look “stuck on”?
A: The magic is in the merging!
· Paint over edges with background colors.
· Add shadows underneath with watercolor or pencil.
· Stamp or stencil over part of the image to tie it in.
Q5: What’s the best glue for delicate papers like tissue or napkins?
A: Matte medium is your hero!
Brush it onto your page, place the delicate paper, then gently brush another layer on top. It acts as glue and sealant, and dries clear without wrinkles.
Q6: How do I protect my finished pages, especially with layered images?
A: A good sealant is key!
· Matte spray varnish is quick and non-yellowing.
· Brush-on matte medium gives control.
Q7: How do I find my own style with all these possibilities?
A: Your style will emerge naturally!
· Try everything once, then notice what made you happiest.
· Limit your palette (e.g., only black/white images + one color).
· Look back at your last 10 pages—what patterns do you see? That’s your style beginning to whisper to you.
A Few Friendly Reminders:
· Seal It: Always seal porous images (like magazine cutouts) with a light coat of matte medium to prevent yellowing or bleeding.
· Layer Smart: Build from background to foreground. Images can be backgrounds, middle layers, or top focal points.
· Embrace “Mistakes”: Smudged transfer? Torn edge? It’s all texture and story. There are no wrong answers here!
So there you have it ……your creative toolbox for bringing images to life in mixed-media art!
Pick one that calls to you and just play. There’s no right or wrong way. Just your way. And that’s always the most beautiful.
Happy Creating,
Salwa