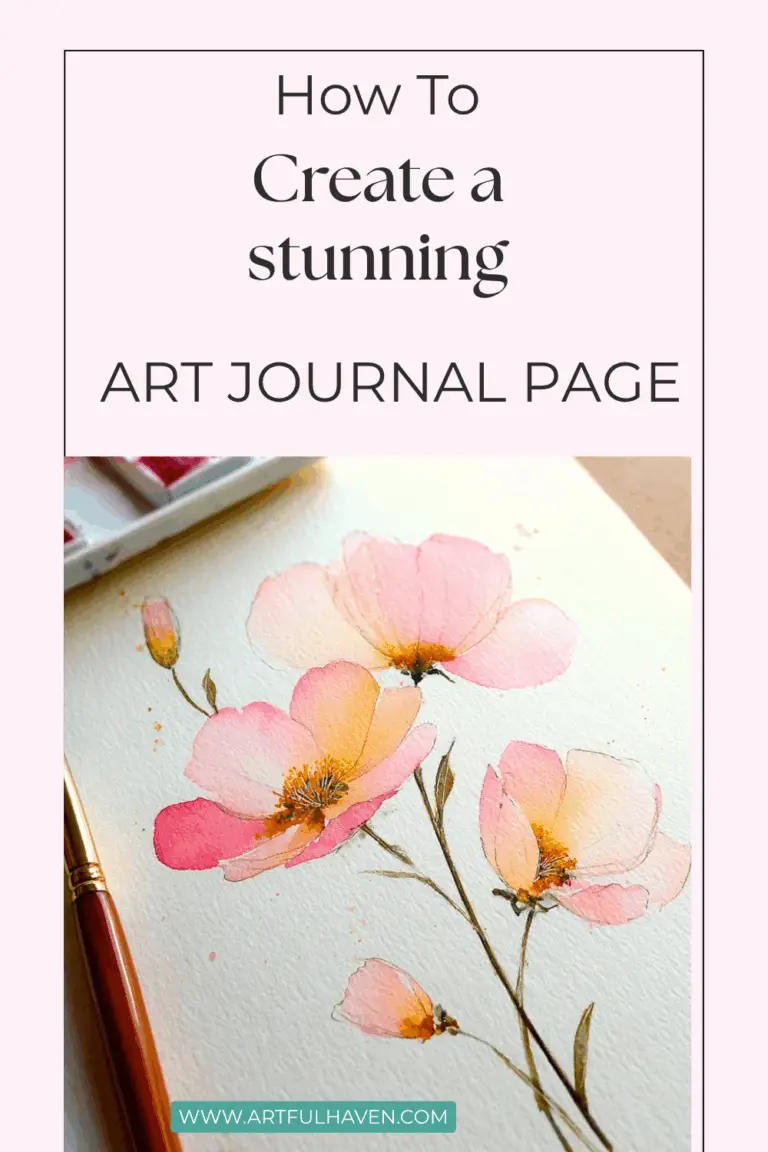
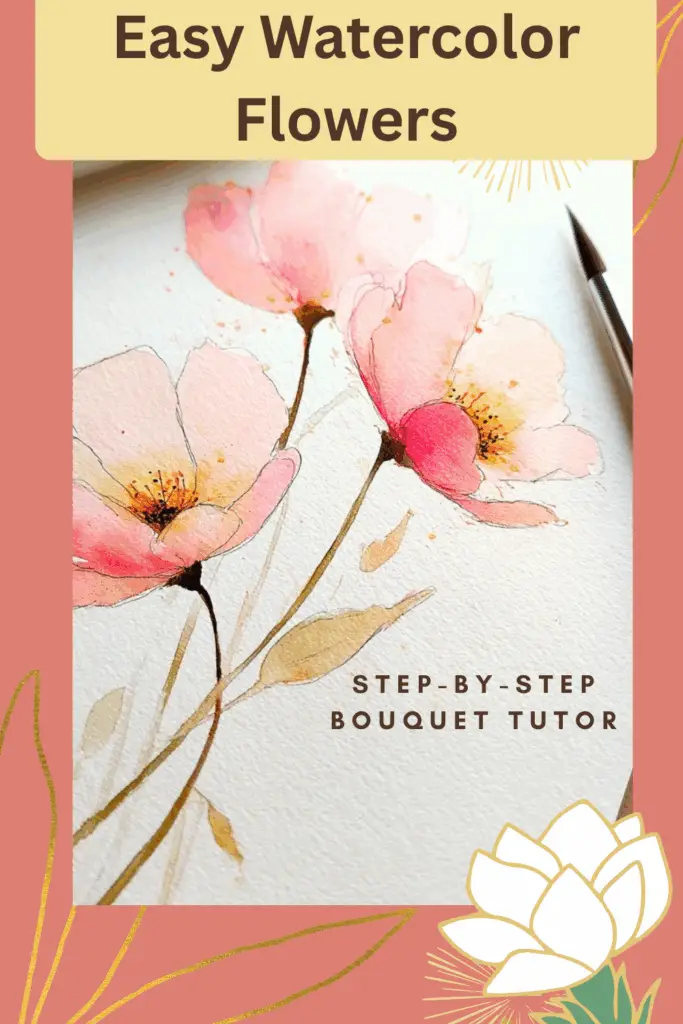
how to paint loose watercolor flowers in your art Journal
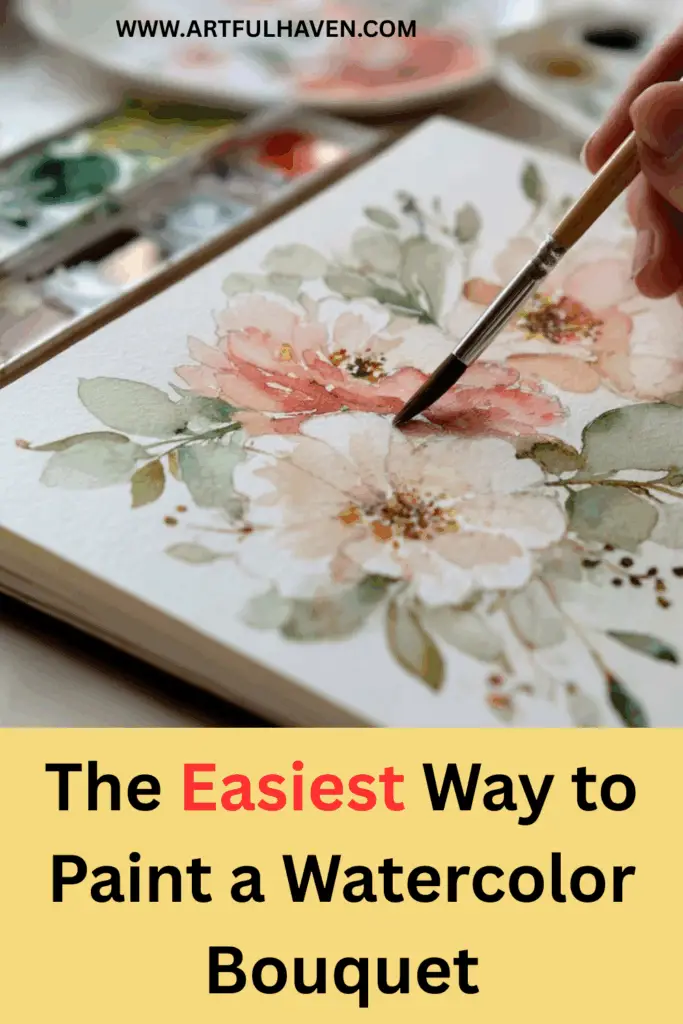
No experience needed. This gentle step-by-step tutorial teaches you how to Paint Loose Watercolor Flowers in your art Journal, creating a beautiful loose watercolor bouquet using just three colors and a few simple brushstrokes. In fact, you’ll soon see just how relaxing it can be to paint a loose watercolor floral bouquet in your art journal, even if you’re a total beginner. If you want to learn how to paint loose watercolor flowers in your art journal, this guide will make it simple and enjoyable for you.
SKILL LEVE TIME NEEDED TECHNIQUES
Total beginner 30 – 45 min. Wet on wet · Glazing . wet on dry
BY Salwa
Estimated reading time: 12 minutes
Key Takeaways
- This tutorial teaches beginners how to create a loose watercolor bouquet using just three colors and simple techniques.
- You will learn three techniques: wet on wet for petals, wet on dry for edges, and glazing for depth.
- Use quality watercolor paper and a basic set of paints to achieve better results.
- Practice with variations in colors and styles to improve confidence and create beautiful florals.
- Embrace imperfections and enjoy the process; loose watercolor florals thrive on spontaneity and play.
Table of contents
Watercolor florals look impossibly beautiful but they don’t have to be hard. This tutorial will walk you through painting a loose, romantic bouquet using only three colors and movements so simple you’ll wonder why you didn’t start sooner. To get started, just remember that the goal is to paint a loose watercolor flowers in your art journal with joy and freedom.

Three techniques you’ll learn
We’ll use just three basic watercolor techniques throughout this tutorial. Don’t worry, they’re all simple, and you’ll get to practice each one naturally as you paint.
💧
Wet on Wet
Wet your paper first, then drop in color. Paint blooms and let them soften on their own. This technique is perfect for petals.
🖌️
Wet on Dry
Paint directly onto dry paper for crisper shapes and edges. This technique is ideal for stems and small details.
✦
Glazing
Let a layer dry completely, then add another layer on top. Builds depth and richness in petals and leaves.
Supplies you’ll need to paint a Loose watercolor Flowers in Your art Journal
You genuinely don’t need much. If you already have a basic watercolor set and a brush or two, you’re ready to go. Also, it’s great to remember that you can paint loose watercolor flowers using even the simplest supplies. In other words, painting loose watercolor flowers in your art journal does not require a shelf full of professional tools.
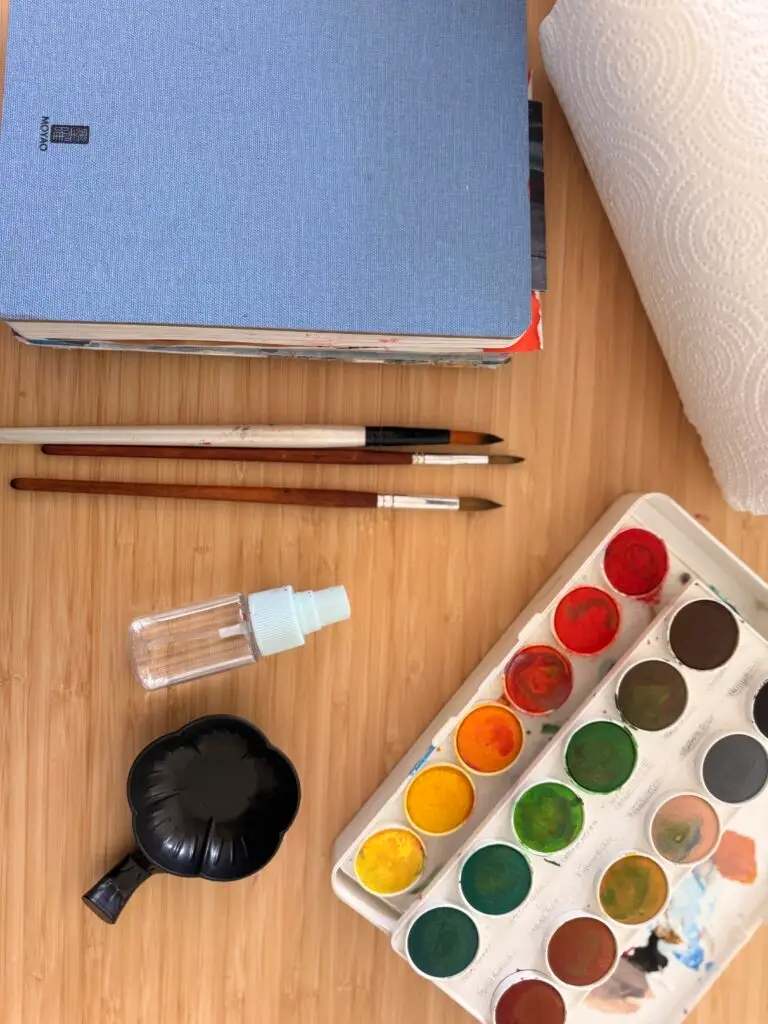
- Watercolor paper at least 140 lb / 300 gsm (this really matters)
- Watercolor paints any set works; you only need a warm pink, a green, and a yellow
- Two brushes one larger round brush (size 8–10), one small detail brush (size 2–4)
- A jar of clean water and a second jar to rinse if you have one
- Paper towel to blot excess water from your brush and an empty white plastic or regular plate.
- Pencil very light sketching only, nothing heavy
✦ BEGINNER TIP
Watercolor paper is the single biggest factor in how your painting turns out. Thin printer paper will buckle and fight you. A basic watercolor pad from any art or craft store will make everything feel more enjoyable and forgiving.


Step-by-step tutorial
We’re going to build this bouquet in layers: first loose flowers, then stems and leaves, then a few small details to pull it all together. Follow along at whatever pace feels comfortable.
- Lightly sketch your bouquet shape
✦ Pencil only — keep it very light
Start with the faintest pencil sketch. You’re not drawing the flowers in detail, you are just placing three or four loose oval or circular guides where your main blooms will go, and a gentle arc showing where the stems will gather at the bottom.
Think of it like a rough map, not a drawing. The paint will cover most of it. If your pencil lines are light enough, they’ll be invisible by the time you’re done.
✦ TIP If you’re nervous, do your sketch on a scrap piece of paper first, just to get comfortable with the bouquet shape before touching your good watercolor paper. - Paint your largest flower — wet on wet
💧 Technique: Wet on Wet
Take your larger round brush, dip it in clean water, and gently wet one of your flower circles on the paper. You want the whole shape damp but not pooling.
Now load your brush with your pink watercolor, remember not too much water, just enough to flow and touch it into the wet circle. Watch it bloom and spread. That spreading is the technique. Let it happen. Tilt your paper gently to nudge the color toward edges if you’d like.
While it’s still wet, drop in a slightly darker pink or a touch of deep rose near the center, and a hint of yellow right at the very middle. Don’t stir or blend, simply just let the colors find each other.
✦ TIP If the color floods too far and looks too pale, blot the edges lightly with a folded paper towel. If it looks too dark, quickly dip a clean wet brush and touch the edge to dilute it slightly. - Add your remaining flowers — vary the tones
💧 Technique: Wet on Wet
Repeat the same wet-on-wet process for your other two or three flower shapes. This time, try varying the depth of color by make one flower a little lighter and more open, another a little richer and closer in the center. This variation is what gives a bouquet life.
You can also try a second color family here. A soft peach or pale lavender alongside your pink creates a beautiful loose garden feel. Don’t overthink it. Remember just enjoy mixing.
✦ TIP If two wet flowers touch while both are still damp, the colors will bleed into each other. This is either a happy accident or a problem depending on your patience! To avoid it, let each flower dry for a minute or two before starting the neighboring one. - Let everything dry completely, then glaze the centers
✦ Technique: Glazing
This step is the one most beginners skip but it’s the one that makes the biggest difference. Wait until your flowers are fully dry to the touch. Then, mix a slightly more concentrated version of your pink (less water, more paint) and glaze a soft shadow layer just in the center of each flower.
This second layer creates a gentle sense of depth it is like the petals are curling inward. Keep the brush strokes soft and circular. You’re not painting detail, just adding a whisper of shadow. - Paint the leaves and stems
🖌️ Technique: Wet on Dry
Now switch to green and your larger brush. Using wet-on-dry (painting directly on dry paper), loosely paint a few elongated leaf shapes around and between the flowers. Don’t try to make them neat just a quick, confident flick of the brush makes the most beautiful leaves.
Then for the stems, thin your green paint with a little more water and use your smaller detail brush. Draw light, slightly curved lines coming down from each flower, gathering gently toward a central point at the bottom of the bouquet.
Finally, while the leaves are still wet, drop a tiny amount of dark green or even a touch of blue near the base of each one for shadow. This creates that gentle dimensional look without needing to paint anything complicated.
✦ TIP Vary the pressure on your brush as you paint each leaf by pressing down for the wide middle, then lift gradually for the pointed tip. Even one confident stroke can make a beautiful leaf. - Add tiny centers and final accents
🖌️ Technique: Wet on Dry · Detail brush
This is the final, finishing step and it’s optional. Using your small detail brush and your yellow paint, add a few tiny dots at the center of each flower. These represent stamens and give each bloom a focal point to draw the eye.
You can also add a few extra small buds or just two small teardrop shapes in a lighter pink, tucked between the leaves. These suggest flowers not yet open and add a lovely sense of life and freshness to the whole bouquet.
Step back and look at the whole painting now. Resist the urge to add more. Loose watercolor florals are at their most beautiful when they breathe.
Loose watercolor florals are at their most beautiful when they breathe.
Try these color variations
Once you’ve done one bouquet, the best thing you can do is try it again in a completely different palette. The same brushwork produces surprisingly different moods depending on your colors. In summary, don’t be afraid to try to paint a loose watercolor floral bouquet in your art journal again and again.
Classic Garden Rose
Warm pinks, deep roses, olive green, and golden yellow centers. Timeless and romantic.
Cool Wildflower
Soft lavender, cornflower blue, and sage green. Delicate and dreamy perfect for art journals.
Warm Botanical
Terracotta, rust, amber, and deep forest green. Earthy and modern gorgeous on cream paper.
Once you’re comfortable with the bouquet, try painting just a single oversized flower filling the whole page. Or try the same technique on kraft paper, using white and gold watercolors for a dramatic effect. Watercolor is one of those mediums that rewards experimentation more than almost anything else. For more creative ideas, continue exploring how to paint loose watercolor flowers in your art journal as your style grows.
✦ A NOTE ON IMPERFECTION
If your flowers don't look exactly the way you imagined — good. That means you're painting. Watercolor has a quality that no other medium has: it looks most alive when you let go of control. The blooms, the bleeding edges, the unexpected washes of color, those are not mistakes. That is watercolor doing what it does best.
Everything beginners ask about Painting a loose
watercolor floral bouquet in their art Journal
These are the questions I hear most from readers who are trying this for the first time.
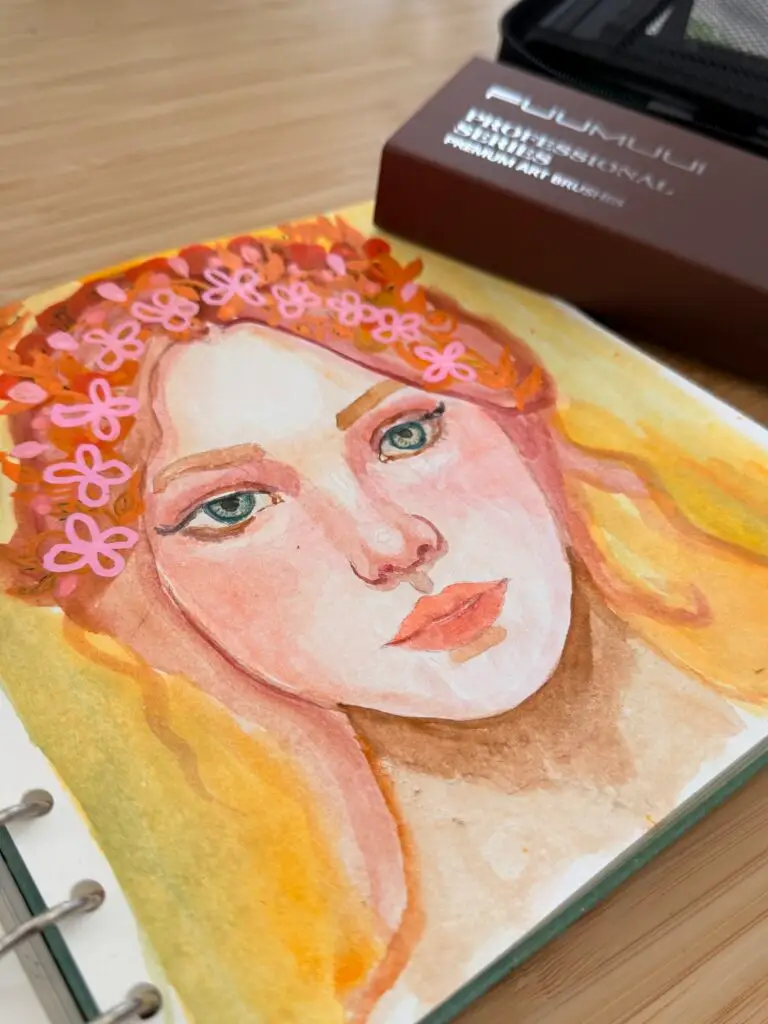
Not at all. Student-grade paints are absolutely fine for learning, and I’d actually recommend starting with them. Brands like fuumuui and Winsor & Newton both offer excellent beginner sets that are widely available and genuinely lovely to paint with.
Where you should invest slightly more is in your paper because cheap paper will buckle badly when wet and make everything harder. Look for watercolour paper that is at least 140lb / 300gsm and labelled cold press. That one change will improve your results more than any paint upgrade.
Muddy colours are the most common watercolour beginner frustration, and the fix is almost always one of two things. First: painting into wet paint too soon. If your previous layer is even slightly damp when you add the next colour, the pigments will mix in an uncontrolled way and go brown-grey. Wait until the shine has completely left the paper before adding detail layers.
Second: overworking the paint. Watercolor looks most beautiful when each brushstroke is placed once and left alone. Going back over a wet area to “fix” it usually makes things worse. Commit to the stroke, then let it be.
Third cause: dirty water. Change your water jar whenever it starts to look cloudy. Painting with murky water contaminates every color you mix.
Yes but you need to choose a journal with heavier paper — anything above 250 gsm handles watercolor much better.
Several art journals are specifically made for watercolor like the Strathmore Watercolor Journal, the Fabriano Watercolor Book and Canson watercolor book they are all excellent and come in beautiful sizes for journaling.
For this bouquet, you only truly need two brushes: a medium round brush (No. 8 or No. 10) for the flowers and background washes, and a small round brush (No. 3 or No. 4) for the stems and detail dots. That’s it.
If I had to choose just one brush for all of it, I’d use a good No. 8 round. A quality round brush with a fine tip can do both large washes and detailed lines by just varying how much pressure you apply. Press down for wider strokes, lift onto the tip for fine lines.
Stiffness almost always comes from painting shapes that are too symmetrical and strokes that are too careful. Flowers in real life are never perfectly round — they’re slightly lopsided, they overlap, some petals are bigger than others. Embrace the imperfection.
Three specific things that instantly loosen watercolour florals: vary your water-to-paint ratio within each flower (more water at the outer edges, more pigment at the centre), let colours bleed slightly into each other instead of keeping clean edges, and vary the size of your blooms — one large, two medium, three small looks far more natural than three identical flowers.
Also: paint faster. Timid, slow brushwork creates hard edges and stiff shapes. A confident, quick stroke looks loose and alive even when the result isn’t “perfect”.
✦ Remember: loose watercolour florals are meant to look loose. The wobble is not a mistake, it is the style.
Some mistakes, yes. Watercolour is more forgiving than people think. While it’s still wet, you can lift colour by pressing a clean dry brush or a piece of kitchen paper gently onto the area — this absorbs pigment and lightens the spot. You can also use a damp brush to gently scrub back dried paint on good quality paper.
For larger areas that have gone wrong, the best fix is usually to work with it rather than against it. A blob that went in the wrong place can become a leaf. An unintended bloom of colour can be the shadow on a petal. Watercolour painters learn to see happy accidents as design decisions.
If you’re painting in an art journal, you can always paint over a dried layer with a wash of gesso once it’s completely dry, let that dry, and start again on top. The texture of the original layer will still show through beautifully.
Honestly? Most people feel a noticeable shift after just five or six focused practice sessions. Not five or six weeks — five or six times actually sitting down with a brush. Watercolour has a steep-feeling but genuinely short learning curve for florals specifically, because you’re working with organic shapes that are naturally forgiving of variation.
The fastest way to improve is repetition of a single subject. Paint the same bouquet five times in a row. By the fifth time, you’ll notice your confidence in the brushstroke is completely different. Then move to a new flower type and repeat.
The goal isn’t to become perfect it’ s to become comfortable. Those are very different things, and the comfortable version arrives much sooner. I’d love for you to share your first attempt with me on Instagram @artfulhaven first attempts deserve celebrating.
Some of the links in this post contain affiliate links.
-
56 Summer Art Journal Prompts
Some days the blank page is exciting. Other days it just sits there, daring you. That’s what a prompt is for. It is not a rule to follow, just a little nudge that says, start here. Here are 56 summer prompts that turn fleeting moments into pages worth keeping. How to use these summer prompts Nature…
-
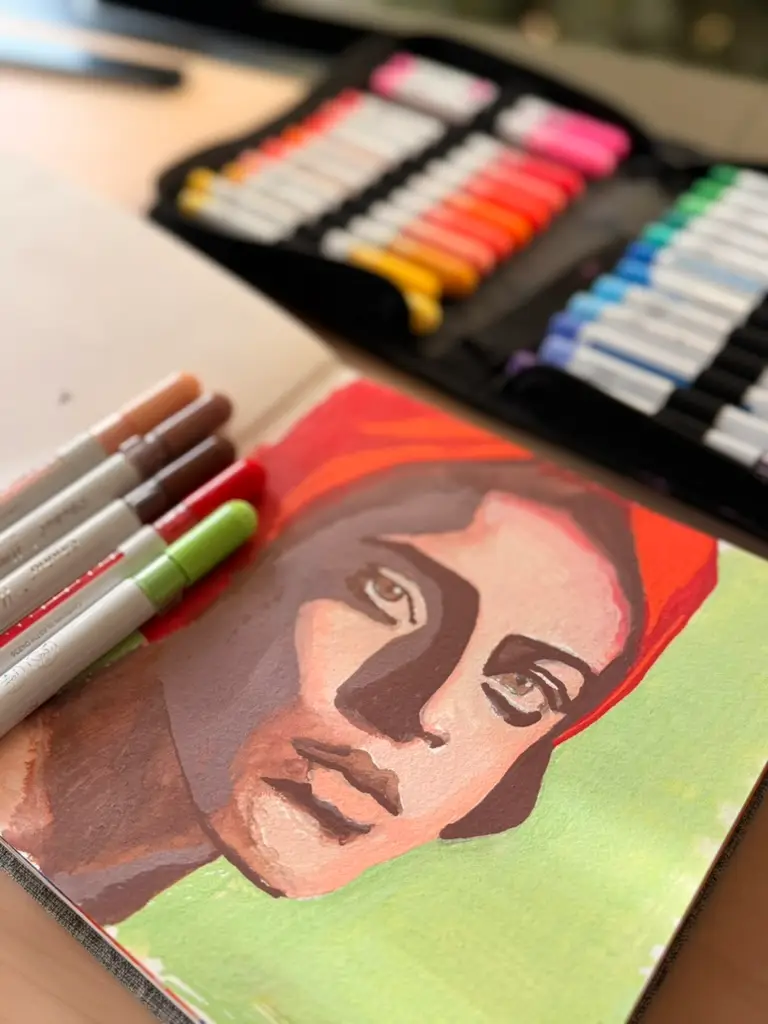
How to Paint a Portrait with Only Acrylic Markers and a Water brush
Quick Answer: To paint a portrait with acrylic markers and a water brush: sketch your portrait, divide the face into light/mid-tone/shadow areas, block in the shadows with the darker color first, fill light areas with the lighter color, bridge them with mid-tones, then soften with a water brush. This tutorial uses only Ohuhu acrylic markers and…
-
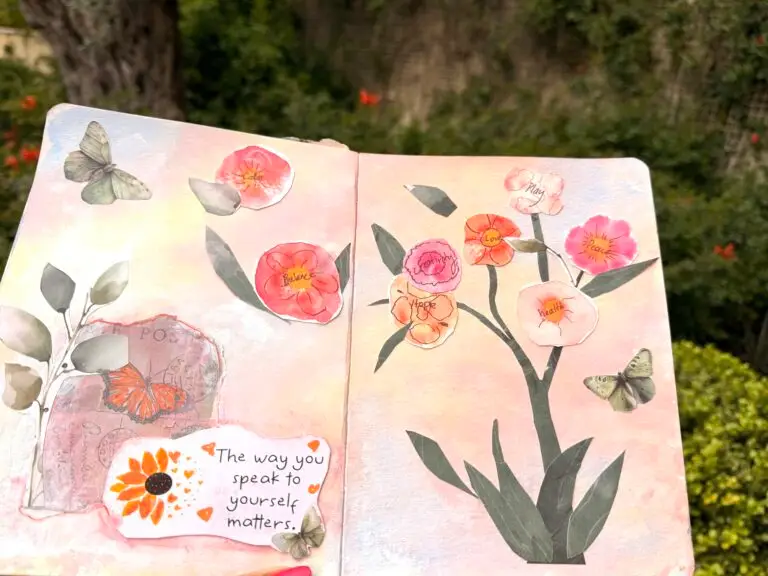
Spring Art Journal Collage: A Mindful Step-by-Step Tutorial for Beginners
Use mixed media art journaling to set spring intentions, welcome new beginnings, and let something beautiful grow step by step for beginners. By Salwa If you want to bring creative mindfulness into your art journaling practice, here is a gentle and joyful spring collage exercise made just for you. It is inspired by the season of…
-
50 Spring Art Journal Prompts
Artful haven by Salwa A spring art journal prompt is a creative suggestion or theme designed to inspire you to create a page in your art journal. Instead of staring at a blank page wondering what to draw or paint a prompt gives you a starting point, a creative challenge that invites exploration, experimentation, and personal expression….
-
The Beginners Guide to Art Journaling tools and Supplies ( What You Actually Need)
Do you sometimes wonder what art tools you really need to draw and paint in your art journal? I’m going to share 11 top art tools to use, but don’t rush and think you must get all of these. Check each one out and choose the ones you need for your unique art.
-
How to Add Images to Mixed-Media Art
Whether you’re an art journal newbie or a canvas-conquering pro, there’s something truly magical about adding images to your work. They tell stories, set moods, and make your pages or paintings burst with personality. But if you’ve ever thought, “Hmm… how do I get this lovely image onto my page?” worry not! I’ve gathered a…