How to Draw Whimsical Dolls: Step-by-Step Guide for Beginners
Drawing whimsical dolls is a fun and approachable way to add creativity to your art journal. Even if you’re a complete beginner, you can create charming dolls full of personality. In this guide, I’ll walk you through drawing whimsical dolls perfect for anyone who wants to overcome the fear of drawing and enjoy the process!
These delightful characters aren’t just fun to make, they are a piece of happiness. The act of painting them is a meditation, and the finished creation becomes like a tiny hug.
Whether you’re a professional Artist or someone simply looking for a calm, happy time, this project is your perfect creative sanctuary.

The Inspiration: A World of Playful Imagination
Get ready to dive into a world of pure whimsy and imagination. This project is your invitation to reconnect with a sense of childlike wonder and rediscover the joy of creative play.
1. The Joy of Simple Shapes in creating whimsical dolls:
Drawing these Whimsical dolls starts with basic geometric shapes. This approach removes the pressure of realism and opens the door to a world where a triangle can be a dress and a circle can be a head, full of personality.
It’s a return to the fundamental joy of drawing.
2. A Canvas for Pattern and Color:
Think of the doll’s form as a blank canvas for your favorite colors and patterns. The inspiration here is anything and everything vibrant and joyful. You can use any pattern that spark your creativity. You can use the colors of your favorite cupcake or the colorful stripes of a favorite sock or the polka dots on a gift bag. This is your chance to play with color theory and pattern mixing in a fun, adventures way.
3. Characters from a Storybook:
The true inspiration for these dolls comes from the feeling of beloved illustrated storybooks. Remember that friendly, simply-drawn characters that feel like old friends. Creating your doll is like illustrating your own story, giving life to a unique character from your imagination.
Why You’ll Love Making These whimsical Dolls: A Dose of Creative Therapy
The true beauty of these whimsical dolls lies in their glorious imperfection. Unlike projects that demand precision, these dolls thrive on wobbly lines and “happy little accidents.” Each brushstroke adds character, and there is no “wrong” way to decorate them. This is their gift to you: permission to play.
The repetitive motion of painting dots, tracing scallops, or filling in stripes is surprisingly meditative. It’s a form of active mindfulness, pulling you away from the noise of the digital world and into a calm, focused state. It’s an art therapy!
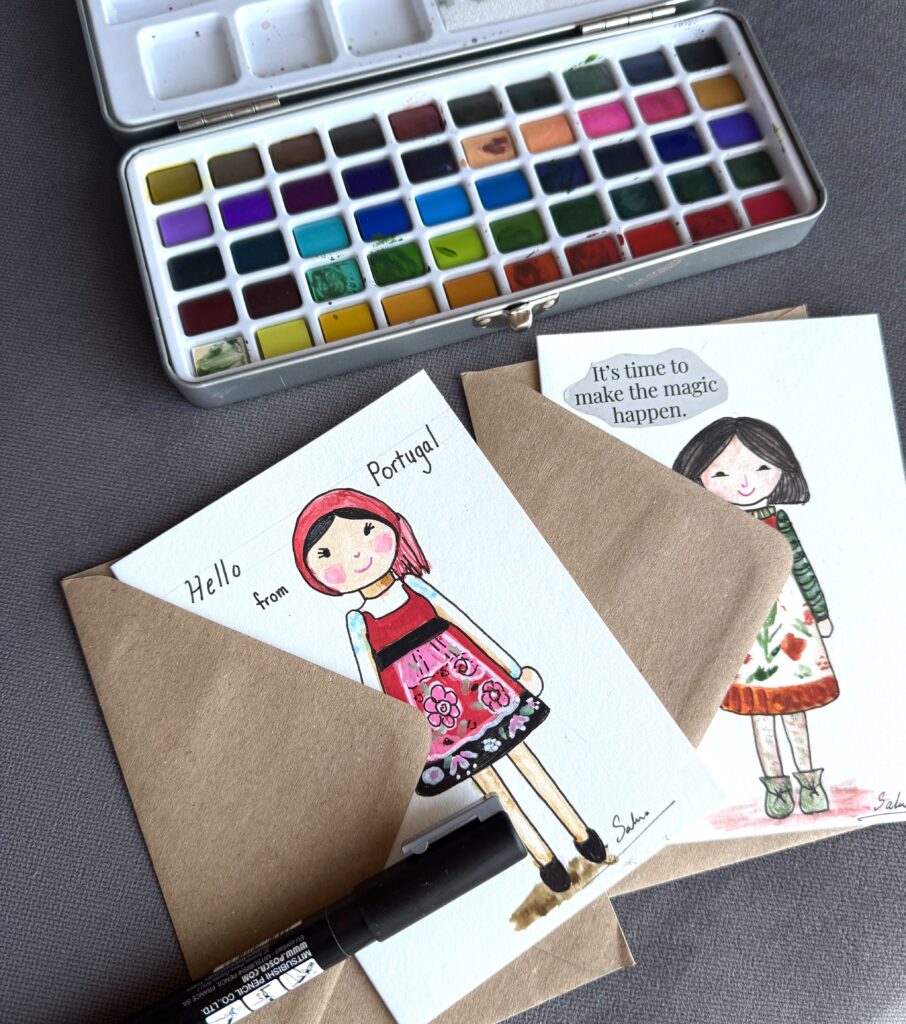
What You’ll Need:
Basic Supplies:
1- Watercolor paper (you can cut it to the size you like. I personally prefer to work on small paper
2- A simple pencil for lightly drawing your form.
3- Watercolors (for transparency), gouache (for vibrant, opaque layers), or acrylic paints (for boldness and ease). Colored MarkersThey all work beautifully!
4-Fine-tipped brushes in various sizes (a detail brush is a must).
5-A black fine-liner pen or marker for crisp outlines.
6- A white gel pen or paint pen for highlights, dots, and intricate details that make your doll pop.
7-The Finishing Touch: Scissors or a craft knife for cutting.
Disclaimer: Some links in this post may be affiliate links. This means that if you purchase something through that link, I get a small commission, at no extra cost to you.
Step-by-Step Instructions: Breathe Life into Your whimsical doll
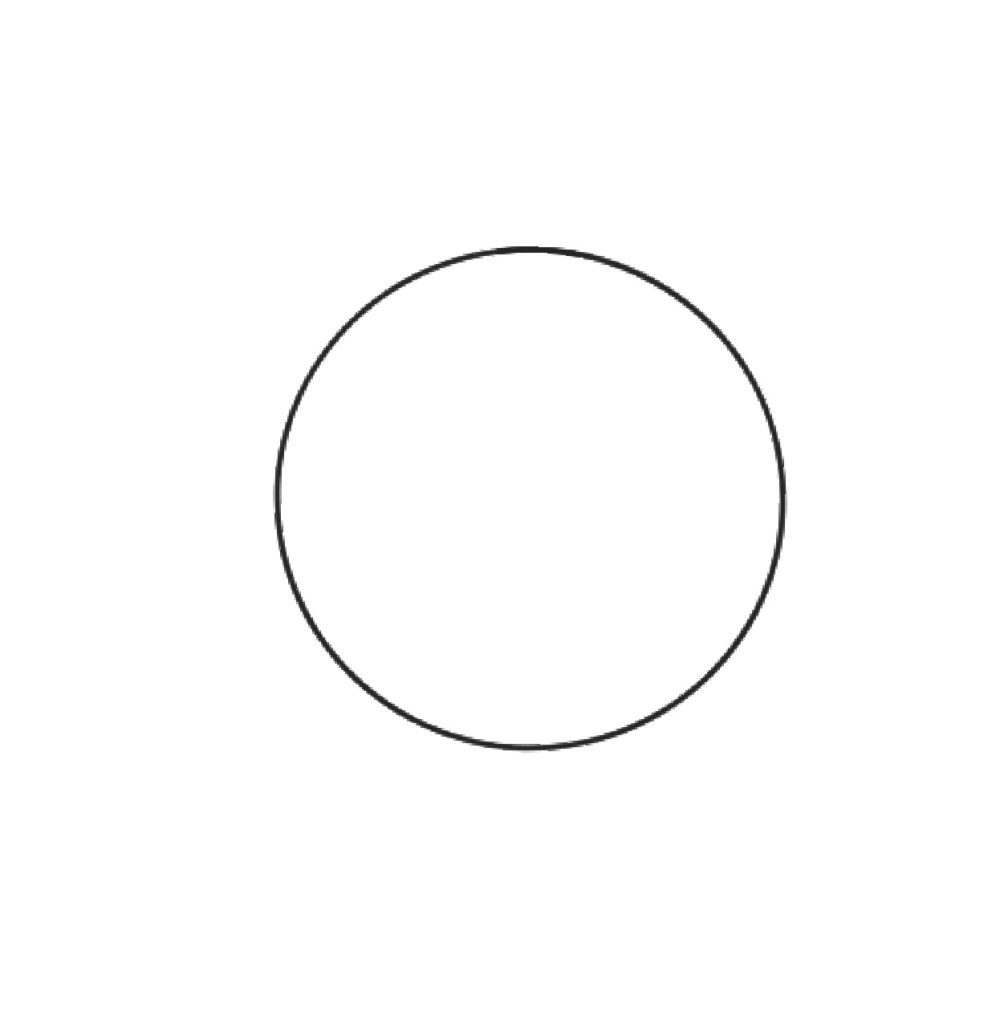
1. Sketch Your Doll’s Basic Shape:
The Foundation of Whimsy Start with simple, comforting geometric shapes.
1. Heads: Start with an oval or circle for the head. Don’t worry about perfection remember wonky is whimsical!
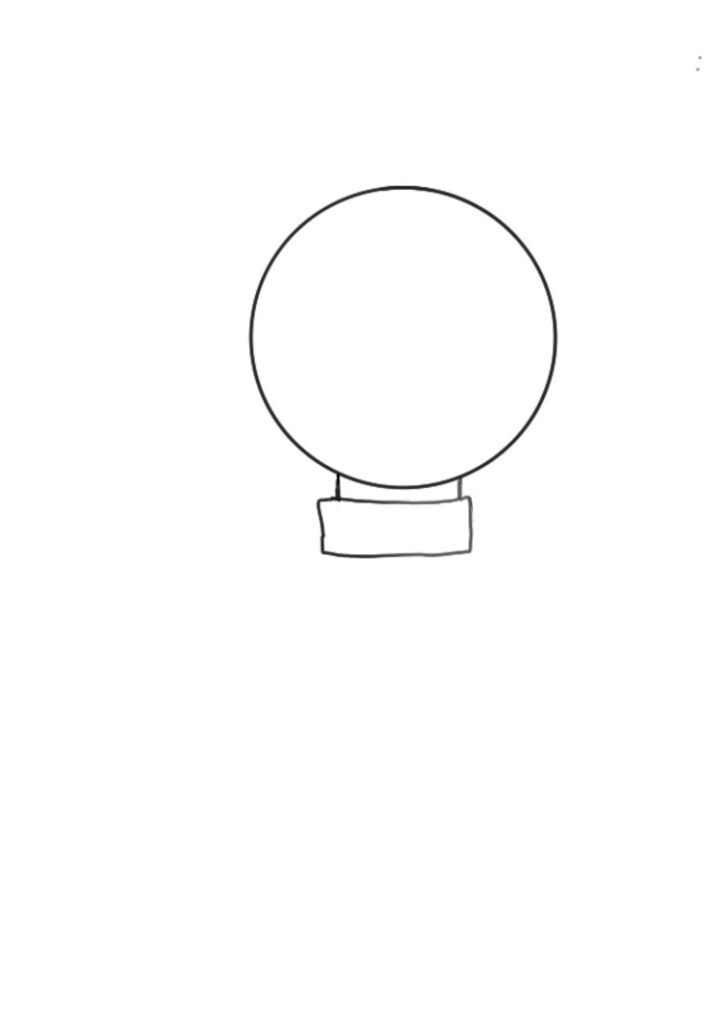
2. Bodies: Draw a rectangle or bell shape for the body. Make them slightly wider at the bottom for a playful look.
3. Limbs: Use simple lines of long thin rectangles for arms and legs. Add small ovals for hands and feet.
Tip: Draw lightly since this is just the ghost of the personality to come.
Start with a line to know where to place the doll. Decide where the head will go then the body and legs just light lines. So you don’t run out of space on the paper.
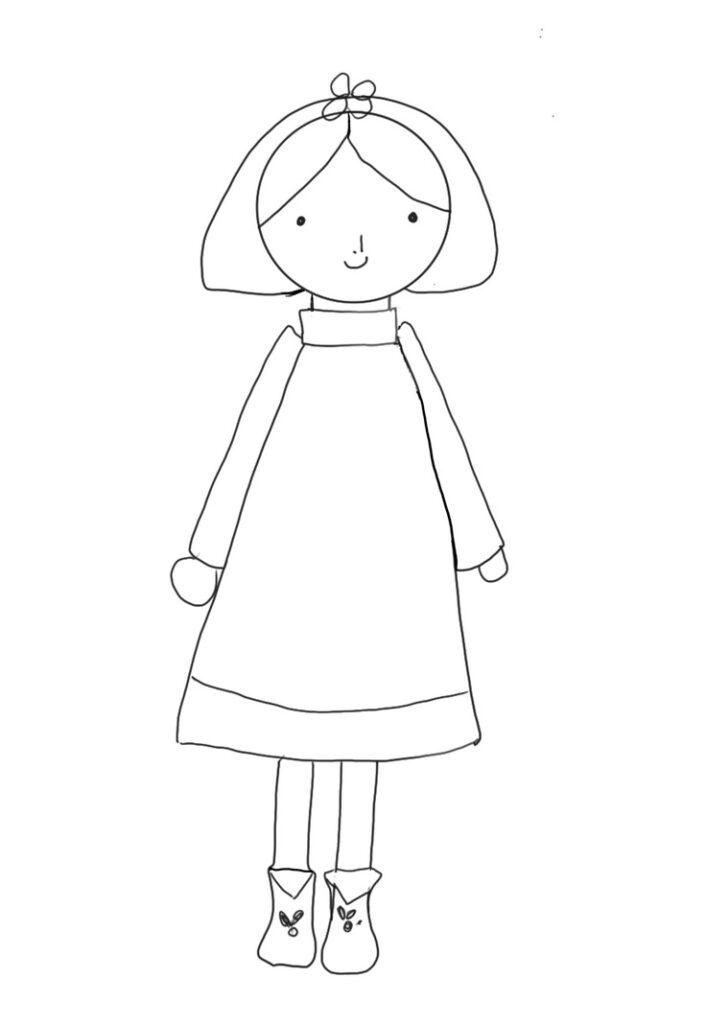
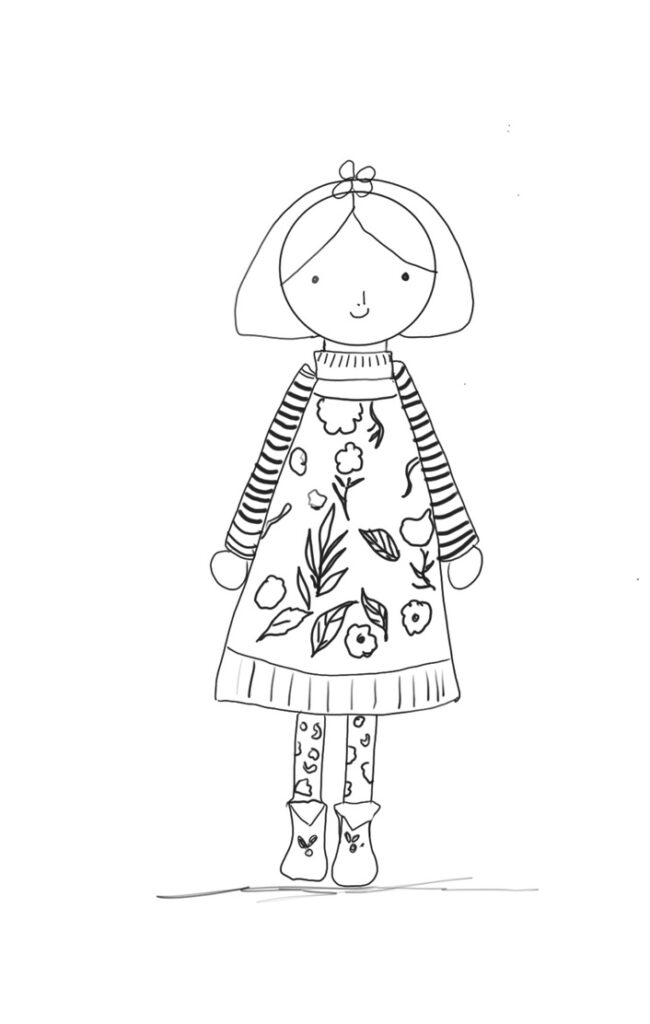
2. Create the Face:
Remember to keep it simple and sweet. Two dots for eyes, a blush of rosy circles on the cheeks, and a small, gentle curve for a smile.
Step 3: Create Fun Hairstyles
Add simple hair by either making straight bangs or curly hair, be creative. This is where your doll’s unique spirit emerges.
•Use wavy or straight lines for hair. Try braids, buns, or short bobs.
• Add hair accessories like bows, hats or headbands for extra charm.
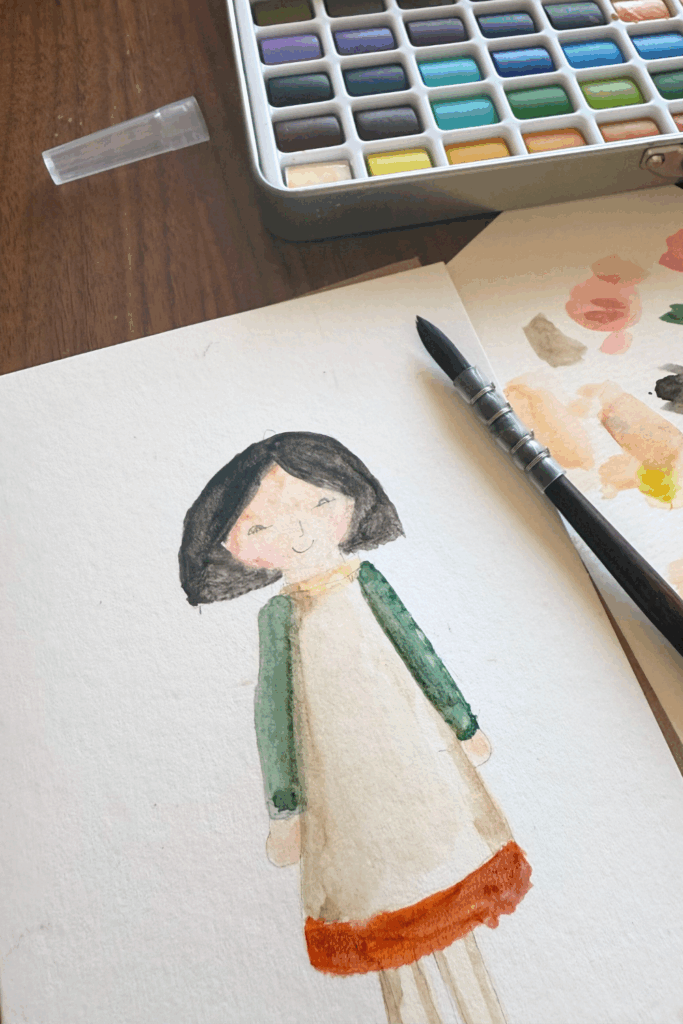
Step 4: Design the Outfits
Unleash Your Style. This is the heart of the creative process! Divide the body into horizontal bands and let each section be a new opportunity for play. Fill them with your favorite playful patterns: zigzags, dots, triangles, stripes, scallops, tiny flowers, or simple stars. Don’t be afraid to mix bright pinks with calming teals or sunny yellows with deep purples. Look to colorful wrapping paper, modern fabric designs, and nature for a burst of inspiration.
Tip
Use patterns: florals, stripes, or dots.
Layer clothing: dresses, hats, cardigans, leggings, and boots.
Don’t be afraid to mix colors and patterns, remember whimsy is all about playfulness!
Step 5: Outline and Color
Once all your paint is completely dry, take your black fine-liner and carefully outline your doll and the major pattern sections. This single step is transformative, pulling all the colorful chaos together into a cohesive, graphic masterpiece.
Tip
Go over your pencil lines with a black pen.
Erase any extra pencil marks.
Add color using watercolors, markers, or colored pencils. Let colors blend and bleed
for a dreamy effect.
Step 6: Add Details to your whimsical doll
A black fine-liner can add small details like delicate pattern outlines, giving your Whimsical doll a polished, illustrated feel.
Adding the details in layers will give the doll extra charm. Always make sure to let each layer dry completely before adding the next to keep things crisp.
Use your white paint or gel pen to add decorative dots, and swirling accents on the hat or clothes.
Tip
• Draw tiny details like buttons, pockets, or embroidery.
• Add a background element, like a mini tree, to set a scene.
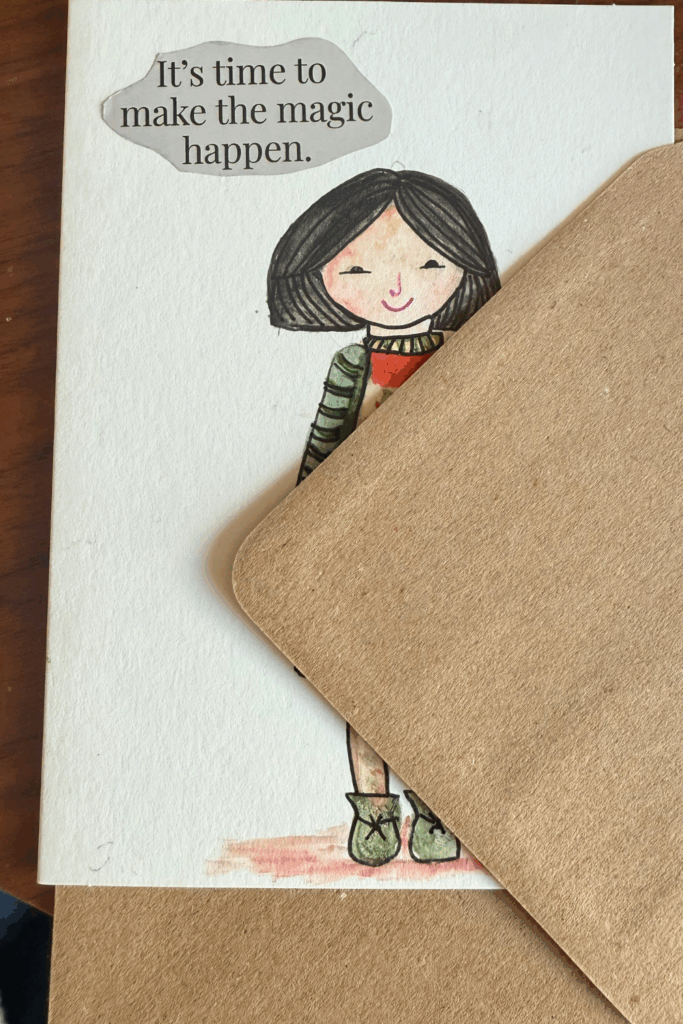
Optional Step
You Can Cut Out Your Creation: Carefully cut around your doll. You can cut directly on the line or leave a small white border for the sticker-like appearance.
Creative Ways to Use Your Whimsical Dolls: Share the Joy
Gift Tags with Heart: Punch a hole at the top and attach to presents with twine. Your gift wrapping becomes a keepsake.
Tree Ornaments: Laminate your dolls for durability, punch a hole, and add a ribbon loop. They’ll become treasured decorations that tell a story year after year.
Framed Art Collection: Create a “family” of dolls and arrange them in a shadow box or frame.
Greeting Cards from the Heart: Glue your dolls onto blank card stock for one-of-a-kind cards that recipients will adore and likely frame.
Delightful Bookmarks: Create longer, narrower versions of your dolls to mark your page, making every reading session a little more magical.
Tips for Success
Keep your lines loose and relaxed
Embrace imperfections, they always add character
Try drawing a group of dolls with different outfits and hairstyles
Speed Up the Process by use a hairdryer on a low, cool setting to speed up drying time between colorful layers.
Keep a scrap paper nearby to test color combinations and practice new patterns before committing them to your doll.
Final Thoughts
The best part about these whimsical dolls isn’t just the adorable finished product, it’s the peaceful, joyful time you spend creating them.
This is your time to play. Put on your favorite music, lay out your paints like a rainbow feast, and let your hands remember what it feels like to create without a critical eye.
Ready to give it a try? Share your creations with the Artful Haven community and inspire other beginners to start their own whimsical art journey.
Happy creating!
Want more beginner-friendly art tutorials? Check out our
How to Draw Whimsical Faces For Every Season: A Step-By-Step Guide For Winter, Spring, Summer & Fall
How To Draw Whimsical Faces Step By Step
Color Schemes For Art Journaling: 10 Beginner-Friendly Combinations